This technique was demonstrated by Jodee from Inspire Woodcraft. It’s a detailed and practical approach to creating strong, elegant mitered half lap joints using a table saw.
Mitered half laps offer the clean look of a traditional miter with the strength of a half lap, making them ideal for projects like picture frames, cabinet doors, and decorative woodworking. Jodee walks through the full process, offering useful tips to help woodworkers achieve tight, accurate joints.
Watch the full video and subscribe to Jodee’s channel:
What Is a Mitered Half Lap?
Before getting started, it’s important to understand why this technique is so effective. A mitered half lap combines the seamless look of a 45-degree corner with the strength of overlapping wood fibers.
Instead of relying on just end grain glue, the joint gains durability from the significant surface area of the half lap. This makes it a strong and attractive option for projects where both appearance and structure matter.
Preparing Materials and Workspace
Jodee begins by milling all the pieces to uniform width, ensuring consistent frame dimensions. For most frames, two pieces will be longer and two shorter, but all pieces should be the same width.
Setting up the table saw is a critical step. The blade height must be adjusted to exactly half the material’s thickness to ensure a perfect half lap without overcutting. Jodee recommends using a scrap offcut as a visual gauge to set the blade height precisely.
Making the First Mitered Cuts
Once setup is complete, the first cuts are made on the shorter frame pieces. The miter gauge is set to 45 degrees, and the piece is positioned so that the cut removes exactly half of the material thickness.
Careful alignment is key here. Jodee highlights the importance of setting the fence correctly, ensuring the blade’s outer teeth just kiss the edge of the material without overcutting.
Using a sacrificial fence or backer board also helps prevent tear-out on these angled cuts, resulting in cleaner, sharper joints.
Cutting the Longer Pieces
After completing the shorter pieces, the same steps are repeated for the longer ones. Jodee uses one of the already-mitered short pieces as a reference to ensure everything lines up cleanly.
Each cut is made deliberately, with small adjustments as needed to maintain precision. Consistency at this stage ensures that the entire frame will come together square and tight without needing heavy clamping pressure later.
Addressing Small Variations
Even with careful setup, it’s common for the joints to have slight height differences after cutting. Jodee notes that these small discrepancies are normal and easy to fix with light sanding.
Sanding flush ensures the frame pieces sit perfectly during glue-up and gives the final project a professional, polished look.
Why Choose Mitered Half Laps?
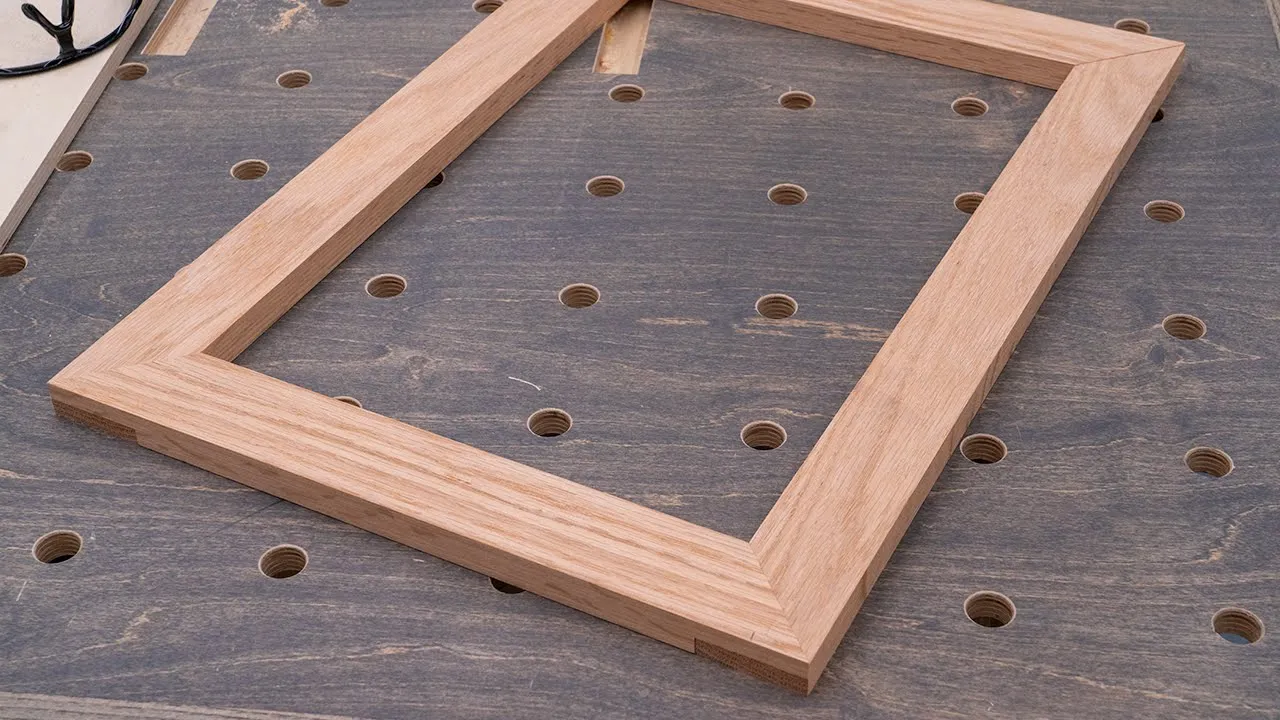
Mitered half laps stand out because they combine two crucial elements: beauty and strength. The 45-degree miters maintain the aesthetic appeal often required in picture frames and fine woodworking.
At the same time, the overlapping joint structure provides far more strength than a simple glued miter. This means the frame can withstand handling, weight, and changes in humidity better over time.
Additional Tips from the Build
Throughout the video, Jodee shares practical tips that can help improve success with this technique:
- Take Your Time Setting Up: Blade height and fence positioning are crucial. Double-check your setup before making any cuts.
- Use Sharp Blades: A clean, sharp table saw blade will produce better results with less sanding required afterward.
- Practice on Scrap First: If you’re unfamiliar with half laps or miters, doing a few test runs on scrap pieces can save frustration later.
- Mark Your Pieces Clearly: Keeping track of which ends are mitered prevents mistakes during cutting and assembly.
- Use Good Lighting: Proper lighting at the saw helps catch small misalignments early, before making irreversible cuts.
Versatility of the Technique
While this demonstration focuses on building a simple frame, the principles behind mitered half laps can be applied in a variety of projects. Cabinet doors, mirror frames, decorative panels, and even small boxes can all benefit from this strong and attractive joint.
Because the joint distributes stress over a larger surface area, it’s especially useful for larger frames where simple miter joints would be too fragile on their own.
Conclusion
Learning to make mitered half lap frames is a valuable skill for any woodworker interested in combining fine joinery with practical strength. With careful setup and attention to detail, this method results in frames that are both beautiful and built to last.
Jodee’s clear explanation and thoughtful tips make it easy to follow along and try the technique in your own shop. For a full walkthrough of the process and additional insights, be sure to check out the original video.
Support Jodee by visiting his online store here: https://inspirewoodcraft.com/collections/all.

Matt’s Take
These are my personal thoughts and tips based on my own experience in the shop. This section is not written, reviewed, or endorsed by the original creator of this project.
This is one of those joints that really shines when you need both looks and strength. I appreciate how Jodee emphasizes the setup phase — getting that blade height dialed in to exactly half your material thickness is absolutely critical. A hair too high or too low and your joints won’t sit flush, which means more sanding or shimming later.
The sacrificial fence tip is gold for these angled cuts. Tear-out on miters is particularly noticeable since those surfaces are so visible in the finished frame. I’d also add that a good crosscut blade makes a real difference here — the clean cut you get from sharp, high tooth-count blade saves time during fitting and finish work.
Safety-wise, remember that miter gauge work requires extra attention. The angled cuts can feel different from straight crosscuts, and that 45-degree setup changes how the wood wants to move through the blade. Keep steady pressure against both the fence and miter gauge, and don’t rush the feed rate. These joints are worth taking your time to get right.
The strength advantage of this joint over simple miters really can’t be overstated. When you’re making larger frames or anything that’ll see regular handling, that extra glue surface area and mechanical connection makes all the difference in longevity.