This video is by Rob from Make Things.
He walks through the hidden problems behind miter joints and shows how to make them stronger, more accurate, and longer-lasting.
Instead of focusing on gimmicks or shortcuts, Rob explains the physics and geometry behind why miters fail—and what actually works to fix them. It’s a must-watch for anyone who builds picture frames, angled boxes, or any furniture with mitered corners.
Watch the full video and subscribe to Rob’s channel:
Why Miters Look Great—But Often Fail
Miter joints are popular because they hide end grain, make grain patterns flow continuously around corners, and require only angled cuts to pull off.
For a square frame, two 45° cuts meet to form a clean 90° corner. Simple in concept—but they’re rarely as strong as they look.
Visually, miters are appealing because the grain appears uninterrupted. Structurally, they should work well too—if they’re made precisely and reinforced correctly. But most woodworkers run into problems, especially with accuracy and strength.
The Two Most Common Miter Problems
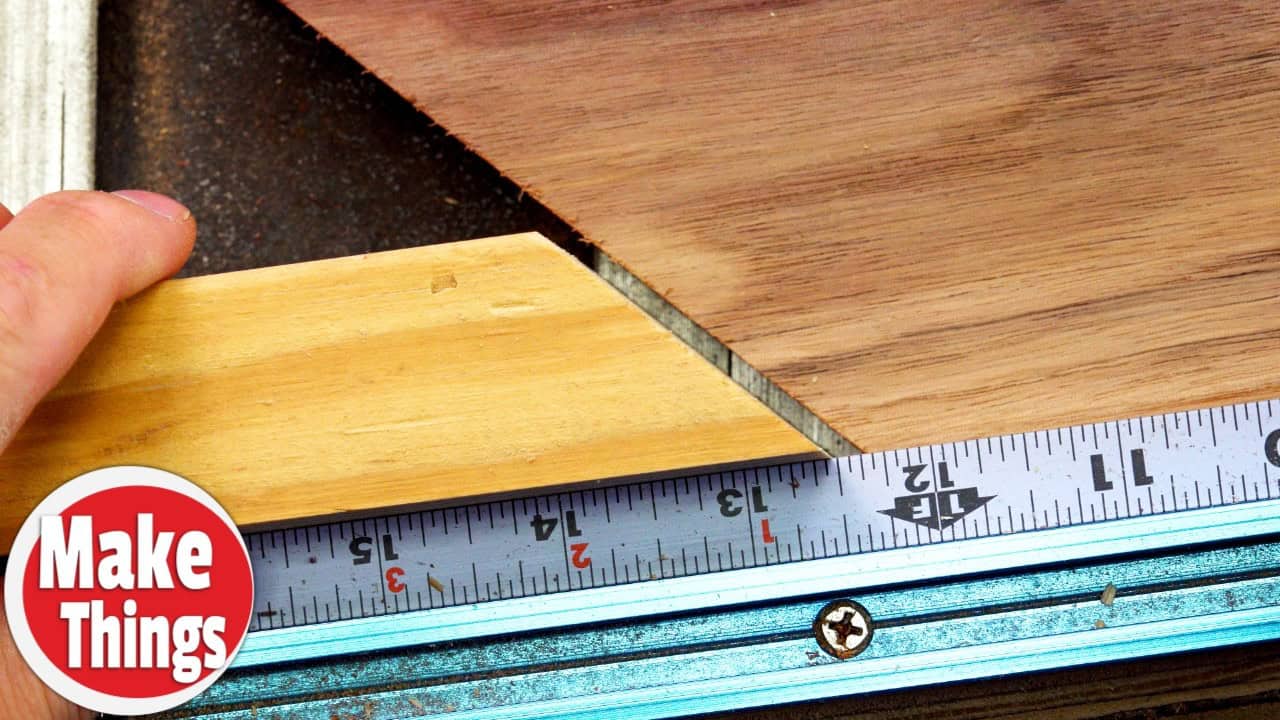
1. Poor precision:
Even a fraction of a degree off in each cut adds up. On a four-sided frame, small errors stack and create visible gaps. Sawdust-and-glue tricks may hide the issue temporarily, but finishes often reveal the flaws again.
2. Weak glue bonds:
Miters are usually end-grain-to-end-grain joints. End grain soaks up glue like a sponge, leaving little adhesive between surfaces.
This creates a fragile joint that can fail over time—especially with seasonal wood movement.
The Right Way to Prepare for Miter Cuts
Rob starts with three simple but critical steps before touching a saw:
Prepare the stock:
Your wood needs to be flat and twist-free. Slight cupping or twisting introduces errors no jig or sled can fix. Joint and plane the boards until you have square faces and edges.
Check the blade:
Your saw blade must be square to the table. Raise the blade fully and use a reliable square to verify it. Even small misalignments can throw off every angle.
Lock the cut:
If the board shifts even slightly during the cut, the angle changes. Clamp the workpiece or use a stop block to stabilize it. For awkward pieces, Rob uses a clamped sacrificial fence to hold the wood securely in place.
A Smarter Workflow That Actually Works
Once the prep is done, Rob outlines a repeatable method for making consistent, accurate miters:
- Cut all parts slightly oversized
- Route any profiles or grooves before final cuts
- Trim to final length using a stop block or angled sled
- Mark face grain and keep orientation consistent
If you try to cut to final size first and then add decorative profiles or grooves, you risk throwing off the fit at the corners. Rob always finishes the joinery work before trimming miters for final glue-up.
Strengthening the Glue Joint
Miters don’t have to be weak—if you take a couple of extra steps:
Glue sizing:
Before gluing, brush a thinned coat of glue onto the end grain and let it dry.
This fills the wood’s pores and prevents the final glue layer from disappearing into the fibers. It’s a quick step that increases glue strength and reduces failure risk.
Add splines:
Splines reinforce the joint by introducing long-grain glue surface. Rob shows two methods:
- Corner splines: After glue-up, cut a notch across each miter and insert thin hardwood strips. These are simple, strong, and can be decorative if made from contrasting wood.
- Segmented splines: Rob’s version involves cutting spline grooves into the miter face before glue-up. Short spline segments are inserted strategically, adding strength and resisting racking forces. This method offers strength and subtlety while allowing easier clamping.
Key point: the spline’s grain direction matters. Always orient the splines with long grain running parallel to the glue surface—not across it—to avoid internal stresses.
The Clamping Step Most People Skip
Once the miters are glued and aligned, the final step is clamping. Rob highlights three methods:
Tape trick:
Lay painter’s tape across the inside corners, apply glue, fold the pieces together, and let the tape act like a hinge. It helps with alignment, but doesn’t provide much pressure.
Band clamps:
These wrap around polygonal shapes and apply even pressure. They’re fast and effective when used with accurate joints.
Sliding-arm jig:
Rob built a custom jig that applies direct pressure to each miter. It’s reusable, consistent, and works for frames of different sizes. He shares plans for it in the video description.
Bonus Tips and Common Pitfalls
- Don’t trap panels in mitered frames. Leave room for seasonal expansion, or the joint will eventually crack.
- Match filler dust to the project wood if using glue-and-dust repairs.
- Cut decorative profiles before trimming miters to avoid misalignment.
- Use contrasting wood for splines if you want to make them a visual feature.
Why It Works
Rob’s method turns miters from fragile, finicky joints into strong, long-lasting ones. By focusing on fundamentals—flat stock, a square saw, secured cuts, glue sizing, and spline reinforcement—you build joints that perform as well as they look.
Miters don’t need to be avoided—they just need to be understood.
Take the time to dial in your process, and they’ll hold up to daily use, seasonal changes, and the test of time.
Support Rob by visiting his site: https://makethingswithrob.com/.

Matt’s Take
These are my personal thoughts and tips based on my own experience in the shop. This section is not written, reviewed, or endorsed by the original creator of this project.
Rob’s approach really nails the fundamentals that make or break miter joints. The glue sizing step is something every woodworker should know about — end grain is notorious for sucking up glue, and that thin first coat makes a real difference in bond strength. I’ve seen too many beautiful frames fall apart because someone skipped this simple prep step.
The spline reinforcement methods Rob shows are both solid choices. Corner splines are probably the most beginner-friendly since you can add them after assembly, and they’re forgiving if your cuts aren’t perfect. The segmented splines take more planning but offer cleaner looks if that’s what you’re after. Either way, getting that grain direction right is crucial — cross-grain splines can actually make things worse by creating internal stress points.
One thing that really stands out is Rob’s emphasis on stock preparation. You can have the fanciest miter sled in the world, but if your boards aren’t flat and square to start with, you’re fighting an uphill battle. Take the time to get your material right before you even think about cutting angles.
The clamping jigs Rob mentions are worth considering if you do a lot of frame work. Band clamps work great for occasional projects, but a dedicated miter clamping setup pays dividends when you’re doing multiple frames or need consistent pressure distribution.