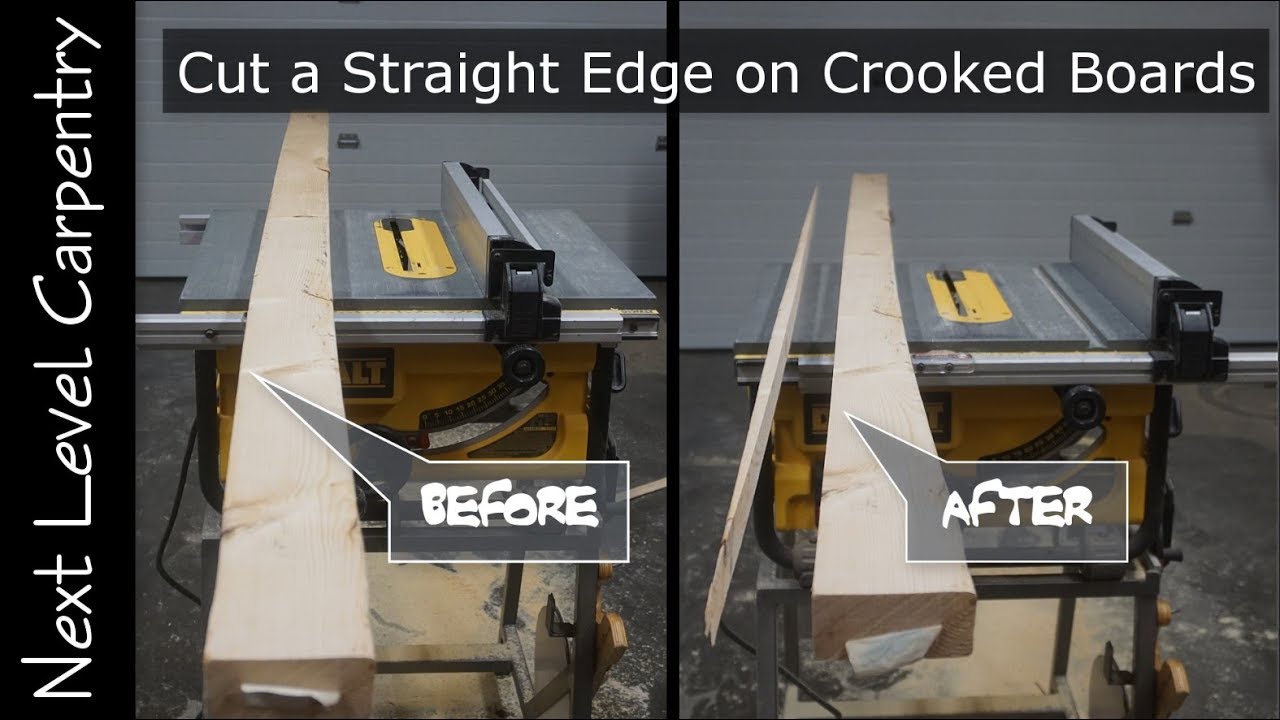
This tutorial was built and designed by Matt from Next Level Carpentry. It’s a practical guide for creating a straight edge on bowed or crooked boards using a portable table saw and a simple homemade fixture.
Crooked boards are a common challenge in woodworking and construction, especially during remodeling projects where perfect lumber is rare. Matt’s method shows how to reclaim warped boards efficiently and safely, turning them into usable material for any job.
Watch the full video and subscribe to Matt’s channel:
Why Crooked Boards Are a Problem
Lumber that isn’t perfectly straight can cause major issues in framing, cabinetry, or trim work. Twists, bows, and curves not only affect appearance but also structural integrity if left uncorrected.
Rather than discarding imperfect boards or wrestling them into projects, Matt demonstrates how to salvage these pieces with a few careful cuts. This approach saves time, money, and materials on the job site.
The First Step: Establish a Reliable Straight Edge
Before anything else, it’s crucial to establish a true straight edge to guide your cuts. Matt uses a factory edge from sheet goods like plywood or OSB, ensuring perfect straightness from the start.
Setting up the table saw properly is essential too. A sharp blade and a rip fence aligned parallel to the blade are critical for achieving an accurate and smooth cut.
Building a Simple Cutting Fixture
A reliable cutting fixture helps control the board during the cut. Matt builds his fixture from scrap plywood and dimensional lumber, creating a stable platform for guiding crooked boards through the saw.
The fixture starts with a straight-edge base. A sturdy 2×4 is attached to the plywood, providing a platform to mount a push block that drives the board forward.
Hold-down blocks are added next, spaced to accommodate the thickness of the board. These blocks hold the workpiece firmly in place, preventing movement during the cut and allowing for greater precision.
Preparing the Crooked Board
When setting up the crooked board, the bowed side should face away from the straight edge. This positioning stabilizes the board against the hold-downs and ensures the straight edge will align properly once the cut is made.
Marking the bowed side ahead of time is a good practice, especially when dealing with complex curves or S-shaped boards. Proper alignment at this stage makes a significant difference in the final result.
Setting Up and Making the Cut
The combined width of the board and fixture needs to be measured to set the rip fence accurately. Once everything is in place, the table saw blade is raised just high enough to clear the thickness of the board.
As the cut progresses, the waste side of the board shows how much material was removed to straighten it. This visual feedback helps confirm that the new edge is straight and ready for further work.
Adjustments for Severe Bows
If the board has a pronounced bow, repositioning the hold-down blocks or adjusting the fixture slightly may be necessary. The process remains the same, but additional care ensures the board stays stable and flat during cutting.
After the initial cut, Matt recommends inspecting the board for stability. Dry, seasoned wood usually holds its shape, but boards with internal stress may revert slightly. Understanding how wood behaves helps anticipate and correct for these changes.
Safety Tips for Jobsite Cutting
Working with large, heavy, or crooked boards requires extra caution. Matt emphasizes keeping the workspace clear, using roller stands for longer pieces, and always maintaining control over the workpiece during the cut.
Wearing appropriate safety gear and ensuring the saw is tuned correctly are non-negotiables. Taking these precautions reduces the risk of kickback or loss of control during operation.
Extending the Life of Your Lumber
Being able to straighten crooked boards is a valuable skill for any woodworker or carpenter. Not only does it maximize material usage, but it also expands what projects can be completed without needing perfectly milled lumber.
This technique is especially handy for renovation work, building furring strips, framing, or anywhere custom pieces are needed. By reclaiming warped boards, woodworkers save costs and reduce waste.
Final Thoughts on Straightening Boards
Matt’s straightforward method shows that even imperfect lumber can be salvaged with minimal setup. A simple fixture, attention to detail, and a properly tuned saw are all it takes to turn a bent board into a reliable building block.
Learning to straighten boards boosts confidence and versatility in the shop or on-site. It’s a fundamental skill that pays off on every project, large or small.
Watch the full video and subscribe to Matt’s channel:

Matt’s Take
These are my personal thoughts and tips based on my own experience in the shop. This section is not written, reviewed, or endorsed by the original creator of this project.
This type of fixture is a real game-changer when you’re dealing with less-than-perfect lumber. I’ve found that having a dedicated jig like this saves so much time and frustration compared to trying to wrestle crooked boards through cuts freehand. The key insight here is that you’re essentially creating a temporary reference surface that travels with your workpiece.
One thing I always emphasize in my shop is taking time to really dial in that rip fence parallel to the blade. Even a tiny bit of drift can compound when you’re cutting long boards, and with crooked stock, you need every advantage you can get. A good combo square or dedicated fence alignment jig makes this setup much more reliable.
Safety-wise, this approach is much smarter than trying to force a bowed board against a fence without proper support. Those hold-down blocks are doing serious work to prevent the board from shifting mid-cut. I’d add that having a good push stick ready and keeping your hands well clear of the blade path becomes even more critical when working with unpredictable stock like this.
The material savings alone make this technique worth mastering. Whether you’re dealing with budget lumber or salvaged boards, being able to straighten edges opens up so many more possibilities for your projects.
Comments are closed.