This tip was shared by Jodee from Inspire Woodcraft. It walks through simple, effective methods for checking whether your layout tools are truly square—no fancy instruments required.
Instead of relying on complicated setups or digital gadgets, Jodee demonstrates how to use basic shop tools to verify both the inside and outside angles of your squares. These techniques help ensure better accuracy without overwhelming new woodworkers with unnecessary precision requirements.
Watch the full video and subscribe to Jodee’s channel:
Why Squareness Matters in Woodworking
In woodworking, a square tool means a true 90-degree angle between two surfaces. That might sound simple, but even a slight deviation can lead to compounding errors across cuts, joints, or assemblies.
Jodee explains that you don’t always need perfection—you need tools that are square enough for the project at hand. That’s where understanding tolerances becomes just as important as understanding your measuring tools.
Getting Started with a Reference Edge
To begin any square check, you need a known flat edge. Jodee recommends using a piece of hardwood—maple is his go-to—that’s been jointed or surfaced to remove any twist or bow.
This flat edge becomes the baseline for comparing your layout squares. You’ll use it throughout the process to test whether your tools align properly and reveal any out-of-square conditions.
Tools You’ll Need
You won’t need any expensive gadgets to perform this check. Jodee’s process relies on:
- A trusted square (like the Woodpeckers 6″ Carpenter’s Square)
- A marking knife or sharp pencil
- A flat reference edge
- Optional: feeler gauges and a control square
He points out that the quality of your square matters. If your reference square is off, you’ll just be checking one error against another.
How to Check the Inside of a Square
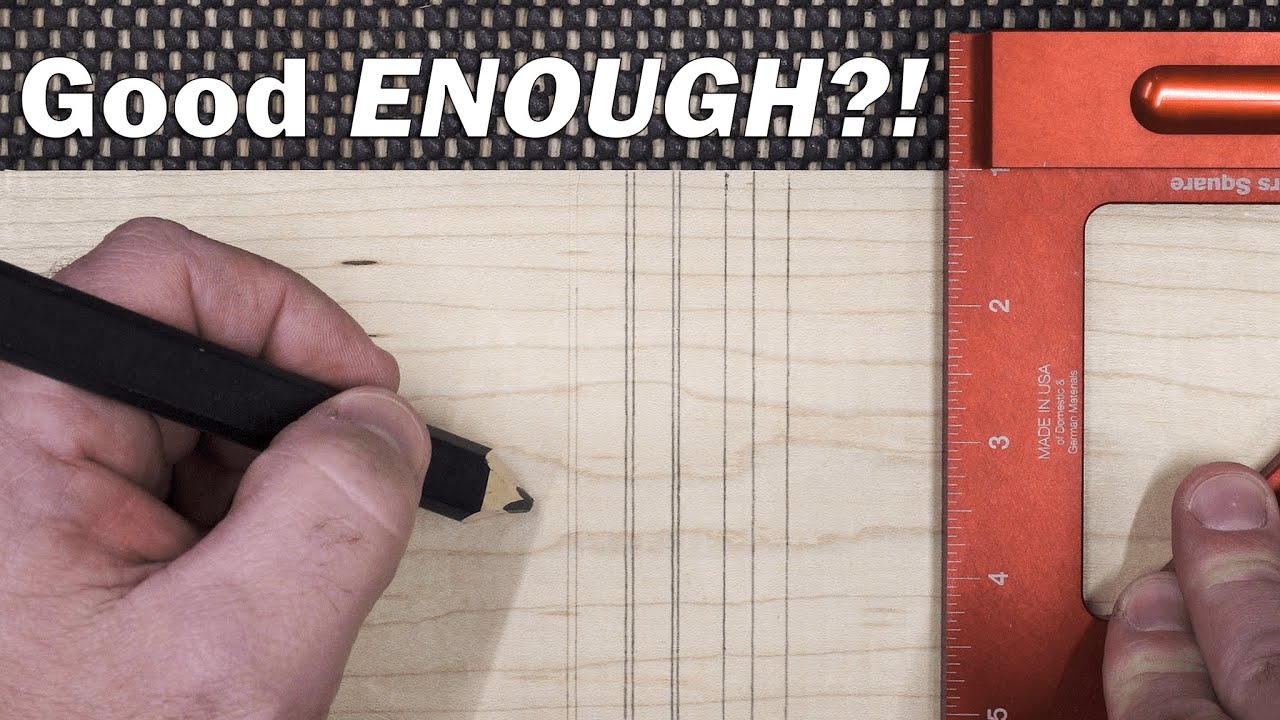
To check the inside of a square, Jodee uses a marking knife for better precision. A pencil works too, but the lines can be too thick to detect small differences.
Here’s how he does it:
- Place the square against the flat reference edge.
- Use the marking knife to scribe a line along the inside edge.
- Flip the square over and mark another line from the same edge.
- If the square is accurate, the two lines will overlap exactly. If not, you’ll see the difference immediately.
Jodee also recommends sharpening a pencil to a chisel tip for a finer line, which gives you a better visual comparison than a rounded tip. The goal is to make both lines consistent and repeatable.
How to Check the Outside of a Square
For the outside check, Jodee clamps a straight board into a vise to act as a reference edge. He then presses the square’s outside corner against it and looks for any gaps.
The “light test” is a fast method—if you see light between the square and the edge, it’s not true. But Jodee warns that this can be overly sensitive and sometimes exaggerate the issue.
To be more precise, he uses feeler gauges to measure any visible gap. This method lets you quantify just how far out of square the tool is.
What If Your Square Isn’t Perfect?
Jodee’s approach emphasizes practicality. If your square is slightly off, ask whether the inaccuracy will truly impact your project.
For rough framing or outdoor builds, a small variance might not matter. But for joinery, cabinetry, or tight-fitting miters, that same error can cause big problems. Understanding your project’s tolerance helps you decide whether a tool needs adjustment or replacement.
Can You Fix an Out-of-Square Tool?
Some tools can be tuned. Combination squares, for example, often go out of square over time but can usually be adjusted.
Jodee has shared separate tutorials on how to bring combination squares back into alignment. These adjustments typically involve fine-tuning the registration between the head and the blade, which can be done at the bench with hand tools.
Maintaining Tool Accuracy Over Time
Even high-quality layout tools should be checked periodically. Drops, temperature changes, or simple wear and tear can throw off calibration without you noticing.
By incorporating Jodee’s testing method into your regular shop routine, you’ll catch issues early and avoid surprises during your builds. A simple check now can save hours of fixing later.
Know What’s “Square Enough”
Ultimately, the best approach to squareness in woodworking is one based on context. Jodee encourages woodworkers to aim for consistency and functionality, not perfection for its own sake.
By using clear visual comparisons, feeler gauges, and trusted reference edges, you can keep your tools accurate enough for the work you actually do—without overcomplicating the process.
Support Jodee by visiting his online store here: https://inspirewoodcraft.com/collections/all.

Matt’s Take
These are my personal thoughts and tips based on my own experience in the shop. This section is not written, reviewed, or endorsed by the original creator of this project.
Tool accuracy is one of those shop fundamentals that can make or break a project before you even start cutting. I’ve found that checking squares regularly saves me from chasing problems later – there’s nothing quite like discovering your square is off after you’ve already cut half your joinery. The marking knife method Jodee shows really is superior to pencil lines when you need to see small discrepancies clearly.
The “square enough” concept hits home for me. A few thousandths might not matter for a garden planter, but that same error will show up badly in face frame joints or drawer boxes. I keep a couple different squares around – my everyday beater for rough work and a precision square that stays protected for critical layout work. It’s worth investing in at least one really good square and protecting it.
One thing I’ve learned over the years is that even expensive squares can drift out of true from shop conditions or just normal wear. Temperature swings in the shop, accidentally dropping tools, or even over-tightening clamps can throw things off. Making this kind of check part of your regular shop routine – maybe when you’re setting up for a new project – catches problems early and keeps your work consistent.