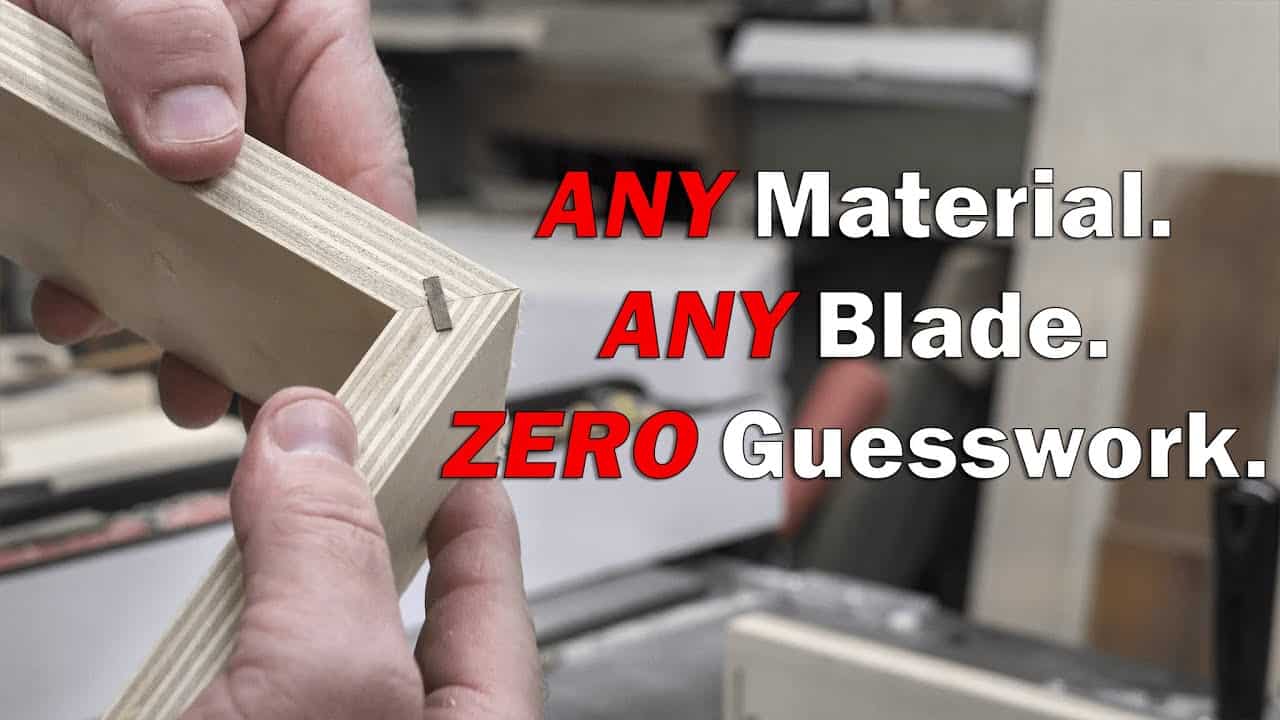
Jodee from Inspire Woodcraft shared the woodworking tip featured in this video.
This video demonstrates a repeatable table saw setup for cutting hidden internal splines that strengthen mitered corners while keeping the outside surface clean and uninterrupted.
Watch the full video and subscribe to Inspire Woodcraft:
Why use internal splines?
Internal splines provide reinforcement to mitered corners without exposing a visible spline on the outside face, preserving a clean aesthetic. They combine the benefits of increased glue surface and mechanical strength while remaining hidden after assembly.
Design and strength considerations
Splines can be decorative or purely structural, but grain orientation matters for strength: a spline with grain running across the corner (short grain) resists breakage better than one aligned with the corner.
Jodee notes that keeping the spline long in the joint but orienting the grain to resist tear-out produces a much tougher connection.
Setup: blade, workpiece orientation, and repeatability
The method relies on registering against known points rather than guessing — the blade tilts to 45 degrees and the miter gauge is set square at 90 degrees so the cuts are consistent.
Workpiece flatness matters too; placing bowed plywood with the belly down minimizes flex and keeps angles accurate during the cut.
Finding the center and registering the blade
A small setup block is the key to consistency: one piece is cut twice to find the exact center of the material thickness, which becomes the reference regardless of whether the stock is half-inch, three-quarter, or plywood.
This double-cut approach guarantees that the resulting spline slot will always be centered from inside to outside across different material thicknesses.
Jodee also recommends using a flat-grind blade tooth as a registration point and setting blade height so a chosen tooth barely contacts the setup block at the top of its rotation. By registering the setup block against the inside-facing tooth on the arbor and locking the fence to that position, the system stays consistent whether using a thin-kerf or full-kerf blade.
Cutting the grooves and handling narrow parts
Pieces are cut one groove, flipped, and cut the opposing groove so the spline slot forms inside the mitered faces; the last piece is cut twice to create the setup reference.
For wider boards a simple fence hold-down works, and for narrow parts an auxiliary fence on the miter gauge or a push block ensures safe, repeatable passes.
Adjusting spline width and maintaining consistency
The distance from the fence stays the same for consistency, but the slot width can be changed by raising the blade slightly to widen the cut if a larger spline is desired.
Because the technique registers off the blade tooth and the setup block center, the relationship between inside corner, spline, and outside corner remains visually balanced across different stocks.
Assembly and finishing notes
After cutting, use appropriately sized spline stock, glue the spline into the internal slot, and assemble the mitered faces; the spline will be hidden once glued and finished.
The method allows for a flush, clean exterior while the internal reinforcement improves joint strength without altering the outside appearance.
Why this method is useful
This approach removes much of the trial-and-error normally involved in internal spline work by providing fixed references that work with any material thickness and blade type.
It’s a practical, adaptable technique for anyone looking to strengthen miters reliably while keeping the outside edge pristine.
Support Jodee by visiting his online store here: https://inspirewoodcraft.com/collections/all.
