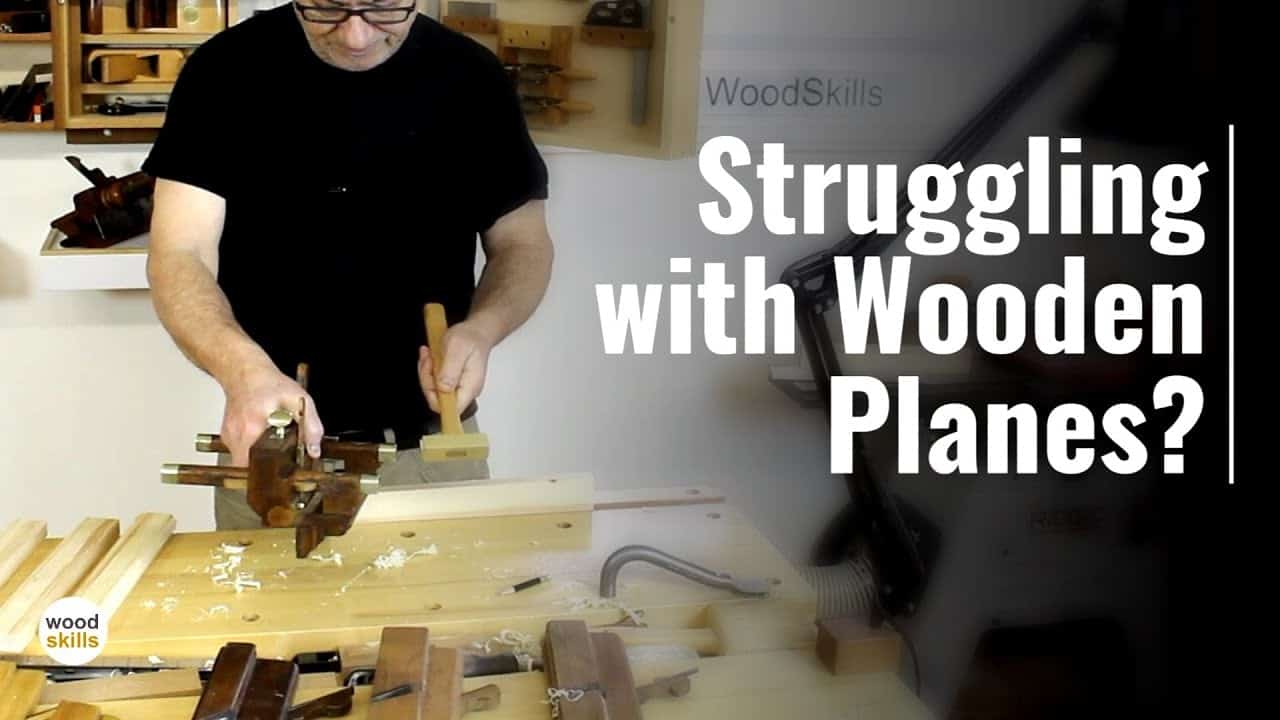
Norman Pirollo from WoodSkills shared the woodworking tip featured in this video.
Norman demonstrates straightforward techniques to set the blade and fence on wooden hand planes so they cut smoothly, track predictably, and produce clean rabbets and grooves.
Watch the full video and subscribe to WoodSkills:
Overview
Wooden planes rely on a few simple mechanical elements: the iron (blade), a wedge that secures it, a fence for offset, and a depth stop.
Norman focuses on practical setup techniques that work across plow planes, sash fillisters, and other wooden-bodied planes.
Rather than complicated adjustments, the approach emphasizes using a plane hammer to nudge parts, setting the fence so it runs parallel, and dialing blade depth by light taps and small adjustments.
Tools and Technique
The primary tool for adjustments is a plane hammer that has a brass head with a wooden insert to protect both wood and steel.
The brass strikes the steel parts safely while the wooden insert protects the plane body from mushrooming or dents.
Norman uses gentle inertia and controlled taps: heel taps to loosen, toe taps to advance, and direct taps to the iron if the exposed steel is short from repeated sharpening. Light taps keep the tool long-lived and adjustment predictable.
Setting the Fence
Fence setup begins with loosening the wedges and dialing the fence offset by eye, then locking the posts with light taps so the fence sits parallel to the plane body.
Pay attention to the particular plane type: some planes deliver wider rabbets as the fence moves closer to the body and others behave oppositely, so a quick test or eyeball check prevents surprises.
The fence should be held firmly against the workpiece during planing and the plane must be kept vertical so the cut runs true. After finalizing the offset, lock the wedges with light taps to maintain the setting during use.
Adjusting the Blade
Blade depth is adjusted by advancing or retracting the iron-wedge assembly with the hammer: tap the toe or top to move the iron forward, and tap the heel to allow inertia to release and let the blade retract.
If those taps don’t move a short iron, tapping the iron directly will advance it.
Start with the iron slightly above the sole so it won’t cut, then progressively advance until the plane takes a comfortable shaving.
Lock the wedge lightly once the desired cut is achieved to keep the setting stable.
Working the Rabbet
When cutting a rabbet, set the fence to the desired offset and work with the grain direction to minimize tearout.
Use thin, continuous shavings where possible; they clear the mouth better and make the cut easier to control.
Remove shavings from the escapement frequently so the mouth doesn’t clog, and use the plane’s depth stop for repeatable depths; the brass depth stop is adjusted with its screw to set a consistent limit for successive passes.
Tips and Troubleshooting
- Always use light taps when adjusting wedges, fence posts, or the iron to avoid damaging wood or steel.
- Keep the plane vertical and the fence snug to the workpiece for straight, repeatable cuts.
- Clear shavings often; clogged mouths cause chatter and inconsistent cuts.
- If the iron is short from sharpening, advance it by tapping the iron itself rather than forcing heavy blows on the plane body.
Why This Matters
Small, deliberate adjustments turn a finicky wooden plane into a predictable, accurate tool that makes woodworking faster and more enjoyable.
These basic setup skills are applicable to many wooden planes and pay dividends across molding, glazing rabbets, and general joinery work.
Norman’s approach favors minimal, careful intervention over complex mechanisms, which keeps wooden planes simple to maintain and reliable in the shop.
Watch the full video and subscribe to WoodSkills:

Matt’s Take
These are my personal thoughts and tips based on my own experience in the shop. This section is not written, reviewed, or endorsed by the original creator of this project.
There’s something satisfying about getting a wooden plane dialed in just right. Norman’s emphasis on light taps with the plane hammer really resonates — I’ve seen too many woodworkers get heavy-handed and either mushroom the plane body or knock their blade so far out of whack they have to start over. That brass head with the wooden insert is clutch for protecting both the steel and wooden components.
The fence setup process Norman shows is especially critical for consistent results. I always do that quick test cut on a scrap piece before committing to the real workpiece, because as he mentions, different plane designs behave differently as you adjust the fence offset. It’s one of those things that seems obvious once you know it, but can catch you off guard the first few times.
One thing I’ve found helpful is keeping a dedicated workspace setup for plane tuning — good lighting, a solid surface, and your plane hammer within easy reach. When you’re making those fine adjustments to blade depth, having everything at the right height and well-lit makes all the difference. The muscle memory for those light taps develops over time, and eventually you’ll be able to dial in depth settings almost by feel.