Jodee from Inspire Woodcraft shared the woodworking tip featured in this video.
The video walks through three practical ways to rip and crosscut thin material on a table saw without letting the stock sneak under the fence and create a dangerous or inaccurate cut. It focuses on simple shop solutions that protect the workpiece and hands while keeping waste to a minimum.
Watch the full video and subscribe to Jodee’s channel:
Why thin stock is tricky
Thin sheets and narrow strips can flex and slip underneath the gap where the fence floats above the table, which often leads to binding or an angled cut. This tendency is compounded when the fence-to-table gap is uneven or when multiple panels are not perfectly aligned.
Left unchecked, those problems cause tear-out, imperfect edges, and, most importantly, create safety hazards as stock can kick back or pull the operator’s hands toward the blade. Understanding the failure mode is the first step to picking an appropriate fix for the job at hand.
Method 1: Fence block support
The first approach borrows a simple trick from plastic fabrication: place a small block under the workpiece at the fence so the thin sheet rests on the block instead of falling into the fence gap. The block keeps the thin material supported and uses the feed momentum to hold the piece down against the table and fence.
This method works best for wider thin sheets where the block can reliably catch the stock before it slips under the fence. It’s a low-tech, fast option, but it can cause the cut to follow a slight angle if the sheet doesn’t fully relax flat against the table as it feeds.
Method 2: Double-sided tape and a false fence face
A versatile option is to build a false face on the fence using a thin strip of plywood or similar material and stick it to the fence with double-sided tape. Adding a thin spacer—like a business card—between the false face and the table prevents the face from dragging on adjacent panels while still closing the fence gap where the thin stock might slip through.
This creates a continuous contact surface so narrow strips cannot wedge under the fence, and it’s easily removable when finished. It’s a great shop hack when working with varying widths of thin stock and when a semi-permanent setup on the fence is acceptable.
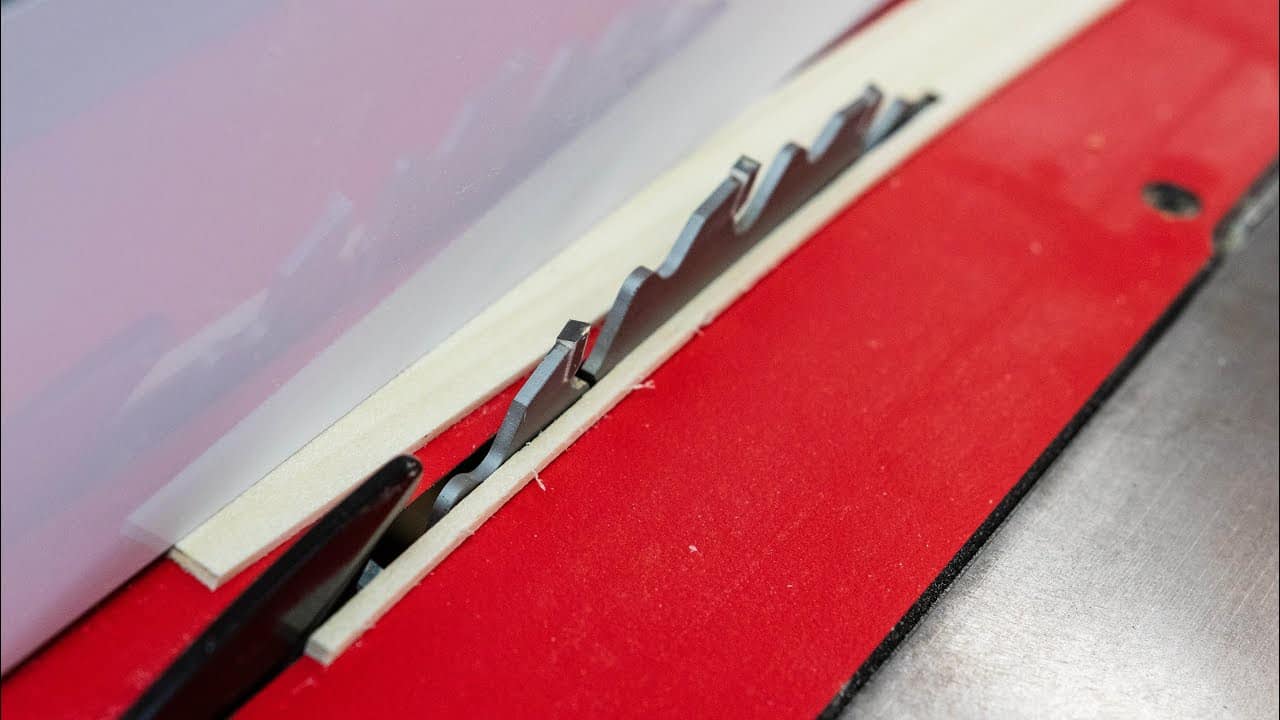
Method 3: Zero-clearance insert with tape
For a more secure solution, the video demonstrates creating a zero-clearance insert by setting the fence-to-blade spacing to the desired thickness, cutting a slot in a scrap insert, and then adhering that insert in place with double-sided tape. This seals the gap at the table level so thin pieces have no path to slip under the fence.
A zero-clearance approach yields very accurate, repeatable cuts and keeps the entire cutline supported right up to the blade. It’s particularly useful when multiple identical strips are needed and when minimizing cleanup and planing is important.
Push blocks and safe feeding
Regardless of the chosen method, a dedicated push block or straddling push device is recommended to keep hands well away from the blade while pushing thin pieces through the cut. These push tools are designed to apply even downward and forward pressure without slipping, improving both safety and cut quality.
Using the right push device also helps avoid damaging general-purpose push sticks when trying to manage narrow stock. It reduces the temptation to feed pieces too close to the blade with a bare hand, which is a common cause of accidents.
Choosing the right method for the job
Selecting between a fence block, a false fence face with tape, or a zero-clearance insert depends on the workpiece size, how many strips are needed, and how much setup time is acceptable. The fence-block trick is quick for wide sheets, double-sided tape is flexible for variable cuts, and a zero-clearance insert is best for repeatable, neat results.
The video also notes that the “textbook” solution might be to mill the stock to final thickness first, but the techniques shown are useful when that isn’t practical or would waste material. Each approach can be adapted to different shop setups and materials with only basic tools and supplies.
Why these tips matter
Managing thin stock correctly improves both accuracy and safety, and the three approaches shown offer trade-offs between speed, setup, and final finish. Woodworkers can adapt these methods to their workflow to reduce tear-out, avoid angled cuts, and protect their hands.
Support Jodee by visiting his online store here: https://inspirewoodcraft.com/collections/all.

Matt’s Take
These are my personal thoughts and tips based on my own experience in the shop. This section is not written, reviewed, or endorsed by the original creator of this project.
Working with thin material on the table saw is one of those situations where a small problem can turn dangerous quickly. That gap between the fence and table becomes a real hazard when thin stock decides to take a dive underneath — suddenly you’re dealing with binding, kickback, or worse. These three approaches give you solid options depending on what you’re cutting and how much setup time you want to invest.
I’m particularly fond of the zero-clearance insert method when I need to rip multiple identical strips. It takes a few extra minutes to set up, but the accuracy and repeatability are hard to beat. The false fence face with double-sided tape is brilliant for those jobs where you’re dealing with varying widths — much more flexible than committing to a permanent fixture. And that fence block trick is perfect when you just need to make one quick cut on a wider piece.
The push block advice can’t be emphasized enough. Thin stock has a way of making you think you can just guide it through with your hands, but that’s exactly when accidents happen. A good push block or straddling device keeps consistent pressure on the workpiece and your fingers away from trouble. It’s worth having a dedicated thin-stock push device in your arsenal — something that won’t get chewed up if it kisses the blade.
These methods also highlight why it’s worth understanding your fence setup. Some aftermarket fences have adjustable bottom clearances, which can help with this issue long-term. But regardless of your fence, having a few go-to techniques like these in your back pocket makes thin stock work much less stressful.