Jodee from Inspire Woodcraft demonstrated the test featured in this video.
The video walks through a low-cost scary sharp sharpening kit built on adhesive lapping film applied to a single sheet of glass and shows how to take chisels to a razor edge without expensive stones.
Jodee compares the kit to higher-end diamond stones and highlights finishing techniques that keep chisels working between full sharpenings.
Watch the full video and subscribe to Inspire Woodcraft:
Overview
The demonstration shows a budget sharpening setup that uses one sheet of float glass, adhesive-backed lapping film, and a thin foam underlay for stability and traction.
Jodee explains how this approach delivers sharp, functional chisels for a small outlay compared with premium diamond stones.
Materials and Setup
The kit centers on adhesive lapping film cut into strips and adhered to glass, with a rubber-like shelf liner under the glass to prevent slipping and damp vibration.
Jodee points out practical setup tips like labeling each strip with a marker, testing adhesive adherence, and choosing a consistent lubricant to avoid undermining the film.
Sharpening Process
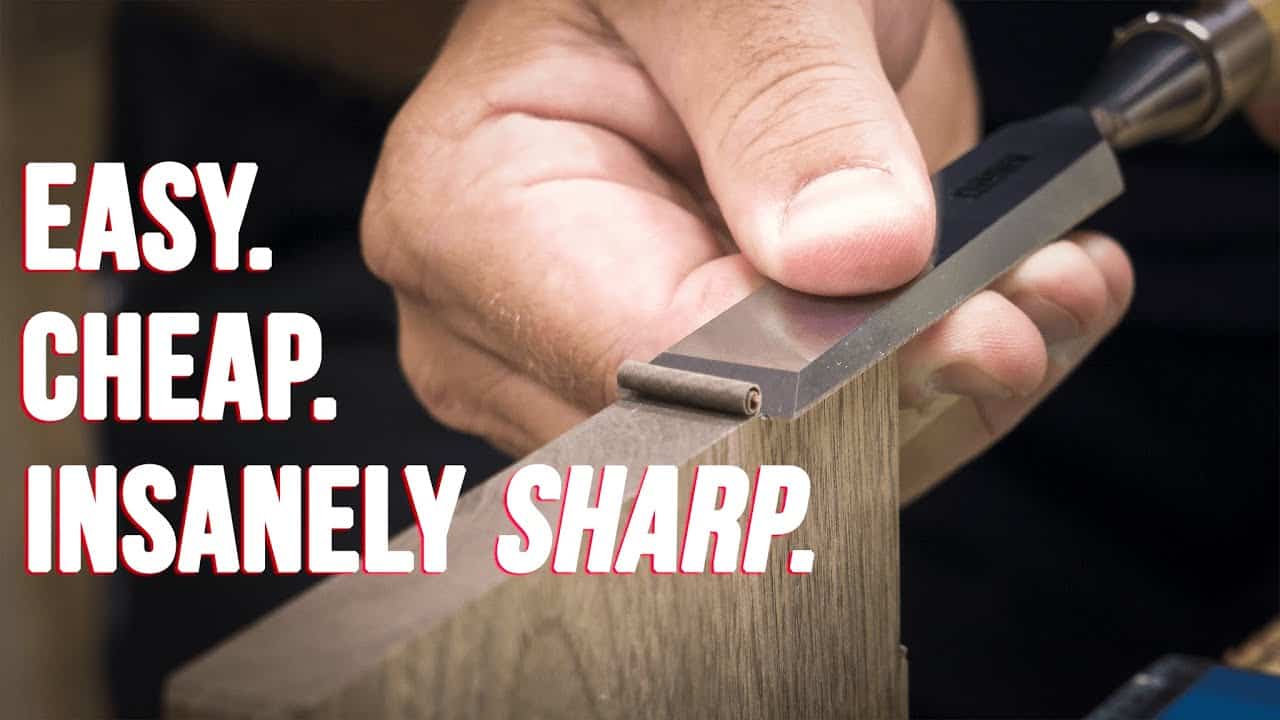
The workflow moves from coarse to fine abrasives to establish and refine a secondary bevel, and the technique supports both push and pull strokes depending on preference. Jodee demonstrates removing the micro burr by laying the chisel flat and pulling across the finest film, then tests edge quality with an end-grain shave to verify results.
Maintenance and Longevity
Rather than returning to the sharpening station for every touch-up, Jodee recommends pairing the initial sharpening with a leather strop to quickly refresh the edge during work. Film longevity varies with usage and steel hardness, but cutting the film into replaceable strips makes replenishing the kit straightforward when wear occurs.
Comparisons and Trade-offs
The video contrasts the low upfront cost of the film-and-glass system with the durability and speed of diamond stones, noting that harder steels take longer to abrade but hold an edge longer.
Jodee emphasizes that choice depends on use case: occasional users will find the budget kit very appealing, while heavy users or those working with very hard steels might prefer higher-end stones.
Tips and Adaptations
Practical touches in the demo include cutting the lapping film into narrow strips for chisels, marking grits with a permanent marker, and using a consistent lubricant to keep the adhesive reliable. Jodee also notes that coarser film options exist for heavier material removal and that a simple honing guide is optional rather than required.
Why This Method Matters
The approach makes sharpening accessible to woodworkers who want excellent edges without a large investment, and it pairs well with a strop for maintenance between sessions.
Jodee’s method lets makers get back to work quickly while still producing razor-sharp chisels suitable for clean cuts and controlled work.
Support Jodee by visiting his online store here: https://inspirewoodcraft.com/collections/all.

Matt’s Take
These are my personal thoughts and tips based on my own experience in the shop. This section is not written, reviewed, or endorsed by the original creator of this project.
The scary sharp method has been a game-changer for woodworkers on a budget, and Jodee’s setup here really nails the fundamentals. That shelf liner underneath the glass is such a smart touch — nothing kills your sharpening momentum like chasing a sliding piece of glass around your bench. I’ve found that getting the glass perfectly clean before applying the film makes a huge difference in how well it adheres and how long it lasts.
One thing I really appreciate about this approach is how it demystifies sharpening for beginners. You don’t need to understand the nuances of different stone types or worry about flattening — just work through the grits methodically. The key is maintaining consistent pressure and angle, which becomes second nature with practice. That end-grain shaving test Jodee shows is the real deal — if your chisel can cleanly shave end grain without tearing, you know you’ve got a proper edge.
The strop maintenance strategy is spot-on too. A leather strop with some polishing compound can keep those edges singing between full sharpenings. I keep mine right at the bench so there’s no excuse not to give chisels a few quick passes when they start feeling dull. For $25, this setup will serve most woodworkers incredibly well, especially when you’re starting out and still figuring out your sharpening preferences.