Jodee from Inspire Woodcraft shared the woodworking tip featured in this video.
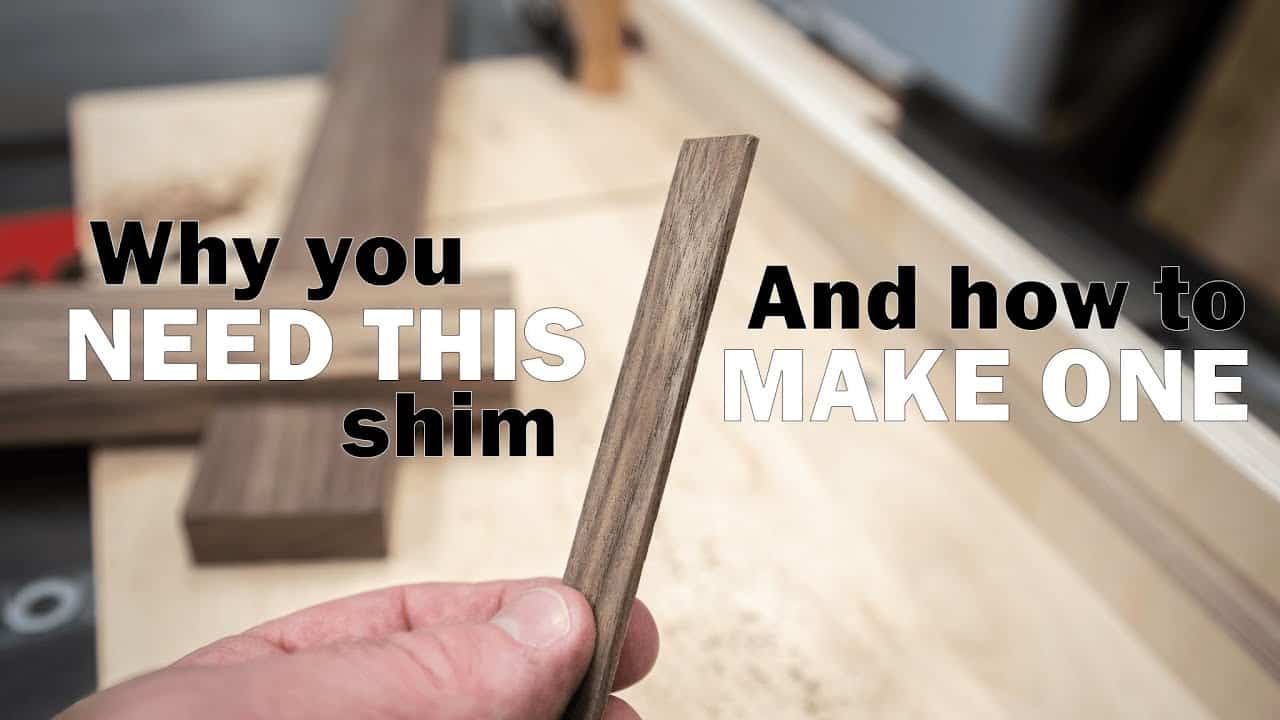
The video explains a simple method to make shims that match the exact thickness of a table saw blade so the user can offset cuts without measuring.
The technique is useful for perfect half-lap joints and for cutting splines for mitered corners, and it relies on using the blade itself as the reference rather than calipers or gauges.
Watch the full video and subscribe to Inspire Woodcraft:
Why a blade-width shim?
A blade-width shim provides an exact, repeatable offset equal to the kerf of the blade so the user can account for material removed by the saw.
This removes guesswork and eliminates the need to measure tiny differences that are hard to reproduce accurately by eye.
Preparing materials and setup
Jodee recommends using hardwood for stability and ripping a couple of strips to work from so the fence position can remain unchanged during the process. The method relies on holding two pieces together while making key cuts so the blade’s kerf becomes the template.
How the shim is made
The process uses the saw blade itself as the reference: cuts are made with paired pieces so that when they are reassembled the gap left by the blade becomes a matching shim.
Jodee demonstrates the concept on scrap and then tests the fit by making a half-lap joint to verify the shim matches the kerf perfectly.
Using the shim for joinery and splines
Once made, the shim is placed where an offset equal to the blade thickness is required, allowing precise half-laps or evenly spaced spline slots without measuring. The same idea translates to cutting splines for mitered corners or any application that needs a blade-width separation.
Practical tips and variations
Match the shim type to the blade: use a thin-kerf shim for thin blades and a full-kerf shim for standard blades to ensure consistent results.
Always test on scrap first and adjust technique for your blade profile, and expect to see these shims used in future projects for quick, reliable offsets.
Why this tip matters
Making a shim from the blade kerf turns an awkward measurement task into a simple, repeatable shop trick that improves accuracy and speeds up setup.
Jodee’s approach emphasizes using existing references in the shop rather than relying on precision gauges for every small adjustment.
Support Jodee by visiting his online store here: https://inspirewoodcraft.com/collections/all.

Matt’s Take
These are my personal thoughts and tips based on my own experience in the shop. This section is not written, reviewed, or endorsed by the original creator of this project.
This is one of those brilliant shop tricks that makes you wonder why you didn’t think of it sooner. The beauty is in using the blade itself as the reference — no calipers, no measuring, just the actual kerf width you’re working with. I keep a few of these shims around the shop because they’re so handy for quick setups.
Safety-wise, remember that paired cuts like this require steady hands and good stock control. Keep both pieces firmly against the fence and use push sticks when your hands get close to the blade. If the pieces shift during the cut, your shim won’t be accurate.
One thing I’ve found helpful is making these shims from the same wood species you’re working with for your project. Different woods compress differently against the fence, and matching the material can give you slightly better consistency. Also, label your shims if you use different blades — a thin-kerf shim won’t work with a full-kerf blade, and mixing them up can throw off your joinery.
This technique really shines for production work where you’re making multiple identical cuts. Instead of measuring and remeasuring, you just drop in the shim and go. It’s the kind of simple solution that makes woodworking more enjoyable and less fussy.