This video is by Izzy Swan.
It focuses on a clever upgrade that makes adjusting the tilt on a table saw easier, safer, and more ergonomic—especially for woodworkers who want smoother control or have limited mobility.
The modification uses standard woodworking tools and materials while incorporating mechanical components that drastically improve how the saw’s blade angle is adjusted.
It’s an approachable project with a big impact on daily shop use.
Watch the full video and subscribe to Izzy’s channel:
Why the Tilt Adjustment Needs Help
On many table saws, the blade tilt control is tucked low on the side of the machine. It’s awkward to reach, often requiring the user to bend or twist into uncomfortable positions to change the blade angle.
For woodworkers with back issues or limited mobility, this can become more than just a minor inconvenience—it can reduce precision or even discourage tilt adjustments altogether.
Izzy set out to solve this problem with a smart solution that places the adjustment in a more accessible position.
Materials and Design
Izzy uses high-density polyethylene (HDPE) for the custom components of the upgrade.
This material is strong, slick, and easy to machine using common shop tools. It’s also widely available from sign suppliers or plastic distributors.
Because HDPE won’t dull blades quickly, it’s an excellent choice for shop projects where plastic components are needed. The surface also has a professional appearance, making the final installation look clean and intentional.
Building the Custom Control Ring
The first component in this upgrade is a large ring that fits over the tilt wheel on the side of the table saw.
This ring is designed to interface with the existing mechanism while making it easier to grip and adjust.
A dome-shaped surface is added to improve hand clearance and access. This feature allows for quick loosening or tightening during tilt adjustments, even if your saw is positioned against a wall or inside a cabinet.
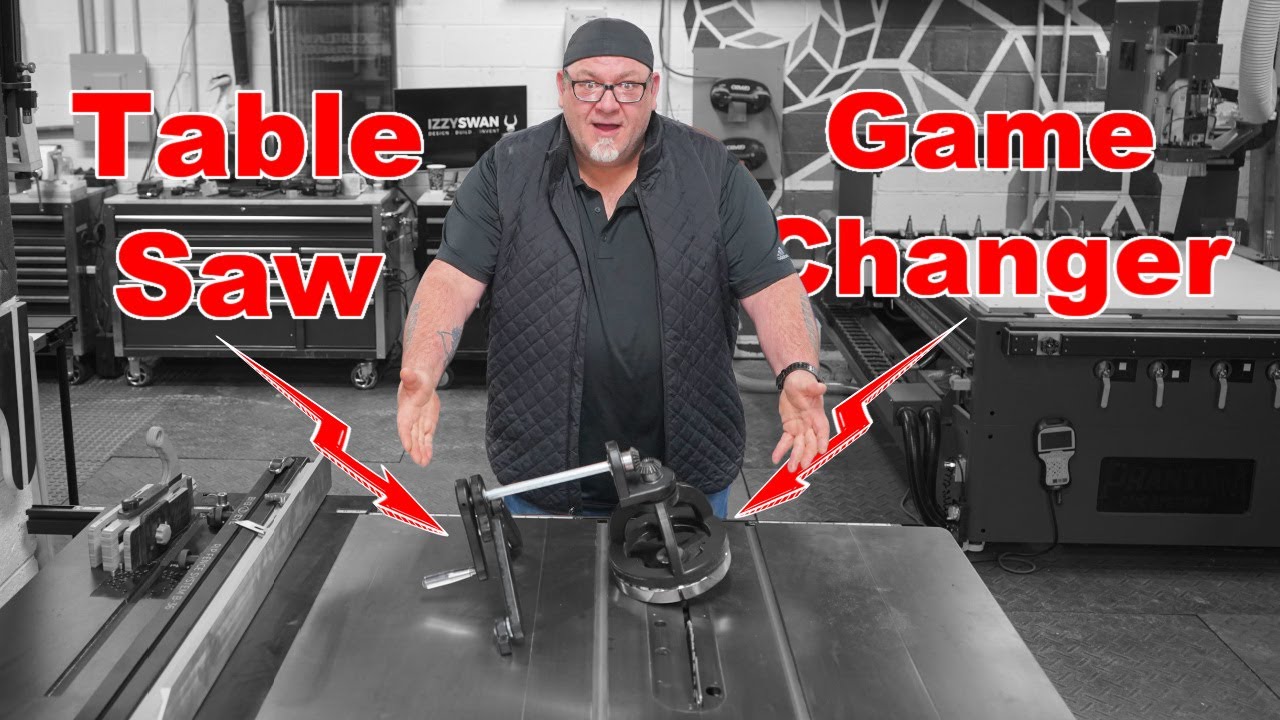
Adding the Drive Mechanism
To transfer motion from a more convenient location, Izzy installs a drive rod linked to a right-angle gear assembly.
This type of gear allows movement to be redirected 90 degrees, placing the adjustment handle in a more user-friendly position.
The drive rod and gears are held in place with an L-bracket and supported by bearings. These parts provide the necessary stability and reduce resistance while turning, making the adjustment feel smooth and controlled.
Marking and Drilling with Accuracy
Precision is important throughout this build, particularly when mounting the bracket and gear assembly.
Izzy marks each screw location carefully and uses a drill press to maintain alignment.
A misaligned component can cause binding in the gear mechanism, so this part of the process is worth taking slowly. Once the components are test-fitted and spin freely, it’s time for final assembly.
Positioning the Adjustment Handle
A key goal of this modification is improving user comfort.
Izzy installs the adjustment handle in a spot that’s easy to reach—usually closer to the front of the saw, depending on the model.
This small change eliminates the need to crouch or reach awkwardly under the table. For anyone spending long hours at the saw, it makes blade angle adjustments faster and more consistent.
Final Testing and Fine-Tuning
Once assembled, the system is tested to ensure smooth operation.
The handle turns the tilt wheel cleanly through the gear and rod system, and minor adjustments to screw tension or alignment may be needed to fine-tune the feel.
The upgrade also improves precision by allowing for controlled, micro-adjustments instead of clunky or rushed turns. This results in more accurate bevel cuts and better quality joinery overall.
A Practical Solution for Every Shop
This tilt adjustment upgrade doesn’t rely on expensive tools or hard-to-source parts. Most of it can be built with basic shop gear, and the right-angle gear components are available from many online suppliers.
Izzy’s design can be adapted to different saw models depending on layout. Whether your tilt wheel is left-side mounted, recessed, or flush with the cabinet, the system can be tailored to match.
Everyday Usability Improvements
For woodworkers with mobility limitations, this upgrade makes saw operation more enjoyable.
Even for those without physical challenges, the convenience and precision it adds make it well worth the time to build.
Rather than feeling like a workaround, it integrates smoothly with the table saw and improves the overall user experience.
It’s one of those upgrades that feels like it should have come standard.
Please support Izzy by visiting his website: https://www.izzyswan.com/.

Matt’s Take
These are my personal thoughts and tips based on my own experience in the shop. This section is not written, reviewed, or endorsed by the original creator of this project.
This kind of ergonomic upgrade really highlights how much small improvements can transform your shop experience. The beauty of Izzy’s approach is that it tackles a problem most of us just accept as “part of using a table saw.” I’ve definitely found myself in those awkward positions trying to adjust blade tilt, especially when the saw is tucked into a cabinet or against a wall.
HDPE is a smart material choice here. It machines beautifully on standard woodworking tools without dulling your bits, and the self-lubricating properties mean the moving parts will stay smooth over time. If you can’t source HDPE locally, check with sign shops or plastic fabricators—they often have offcuts that work perfectly for shop projects like this.
The right-angle gear approach is clever because it keeps the mechanical advantage of the original tilt mechanism while relocating the control point. When drilling for the mounting hardware, taking extra time with layout really pays off. Any binding in the gear train will make the whole system frustrating to use, so test-fit everything before final assembly.
This is the kind of modification that seems optional until you try it—then you wonder how you worked without it. The improved precision alone makes it worthwhile, but the ergonomic benefits are what really sell it for daily shop use.