

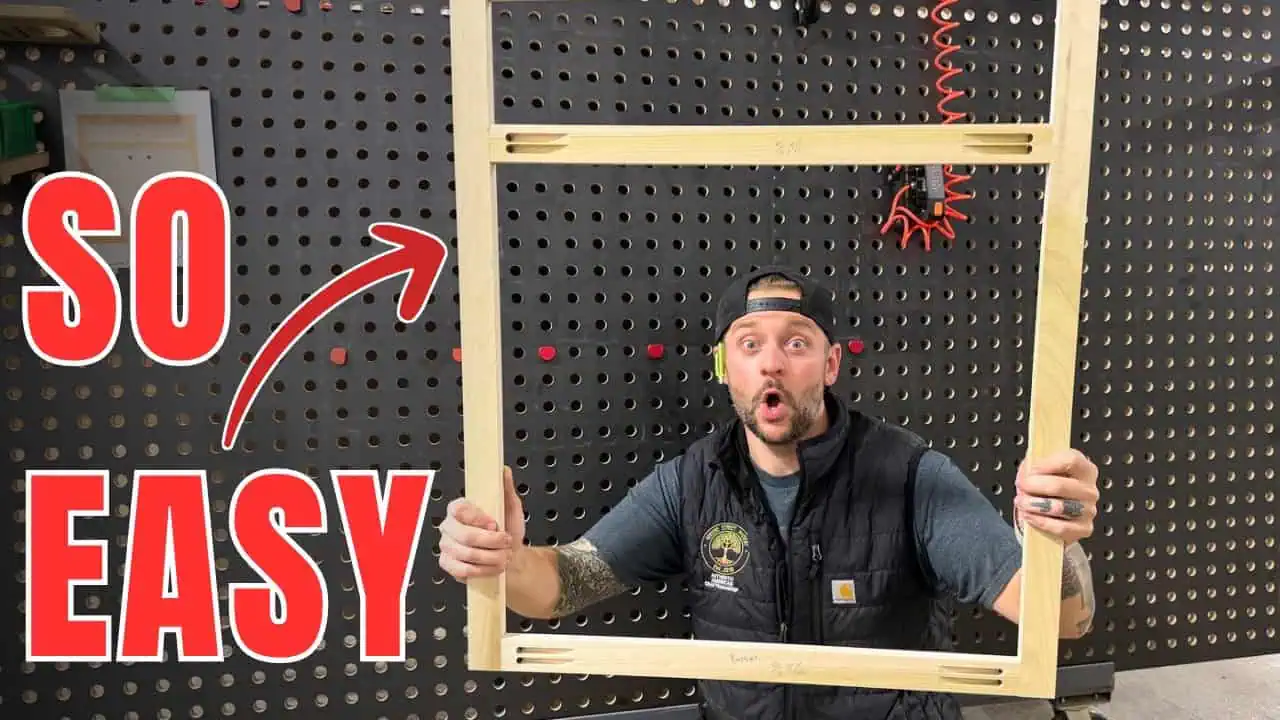
Jeff and Jon from TodaysCraftsmen shared the woodworking tip featured in this video.
Face frame assembly can be one of the more frustrating parts of cabinet building, especially when working on a flat table where every joint needs to line up with an edge to get a clamp on it. Jeff and Jon walk through a mobile clamping system sent to them by a friend at Kreg Tools, showing how it solves that exact problem while they build a small face frame for a sink base cabinet.
Watch the full video and subscribe to TodaysCraftsmen:


The Problem With Traditional Face Frame Glue Ups
Jeff explains that building face frames on a standard table has always been a hassle. Every joint has to sit near the edge of the table in order to get a clamp on it, which often means parts of the frame end up hanging off the table entirely. Interior rails and stiles, which are common in larger face frames, make this even more difficult since there is no edge nearby to clamp against.
This has led to a lot of awkward positioning and improvised clamping in the past. The new system aims to eliminate that guesswork entirely by allowing clamps to be placed virtually anywhere on the frame.
How the Clamping Setup Works
The system is built around a support panel drilled with a grid of holes spaced to match a common clamping standard, similar to what is used on MFT-style worktables. Because the holes run in both directions, clamps can be oriented however the layout requires.
Pneumatic cam clamps from Kreg drop into these holes and pull down on the joint to keep everything flat while it gets pocket screwed together. The clamps can be repositioned instantly to match whatever frame is being built, rather than being locked into a single configuration.
The board sits at a comfortable working height on a mobile cart, so the whole setup can be rolled into position and tucked away again once it is not needed. For a shop that only builds face frames occasionally, having a system that does not permanently occupy space is a practical advantage.
Prepping the Parts
Before assembly, the stiles and rails are cut to length and pocket holes are added to the ends of each rail using a dedicated pocket hole machine. The frame in the demonstration is a simple five-piece layout, just two stiles and three rails, built for a small sink cabinet.
Jeff notes that it is easy to get turned around when laying out a face frame, since the back of the frame faces the builder during assembly. Keeping track of left and right while working in reverse is a common mistake worth double-checking before any glue goes on.
Glue Application and Assembly
Rather than applying one heavy coat of glue, Jeff prefers to apply it twice to the end grain of the joint. The end grain absorbs glue quickly, almost like a bundle of straws, so a first pass fills the pores and a second light pass ensures enough glue remains on the surface for a strong bond.
Only a small amount of glue is needed for pocket screw joints like these, since the screws are doing most of the structural work. Keeping glue to a minimum also means less squeeze-out to clean up later, which saves time during finishing.
Once the joint is glued, a cam clamp locks it flat against the support board while the stile and rail are pulled even with each other. A couple of pocket screws then lock the joint permanently, and the process repeats down the frame, part by part.
Using Spacers for Repeatable Openings
For larger projects with repeating cabinet openings, a set of pre-cut spacer blocks makes it easy to keep every opening consistent. In this case, nearly every upper cabinet opening throughout a large multi-room kitchen project shares the same dimension, so a single spacer can be reused across every frame.
The spacer is simply placed between the rails during glue-up, and the next piece is positioned against it before the clamp is engaged. This keeps openings uniform without needing to measure and re-measure every single frame.
Why a Flat Joint Matters
Even with a reliable pocket hole machine, Jeff points out that joints can still shift slightly out of alignment during assembly. The clamping board compensates for this by holding the two parts perfectly flat and even before the screws are driven, which results in a cleaner, more consistent joint line.
That small amount of clamping pressure during assembly can make a noticeable difference in the final look of the frame, especially once it is sanded and finished. It is a simple step that adds very little time but improves the overall quality of the joint.
A Simple Upgrade With a Big Impact
What stands out most about this system is how much it simplifies a task that has traditionally been clunky and improvised. Mounting the clamping board to a mobile cart means it never takes up dedicated shop space, yet it is ready to go whenever a face frame needs to be built.
For woodworkers who regularly build cabinets or face frames, a setup like this could easily be adapted using shop-made materials and standard hardware. It is a good reminder that small workflow improvements, like this clamping board, can make repetitive tasks far less tedious.
See Jeff’s plans here: https://todayscraftsmen.com/collections/frontpage

Matt’s Take
These are my personal thoughts and tips based on my own experience in the shop. This section is not written, reviewed, or endorsed by the original creator of this project.
That MFT-style hole grid is a great piece of shop infrastructure to have around, even outside of face frames. Once you’ve got a flat reference surface with a repeatable hole pattern, you can use it for all kinds of assembly work, not just cabinet frames. If you want to try this out before committing to a dedicated board, drilling a grid of holes into a sheet of MDF or plywood and squaring it up on a set of sawhorses is a cheap way to test the concept.
On the glue front, Jeff’s two-pass approach to end grain is worth remembering for any joint where you’re gluing into pocket screws or dowels. End grain really does suck glue away from the joint faster than you’d expect, and a joint that looks sufficiently glued right after application can actually be starved by the time you clamp it. A light second pass, especially on softer woods like pine or poplar, helps make sure there’s still a film of glue doing the bonding instead of just sitting in the wood fibers.
As for the clamps themselves, pneumatic or cam-style clamps are nice for repetitive work because they’re fast to engage and disengage without a lot of hand fatigue. If you’re not ready to invest in a pneumatic setup, simple toggle clamps or even F-clamps dropped into holes of the right diameter can get you most of the way there on a shop-built version. The key benefit is really the flexibility of clamping location, not the specific clamp hardware.