

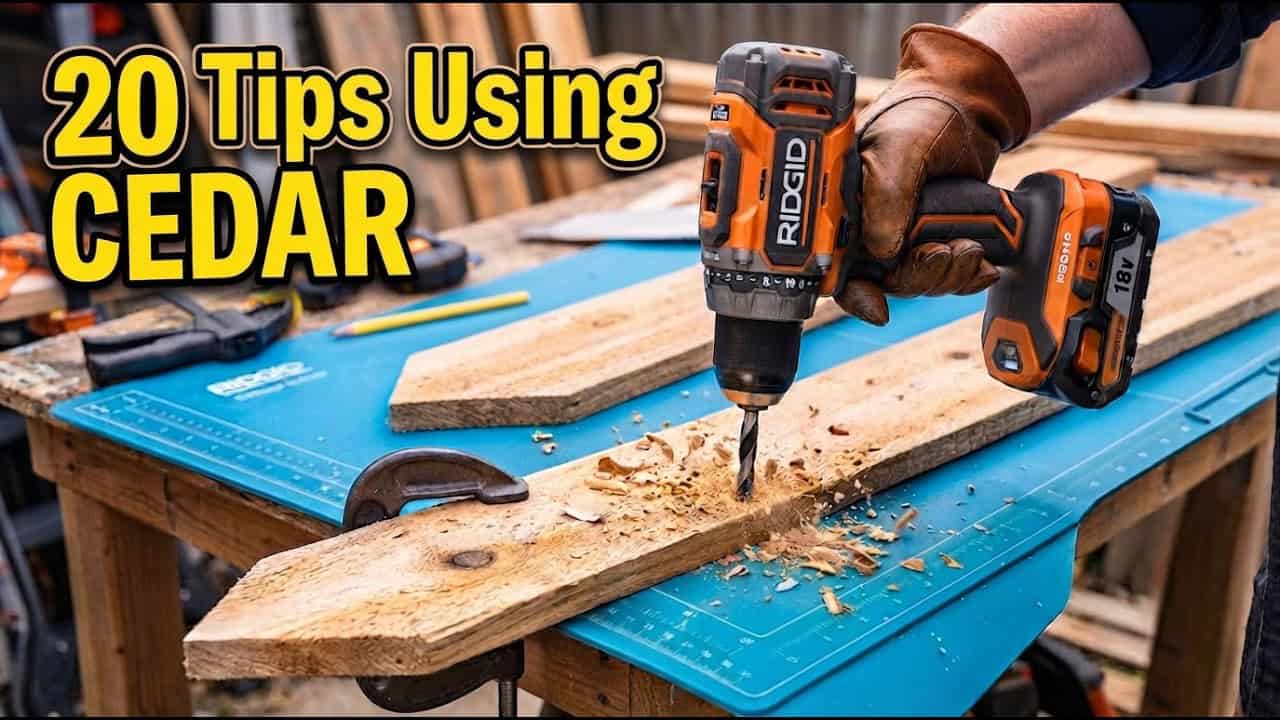
Clinton from Specific Love Creations shared the woodworking tips featured in this video.
Cedar fence pickets have become a favorite material for beginner woodworkers thanks to their low cost and easy availability, but working with them successfully takes a bit of know-how.
Clinton put together a rundown of twenty practical lessons learned from building numerous projects out of these budget-friendly boards. The tips cover everything from selecting lumber at the store to protecting the finished piece from moisture and sun damage.
Watch the full video and subscribe to Specific Love Creations:


Choosing and Preparing the Lumber
Clinton starts with advice that begins before any cutting takes place, back at the lumber store. He recommends buying a few extra boards beyond what a project calls for, since hidden splits and defects often don’t show up until the wood is being worked with at home. Sorting through the stack to find pieces with fewer knots will save headaches later, since knot-heavy boards tend to cause more problems during assembly.
Freshly purchased pickets are often still damp, so Clinton suggests setting them aside to dry using a simple stickering method with scrap wood and spacers to allow airflow between boards. He also points out that picket thickness can vary noticeably from board to board, so sorting them by size ahead of time prevents mismatched pieces from causing issues mid-project.
He also addresses the ends and edges of the boards. Some pickets arrive with cracked ends or uneven cuts, and depending on the look a builder wants, those defects may need to be trimmed away or avoided altogether when selecting stock. Giving every board a light sanding before cutting also helps reveal warps or dips early and reduces finishing work later.
Design Considerations for Thin Stock
Because cedar pickets are relatively thin, Clinton explains that they can’t span long distances without support, especially when used horizontally. Keeping unsupported spans shorter helps prevent warping and sagging over time.
When extra thickness is needed, such as at a corner or support point, gluing two pickets together is an easy workaround. The key is making sure the grain direction matches on both pieces, since mismatched grain will work against itself as the wood expands and contracts, eventually weakening the bond.
Wood movement is another theme Clinton returns to throughout the video. For outdoor projects like planters or tabletops, leaving a small gap between boards allows room for seasonal expansion and contraction, which helps prevent binding, cracking, and warping.
Orienting the Boards for a Better Finish
Cedar pickets often have one smoother face and one rougher face, and Clinton recommends orienting the smoother side to be visible in the finished project. This simple choice cuts down on sanding and gives a cleaner overall appearance.
The edges of the boards deserve the same attention. Some pickets are smooth along their full length while others transition between smooth and rough sections, and trimming those inconsistent edges before assembly helps achieve tighter, straighter joints.
Joinery and Fastening Tips
Because cedar contains natural tannins that react with steel, Clinton stresses using corrosion-resistant fasteners such as stainless steel or coated deck screws to avoid black staining and premature failure. Pre-drilling holes is also important given how thin the boards are, since driving screws or nails without pilot holes can easily split the wood near the ends.
Clinton also tackles the debate around using pocket hole joinery with thin cedar stock. He explains that it can work, but only with the drill bit and jig set to match the board’s thickness and by using coarse-thread, exterior-rated screws to avoid blowing through the material.
Wood glue plays a major supporting role in his joinery approach. A quality exterior-grade waterproof glue adds strength to every joint and acts as a backup if fasteners eventually corrode. For corner joints where surface area is limited, adding a small filler block behind the joint gives screws and nails more material to bite into, resulting in a noticeably stronger connection.
Protecting the Finished Project
Once assembly is complete, Clinton shifts focus to long-term protection. For pieces that touch the ground, such as planter corners, sealing the end grain with waterproof glue helps prevent moisture from wicking upward and degrading the wood over time.
For raised garden beds, he cautions that any interior sealant should be food-safe and non-toxic to avoid contaminating soil or plants. For builders who want to preserve cedar’s natural reddish-brown color rather than let it fade to gray, a penetrating exterior oil or stain with UV protection is recommended, with reapplication needed periodically to maintain the look.
Smaller details matter too. Lightly sanding sharp edges with fine-grit paper reduces splinters and helps stain or sealant absorb more evenly. Adding small furniture feet to the bottom of a project lifts it slightly off the ground, which helps protect flooring indoors or reduce moisture absorption outdoors.
Bringing It All Together
Taken as a whole, these tips highlight how much small preparation and finishing choices can affect the durability and appearance of cedar picket projects. None of the individual steps are complicated, but together they add up to sturdier joints, better-looking grain orientation, and longer-lasting protection from the elements. For anyone getting started with this affordable material, Clinton’s list offers a solid checklist to keep in mind before, during, and after a build.
Watch the full video and subscribe to Specific Love Creations:

Matt’s Take
These are my personal thoughts and tips based on my own experience in the shop. This section is not written, reviewed, or endorsed by the original creator of this project.
Cedar pickets are a great entry point if you’re new to woodworking, and Clinton’s rundown covers the stuff that usually takes a few frustrating projects to learn on your own. The tip about buying extra boards is one I’d underline for anyone shopping the picket aisle — those stacks get picked over, and you’ll often find twist, cup, or hidden splits once you get the wood home under better light. A few extra boards for $2-3 each is cheap insurance.
The point about matching grain direction when gluing boards together for extra thickness is worth paying close attention to. Wood moves with the seasons, and if two pieces are fighting each other instead of moving together, you’ll eventually see that joint open up or bow. Same goes for leaving expansion gaps — it’s easy to skip that step when you’re excited to get a project assembled tight and clean, but that gap is doing real work over the life of the piece.
On fasteners, stainless or coated exterior screws aren’t just a nice-to-have with cedar — regular steel will react with the tannins and leave ugly black streaks that are tough to sand out later. Pre-drilling is another one that pays off fast; thin stock like this splits easily, especially near ends and edges, and a quick pilot hole takes seconds compared to fixing a cracked board.
Finish-wise, if you want that reddish cedar tone to stick around, plan on reapplying an exterior oil every year or two — UV breaks it down faster than most people expect, especially in full sun.