Clinton from Specific Love Creations shared the beginner-friendly sanding tips featured in this video.
Sanding can make or break a woodworking project, yet it is often where new builders burn through sandpaper, create accidental tear-outs, or miss imperfections that only show up after the finish is on.
Instead of treating sanding like a “keep going until it feels smooth” mystery, Clinton focuses on practical upgrades: reinforcing sandpaper, cutting it cleanly, using the right backing, preventing clogging, and using light and pencil marks to confirm results.
Watch the full video and subscribe to Specific Love Creations:
1) Make Sandpaper Tougher (Without Complicated Tools)
One of the easiest ways to extend sandpaper life is to reinforce the backing where fingers grip and where tears typically start. A simple tape-backed support can add strength, reduce slipping, and help sanding stay controlled.
This matters because beginners often tear sheets early by creating stress points along the edges. Reinforcement also helps sandpaper stay usable when working around edges and irregular surfaces.
2) Cut Sandpaper Cleanly for Less Tearing
Cutting sandpaper with scissors or knives can dull the blades quickly, but ripping by hand also creates jagged edges that become weak points. Jagged edge damage tends to spread as sanding continues.
An alternative approach uses a sharp bench edge and a controlled pull: the paper forms a near-straight edge and stays more uniform. Cleaner cuts mean fewer failure points and less premature wear.
3) Upgrade the Flat Hand Sander with Foam and Hook-and-Loop
Basic flat sanders are convenient for flat areas, but they can be awkward, and sandpaper can loosen. Foam hand sanders solve both issues by conforming to hand shape and locking paper in place with hook-and-loop.
That flexibility is especially useful when sanding around corners, including tight transitions where flat pads create flat spots. It also keeps sanding consistent without needing multiple paper sizes or systems.
4) Use a Bow Sander for Curved Outer Edges
Flat sanding pads make curved edges harder because they tend to “bridge” and leave unintended flat areas. A bow sander adds controlled flex, so the abrasive follows the curve instead of fighting it.
Because the belt rides on a shaped wooden body, the sandpaper can stay in contact while still allowing the profile to remain smooth. This is a great option for rounding edges without over-sanding high spots.
5) Speed Up Inside-Curve Sanding (Without Destroying Hands)
Inside curves are where most sanding tools struggle and where hand sanding becomes slow and uncomfortable. Foam-based sanding kits are designed to reach curved recesses without creating hard straight marks on the sides.
The hook-and-loop backing lets grit swap quickly, and a removable foam layer can help when a flat surface is needed. The biggest gain is efficiency: faster shaping with less fatigue.
6) Switch to Mesh Sandpaper on Random Orbital Sanders
Clogged abrasive wastes sanding time and forces more pressure than necessary. Mesh sandpaper is designed to let dust pass through more easily, which helps it stay productive between cleanings.
Installation is also simpler because the abrasive pattern does not require hole alignment. The tradeoff is availability and cost, but for many shops the longer usable life makes the change worthwhile.
7) Clean Abrasive Before Giving Up on It
Even quality sandpaper can look “dead” when dust fills the abrasive pores. A cleaning stick designed for sanding tools scrapes out embedded sawdust so the surface can cut again.
Clinton’s demonstration shows that a large portion of debris can be removed quickly, extending usable life and helping sanding feel more even. This keeps grit working closer to its original performance.
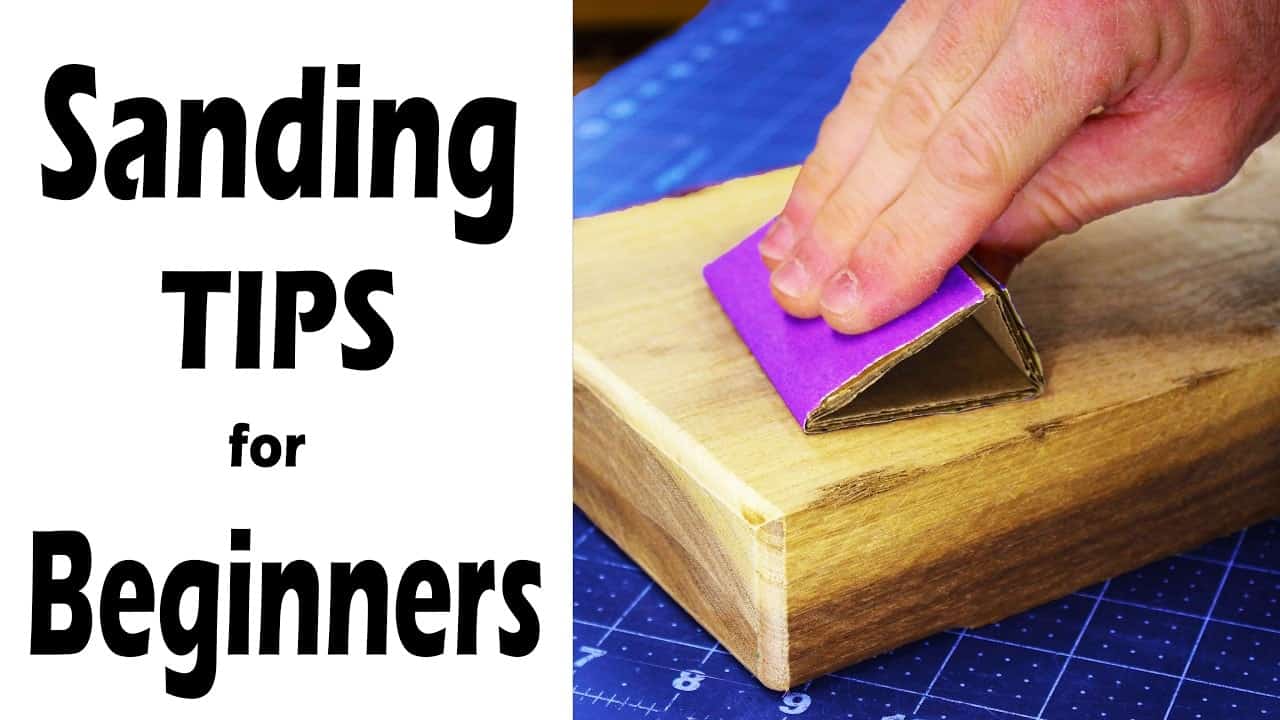
8) Make Custom Sanding Blocks from Scrap
Custom shapes do not require custom tools. Scrap wood, old dowels, and even strong cardboard can serve as temporary formers for sanding paper, whether the goal is a block for flats or a wrap for curves.
This approach is useful when a project has odd geometry that common sanders cannot reach comfortably. Repurposing shop leftovers also keeps sanding setup fast and reduces unnecessary tool purchases.
9) Use Pencil Marks to See Where Sanding Actually Happened
Pencil marks are a simple visual diagnostic that prevents guesswork. As sanding removes material, the pencil fades where the abrasive has touched and remains where sanding has not reached.
This is especially helpful for spotting missed areas on flatter panels or transitions between hand-sanded and tool-sanded regions. It turns sanding from “feels done” into “verified done.”
10) Use Angled Light to Reveal Hidden Scratches
Even when surfaces feel smooth by hand, scratches and sanding lines can remain invisible under diffuse overhead lighting. Angled light casts shadows that expose these imperfections immediately.
This helps avoid finishing over defects, which would otherwise require more aggressive rework later. Using the brightest available work light and moving it along the surface reveals the true condition of the wood.
Overall Takeaways: Faster, Safer Sanding Quality
Clinton’s sanding strategy is built around control: reinforce the paper, cut it cleanly, match the tool to the surface, prevent clogging, and verify progress with pencil and light. Those small shifts add up to smoother results and less wasted material.
Most importantly, these ideas are adaptable. Whether the shop is equipped for orbital sanding or relies on hand sanding, the principles still apply: reduce weak points, manage dust, and confirm coverage before finishing.
Watch the full video and subscribe to Specific Love Creations:

Matt’s Take
These are my personal thoughts and tips based on my own experience in the shop. This section is not written, reviewed, or endorsed by the original creator of this project.
These sanding fundamentals really hit on what separates efficient shops from frustrated ones. I’ve found that most beginners approach sanding as pure endurance work rather than a skill with its own techniques and tools. The mesh sandpaper tip is spot-on — I switched over a few years back and rarely go back to traditional paper on the orbital sander. The dust extraction alone makes it worth the extra cost.
The pencil mark technique is something I wish I’d learned earlier in my woodworking journey. It’s embarrassing how many times I thought a surface was ready for finish, only to discover missed scratches under raking light later. That angled light check should honestly be mandatory before any finishing step. A simple shop light positioned low can reveal more than your eyes and hands combined.
Safety-wise, reinforcing sandpaper backs is smart beyond just durability. Torn sandpaper edges can catch fingers or create uneven pressure that leads to gouges. And those custom sanding blocks from scrap? That’s the kind of resourcefulness that keeps shop costs down while solving real problems. Sometimes the perfect tool is just a piece of 2×4 wrapped with the right grit.