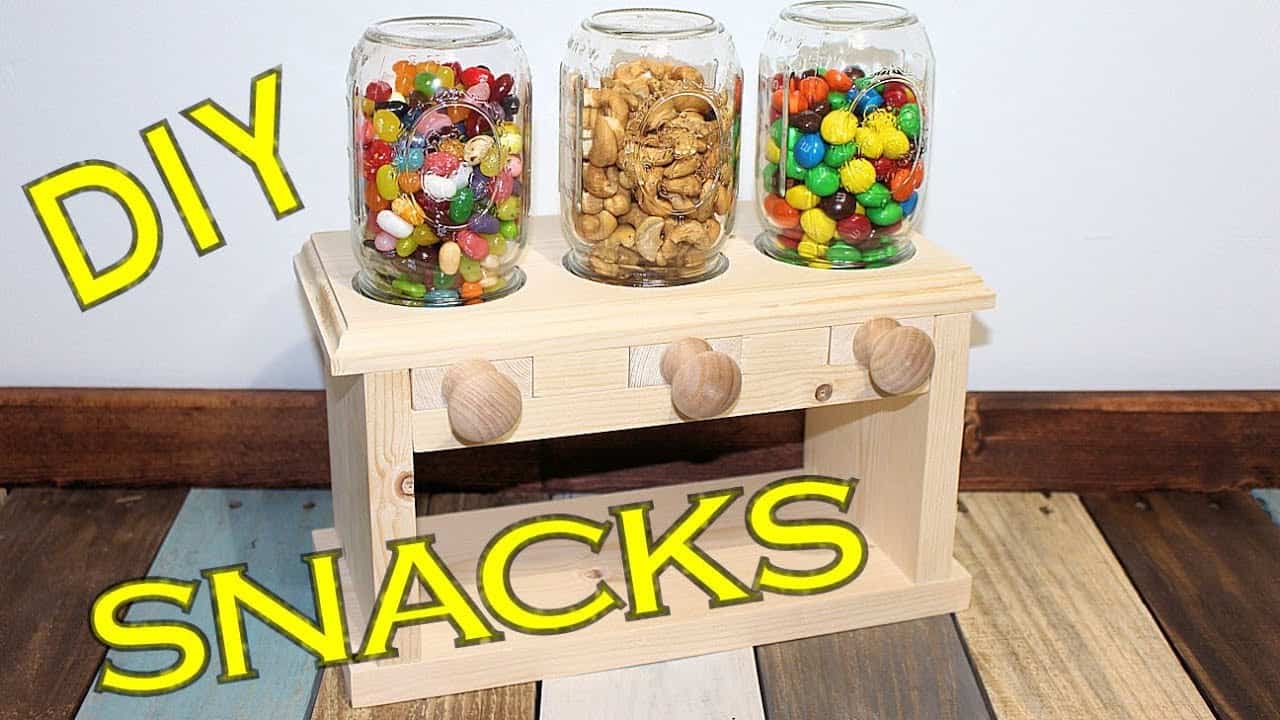
This project was built and designed by Clinton from Specific Love Creations. It’s a fun and functional triple candy dispenser made entirely from one board—ideal for anyone looking to combine woodworking with a bit of creativity.
Clinton walks through each step of the build, offering tips on planning, cutting, and assembling this unique project. Whether you’re making it for parties, family fun, or as a conversation piece, it’s a rewarding build that delivers both charm and utility.
Watch the full video and subscribe to Clinton’s channel:
Why Build a Candy Dispenser?
A candy dispenser isn’t just for kids—it adds a touch of fun to any room. It’s perfect for casual gatherings or as a permanent fixture on a kitchen counter or home office shelf.
Making your own means you can match the design to your space, choose your favorite woods or colors, and even tweak the compartments to fit the snacks or candy types you like best. It’s also a great way to practice precision joinery and add another custom piece to your woodworking portfolio.
Planning and Sketching the Design
Clinton starts with a simple but important step—sketching the design before making any cuts. Drawing it out allows you to think through the build, catch issues early, and get a clear vision of how all the parts will come together.
This dispenser features three side-by-side compartments in a single frame. Instead of using multiple boards and gluing up panels, the entire structure is cut from a single piece, reducing waste and simplifying the project.
Materials and Tools Required
A single hardwood board is all that’s needed for the main structure. Though dimensions aren’t specified, the key is to use wood that’s easy to machine and strong enough to handle repeated use.
The tool list is short but effective: a miter saw or circular saw for breaking down the board, a drill for holes and dowel installation, and a router for shaping and clean joinery. A sanding block and finish of your choice wrap up the materials list.
Cutting and Shaping the Structure
Clinton begins by cutting top and bottom pieces for the box, ensuring the base is stable and level. The side pieces are then cut to match, forming the outer frame that will hold the three candy compartments.
To keep things uniform, Clinton uses a template to trace matching shapes. This step helps align the compartments neatly and ensures a professional-looking result without the need for complex jigs.
Adding Internal Dividers
Inside the frame, two vertical divider panels are added to split the space into three compartments. These dividers are cut to fit snugly and positioned evenly for both function and aesthetics.
It’s important that these compartments are consistent in size and deep enough to hold a variety of candy types. Precision is key here, as misaligned dividers can affect the usability and visual appeal of the final piece.
Making the Dispensing Drawers
Each candy compartment has its own sliding drawer, which features a small hole in the front for dispensing. These holes are drilled to match the typical size of small candies like jelly beans or gumballs, but they can be adjusted depending on what you plan to store.
To prevent the drawers from being pulled out completely, a simple dowel peg is added behind each one. This small addition keeps everything in place and makes refilling the compartments easier and more secure.
Final Assembly and Edge Details
Once the body and drawers are assembled, all corners and edges are sanded for comfort and safety. Clinton also adds a slight bevel around the perimeter to soften the look and add a touch of elegance.
These details elevate the project from a simple box to something that feels handcrafted and finished. It also ensures the dispenser is safe and pleasant to handle, especially for younger users.
Finishing Options and Customization
The dispenser can be stained or painted depending on your space and style. A clear finish lets the wood grain shine through, while a painted look could add a playful twist if you’re aiming for something more decorative.
Clinton’s version is left neutral, giving it flexibility to blend into any room or event setup. Regardless of your finish choice, the final product is durable and designed to last.
Tips and Future Improvements
After completing the build, Clinton shares a tip for future versions—using hot glue instead of epoxy to secure any jar lids or internal components. Hot glue is more forgiving, especially if the unit is bumped or needs repairs later on.
This kind of reflection adds value for other builders and reminds viewers that no project is ever truly finished—it’s always open to improvement.
A Fun and Functional Project
This triple candy dispenser is a great example of how woodworking can be both practical and whimsical. It’s a small project that offers big visual impact and daily use, especially in households that enjoy a sweet treat now and then.
Clinton’s build is approachable, efficient, and easily customizable, making it perfect for woodworkers who want to add a personal touch to their home or gifts.
Watch the full video and subscribe to Clinton’s channel:

Matt’s Take
These are my personal thoughts and tips based on my own experience in the shop. This section is not written, reviewed, or endorsed by the original creator of this project.
This type of project really shows how woodworking doesn’t always have to be serious furniture builds. There’s something satisfying about creating functional pieces that bring a bit of joy to everyday life, and a candy dispenser definitely fits that bill. The single-board approach is smart too — it keeps material costs down and reduces the complexity of grain matching when you’re gluing up panels.
One thing I always appreciate in builds like this is the attention to the dispensing mechanism. Getting those holes sized right is crucial — too small and nothing comes out, too large and you get an avalanche of candy. If you’re planning something similar, test your hole size on scrap first with whatever you plan to dispense. Different candies have wildly different flow characteristics.
The dowel stops behind the drawers are a nice touch that prevents the inevitable “oops, I pulled it all the way out” moment. Safety-wise, make sure all those edges are well-sanded, especially if kids will be using it. Sharp corners and excited children don’t mix well. A chamfer or roundover bit can make a big difference in both feel and appearance.
For finishing, I’d lean toward something food-safe if there’s any chance of direct contact between the wood and edibles. Even if the candy stays packaged, it’s good peace of mind. Projects like this also make great practice pieces for trying out new finishing techniques without the pressure of a major furniture piece.