Matt from Next Level Carpentry shared the woodworking tip featured in this video.
This video demonstrates a non‑destructive method for stabilizing loose joinery in heirloom chairs using cyanoacrylate (CA) adhesives combined with careful clamping and gap‑filling techniques to avoid complete disassembly.
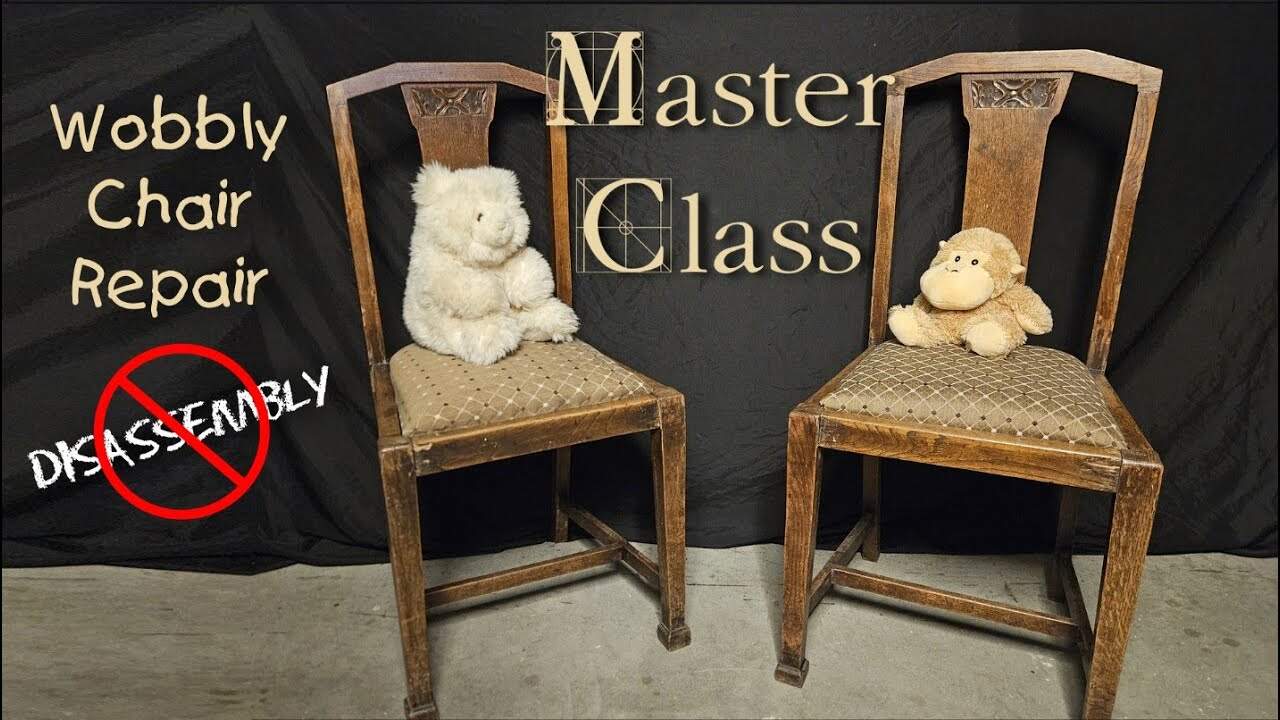
The approach is designed to rescue chairs that are too wobbly to use but valuable enough to repair and repurpose.
Watch the full video and subscribe to Matt’s channel:
Overview of the stabilization method
The basic workflow is to compress each loose joint until it is fully seated, then introduce a low‑viscosity CA adhesive so it wicks into the gaps and saturated damaged fibers. After the thin CA is allowed to penetrate, thicker viscosities and a cure accelerator are used to fill remaining voids and set the repair rapidly.
This method avoids taking furniture apart, which reduces the risk of breaking delicate or brittle components and makes repairs faster and more practical for thrift or volunteer restoration programs. It is particularly well suited to chairs where joints are loose but parts do not separate cleanly without damage.
Why clamp first, then glue
Clamping the joint closed before applying adhesive ensures the repaired geometry is correct; once the CA cures, the joint will stay in the position it was when glued. If a chair rocks or sits crooked during glue application, the repair will lock that misalignment in place, so confirming the piece sits flat and square is essential.
Matt emphasizes using screw‑type F‑clamps when possible because they can exert higher, more consistent pressure, but squeeze clamps and C‑clamps are acceptable alternatives. Clamps should hold all feet flat on the work surface while gluing to prevent introducing a permanent wobble.
Choosing adhesive viscosities and the role of accelerator
Start with a thin, water‑like CA to maximize capillary action and saturate loose fibers deep inside the joint, then progress to medium and thick viscosities to fill gaps and form a durable fillet at the surface. The thin CA wicks into microscopic voids and stabilizes friable wood that conventional PVA glue might not penetrate without disassembly.
Aerosol accelerator speeds surface cure and prevents further runout after the thin CA has wicked in, but using it too early can cause the surface to harden and block penetration. Proper ventilation and nitrile gloves are recommended because CA vapors and accelerator solvents can be strong and finish‑softening.
Clamping strategies for tricky joints
Different joints demand different clamping tactics: use soft‑jaw pads, wedges, or sacrificial blocks to prevent clamp pads from walking or marring varnished surfaces. For angled legs or odd profiles, small sacrificial wedges or temporary spreaders help clamps seat securely and maintain alignment under pressure.
When a chair shows a rock after clamping, adjust clamp angles or pressure to shift the parallelogram of the frame back toward square rather than letting the joints set in a skewed position. Simple tricks—like adding a drop of light oil to reduce clamp friction or angling the clamp to raise a low leg—allow fine adjustments before the CA cures.
Advanced: band clamps to speed up multiple joints
Band clamps (strap clamps) let one person apply even tension to many joints at once and are especially useful when a framework needs simultaneous pressure on several sides. Matt demonstrates placing a band clamp around the seat frame and stretchers to tighten eight joints in a single setup, then using temporary spreaders and wedges to keep legs from being pulled inward.
Band clamps require a little practice to manage, and on frames with limited crosspieces they may need internal bracing so the clamp torque tightens the intended joints rather than collapsing the assembly. When used well, band clamps drastically reduce the number of F‑clamps required for a job.
Repairing clean breaks before stabilization
When a component has a clean fracture, it is often best repaired with a structural PVA or epoxy rather than CA, since PVA adhesives are less brittle under shear and tension. For a broken stretcher, Matt dry‑fits the pieces, pumps glue into the fracture to fill voids, and clamps the joint with a padded vice‑style C‑clamp for instant, accurate alignment.
After a break repair is clamped and cured, proceed with the CA stabilization on the surrounding joints if needed; a strong PVA repair provides durable rebuilding where cyclic stress might re‑open a brittle CA joint. This two‑tool approach makes the overall restoration more reliable.
Cleanup and finishing considerations
Dried CA on varnished or dirty finishes often flakes off with a very sharp chisel, and a cyanoacrylate debonder (gel) is useful for dissolving residue or freeing skin when accidental bonds occur. Take care with solvent‑based debonders as they can soften old varnish, so plan for slight surface cleanup or light sanding before refinishing.
Excess CA can be scraped or sanded once fully cured, and any finish damage from accelerator or solvents can be addressed during a planned refinishing pass. For pieces intended to be refinished, minor surface softening from accelerator is usually acceptable since the final sanding and finish will hide it.
Practical notes and why the method matters
Cyanoacrylate stabilization is faster than full disassembly, sanding, re‑mortising, and a traditional reglue-and-clamp approach, and it often saves heirloom furniture that would otherwise be discarded. The cost of CA is offset by the time saved and the ability to rescue pieces without risking damage from forced disassembly.
The technique adapts well to many furniture types: use thin CA for penetration, medium for gap backing, and thick for surface fillets; clamp carefully; and allow full cure before removing clamps or returning the piece to service. With practice, this sequence becomes an efficient routine for small‑shop restorers and volunteer refurbishers alike.
Community impact and real‑world use
Matt applied these techniques to multiple antique oak chairs borrowed from a community thrift/volunteer program and notes that refurbishing used furniture can be both practical and transformative for volunteers who earn sweat equity through restoration work. Stabilizing rather than discarding heirloom pieces extends their useful life and keeps quality furniture out of landfills.
The approach is intentionally accessible for hobbyists, small‑shop pros, and volunteer teams because it uses common clamps and straightforward adhesives, while specialized tools like band clamps can accelerate the process when available. The method balances speed, reversibility, and durability for practical restoration work.
Watch the full video and subscribe to Next Level Carpentry:

Matt’s Take
These are my personal thoughts and tips based on my own experience in the shop. This section is not written, reviewed, or endorsed by the original creator of this project.
This CA stabilization technique is a game-changer for anyone dealing with loose furniture joints. I’ve seen too many old chairs get thrown out because people think the only fix is a complete teardown and reglue. The beauty of this method is that it works with the existing joint structure instead of fighting it. That thin CA really does wick into places that traditional glue can’t reach without disassembly.
The clamp-first approach is crucial and something worth emphasizing for safety. CA adhesive sets fast, and once it’s cured, you’re stuck with whatever position the joint was in. I always do a dry run with clamps to make sure everything sits right before introducing any glue. And definitely invest in some nitrile gloves – CA bonds to skin instantly, and the fumes from the accelerator can be pretty intense in a small shop.
One thing I really appreciate about this technique is how it scales. You can fix a single wobbly chair leg in fifteen minutes, or set up multiple pieces with band clamps for batch repairs. The material cost is reasonable too – a few dollars in CA and accelerator versus hours of labor for traditional repairs. It’s particularly valuable for pieces where you’re not sure what you’ll find once you start taking joints apart.