This project was built and designed by Anthony from Wood Pack DIY, with backup from his trusty shop assistant, Bob Barker. It’s a sharp, practical storage bench that brings together clean joinery, solid walnut, and everyday functionality—all in one beautiful piece.
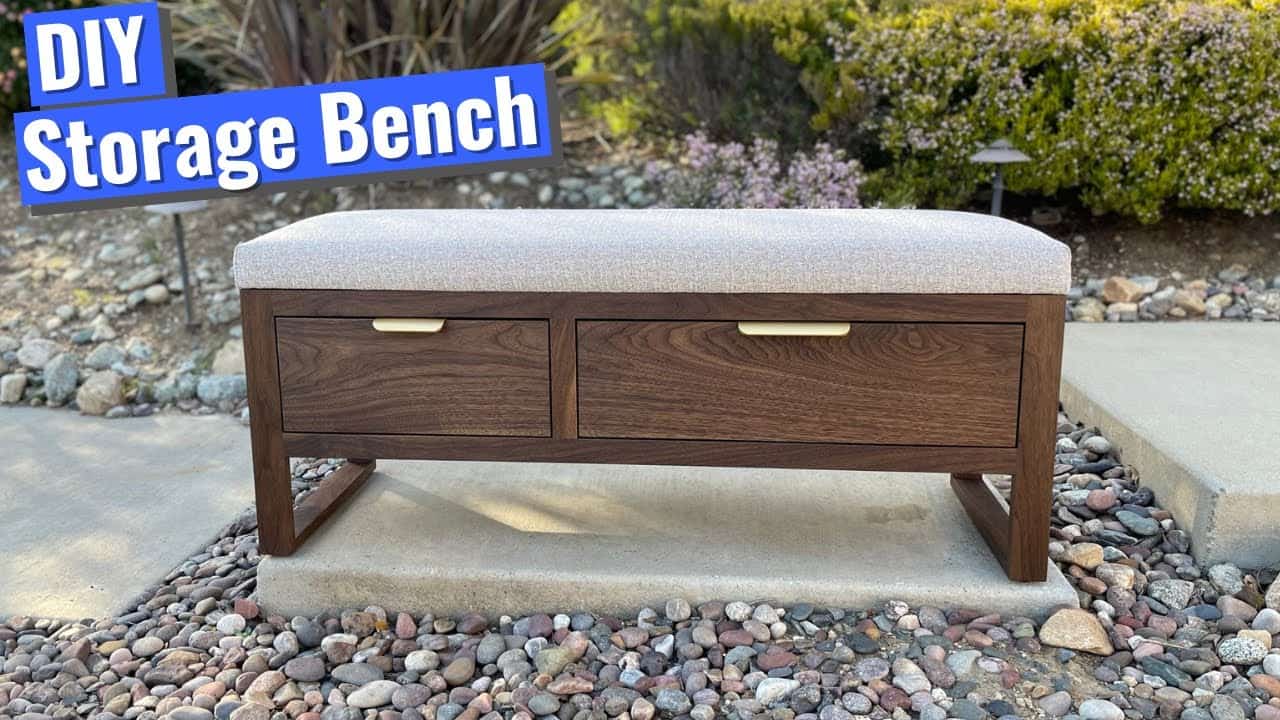
Designed for the front entryway, this bench adds a place to sit while also hiding away daily essentials like leashes, shoes, and dog-walking gear. From lumber selection to final finish, this build combines thoughtful design with quality materials.
Watch the full video and subscribe to Anthony’s channel:
Choosing Materials for the Build
The project begins with a trip to the lumber yard, where Anthony selects premium walnut boards for the frame. Originally, the plan called for veneered plywood panels, but an extra slab of walnut changed the plan—and elevated the whole piece.
That extra board was milled down to size and used to create matching solid walnut panels. The result is a bench made almost entirely of solid wood, giving it both visual consistency and long-term durability.
Cutting and Preparing the Frame
Back in the shop, Anthony uses a miter station and stop block to cut each piece of the frame to identical lengths. This setup keeps cuts consistent, which is critical for square joints later.
For accuracy, a crosscut sled is used throughout. With Bob Barker keeping a close watch, Anthony begins milling and squaring the panel pieces, aiming for precision without rushing the process.
Rabbets and Panel Fitment
To create space for the inset panels, rabbets are cut along the inside edges of the frame boards. Rather than removing too much material in one pass, Anthony makes several shallow cuts to control the fit.
Each panel is dry-fit before glue-up to avoid surprises. A few pieces ended up being thinner than expected, causing minor hiccups—but nothing that couldn’t be managed with some careful sanding and repositioning.
Gluing the Panels and Legs
With the panels ready, glue is applied and clamps are used to secure everything in place. Limited clamp availability means a bit of strategic patience—letting one section dry while prepping the next.
The legs are cut to length using a temporary stop block and feature rabbet joinery for strength. A new flat-tooth blade ensures smooth, accurate cuts, and fine-tuning is done with chisels where needed.
Building the Drawer Structure
Once the frame and panels are assembled, Anthony adds internal supports for the drawers. These pieces are glued and secured to maintain alignment and reinforce the back panel.
A center divider is added to separate the two drawers, which also keeps the structure square. Bob Barker remains close by for moral support as the project begins to resemble its final form.
Constructing the Drawers
The drawers themselves are made from plywood, with bottom grooves routed for a clean fit. Pocket holes are used for fast and strong assembly, and iron-on edge banding adds a finished look to the plywood edges.
Each drawer is fitted and adjusted to glide smoothly within the frame. Careful measuring ensures the spacing is even and the drawers sit flush with the front.
Shaping and Securing the Bench Top
The bench top is cut to shape with a jigsaw and prepped for mounting. While Anthony initially considered upholstering the top himself, he outsourced the task to a local upholstery shop for a cleaner result.
Once returned, the upholstered top is secured in place, adding comfort and a polished finish. The fabric color and texture were chosen to complement the rich tone of the walnut.
Final Details and Finish
Drawer faces are installed using playing cards as spacers for consistent gaps. Rubber feet are added to elevate the bench and protect the legs from floor contact.
To finish the wood, Anthony applies Rubio Monocoat in a black tone, enhancing the walnut’s depth while protecting the surface. With everything in place, the bench receives a final inspection—and Bob Barker seems satisfied with the result.
A Clean, Stylish, and Functional Bench
This walnut storage bench is a great example of combining utility with design. Hidden drawers, strong joinery, and a durable finish make it ideal for any high-traffic entryway.
As always, not every step went perfectly, but each challenge offered a lesson. From smarter clamp setups to adjusting for wood thickness, Anthony shows how small decisions shape the outcome of a build.
Please support Anthony (and Bob Barker) by visiting their website (he sells awesome plans): https://www.woodpackdiy.com/.

Matt’s Take
These are my personal thoughts and tips based on my own experience in the shop. This section is not written, reviewed, or endorsed by the original creator of this project.
This is a great example of how material selection can make or break a project. Anthony’s decision to swap veneered plywood for that extra walnut slab was spot-on — solid wood panels give this piece a cohesive look that plywood just can’t match. When you’re working with premium lumber like walnut, those grain patterns and color variations become part of the design itself.
The rabbet-and-panel construction Anthony used here is rock solid for furniture that’ll see daily use. Those rabbets distribute stress much better than simple butt joints, which matters when people are sitting on the bench and pulling drawers in and out. Taking multiple shallow passes instead of trying to hog out material in one go is smart — it keeps tear-out to a minimum and gives you better control over the fit.
One thing I really appreciate is how he handled the upholstery decision. Sometimes the best move is knowing what to farm out. A local upholstery shop has the right tools and experience to get clean, professional corners and tight fabric tension. Plus, they’ll have access to foam densities and fabric options that would cost a fortune to buy for just one project.
The Rubio Monocoat finish is an excellent choice for an entryway piece. It penetrates deep into the walnut and builds a durable surface that can handle the inevitable scuffs and dings from shoes and bags. That black tint really makes the walnut grain pop while adding some protection against everyday wear.