This project was built and designed by Jodee from Inspire Woodcraft.
Jodee took a salvaged mirror and repurposed its wooden frame by stripping paint, applying a controlled flame to patina the surface, and sealing the result for a warm, aged look.
Below is a concise summary of the process, key techniques, and lessons that make this a useful approach for anyone looking to repurpose found furniture with fire-based finishing.
Watch the full video and subscribe to Inspire Woodcraft:
Design and Goal
The project was centered on saving a mirror headed for the trash and giving it a new aesthetic life through patination rather than a full rebuild of the frame.
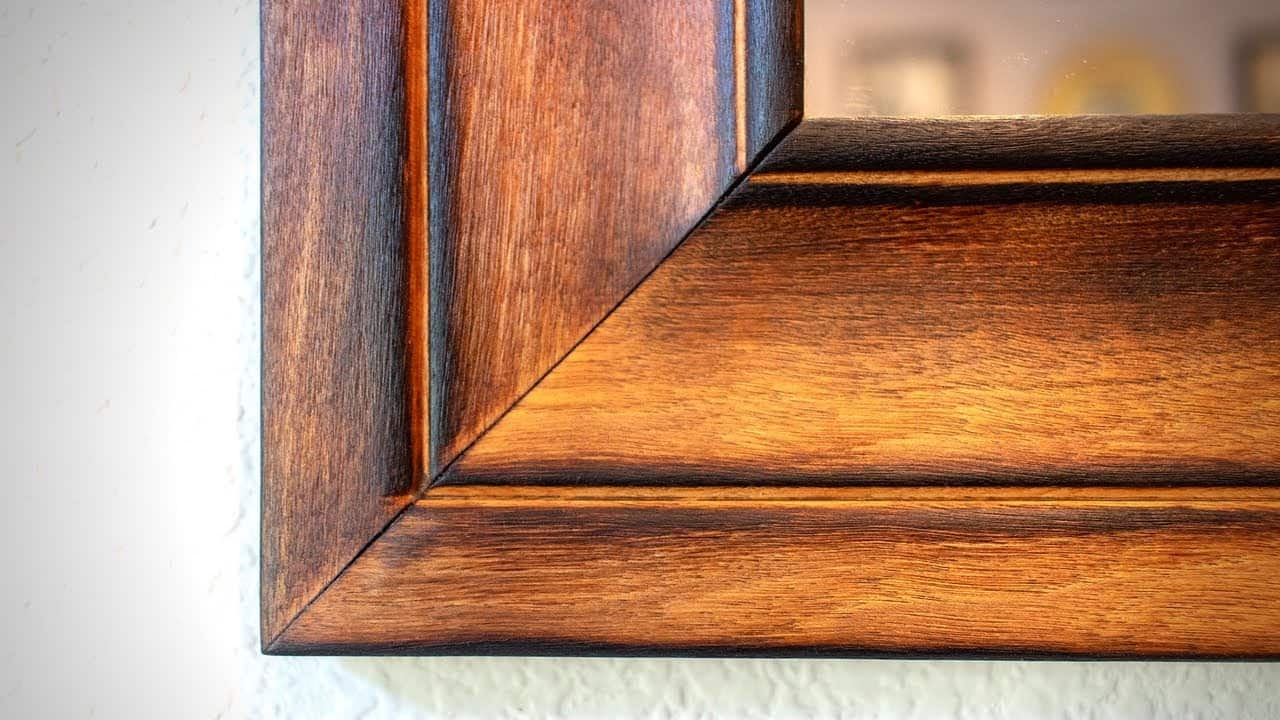
The aim was to accentuate the frame’s existing grooves with a darkened surface while preserving depth in the carved valleys for contrast when finished.
Preparation and Stripping
The frame’s hardware was removed and the paint was mechanically stripped back to bare wood to reveal the original profile and allow the flame to bite more predictably into the surface.
Initial abrasive choices were adjusted once the mirror glass showed signs of scratching, so the glass edge was taped and the frame wiped with a solvent to remove dust before burning.
Flame Patina Technique
A small propane torch was used to char the high points of the frame, intentionally leaving the grooves less affected since flames naturally avoid deep valleys—this creates the desired tonal contrast.
Surface char was softened and evened using a handheld wire brush, alternating between brushing and re-firing as needed to refine the look without obliterating the carved detail.
Cleaning and Finishing
After charring, sticky tape residue from edge protection was scraped away and the frame was carefully cleaned with denatured alcohol and mineral spirits to avoid contaminating the finish.
Boiled linseed oil was chosen for its amber tone and was applied liberally to flood the surface and penetrate the grooves, with plans for multiple thin coats over several days to build protection and depth.
Hanging and Hardware
Instead of fabricating custom hangers, a pre-made French cleat kit was used to mount the mirror easily and securely, with the wall half leveled and fastened before hanging the framed piece.
A small rigid edge (the “gift card trick”) was used during wiping to prevent finish from riding onto the glass and thinning the newly applied coats near the rabbet.
Lessons Learned and Practical Notes
Fire will emphasize surface contours; pairing flame work with selective brushing creates a subtle, sophisticated patina rather than an all-over blackened look.
Protecting adjacent materials (glass, tape, hardware) and cleaning residue promptly keeps the final finish clean, and multiple oil coats will reduce any rub-off from charred surfaces.
Why this Technique is Useful
Using flame to patina wood is a fast way to add visual age and contrast to existing moldings and frames without rebuilding them, making it ideal for salvage and upcycling projects.
The method scales well: the same approach can be adapted to frames, shallow carvings, or flat panels, and the finish choice (oil vs. varnish) lets the maker control sheen and durability.
Careful preparation, modest heat, and progressive finishing yield a durable, attractive result that reads as intentionally aged rather than accidental damage.
Support Jodee by visiting his online store here: https://inspirewoodcraft.com/collections/all.

Matt’s Take
These are my personal thoughts and tips based on my own experience in the shop. This section is not written, reviewed, or endorsed by the original creator of this project.
Fire patina is one of those techniques that looks intimidating but becomes pretty approachable once you understand the basics. The key insight here is letting the flame work with the wood’s natural grain and contours rather than fighting against them. Those deeper grooves naturally stay lighter because flames follow the path of least resistance, which gives you that contrast without having to be overly precise with your torch work.
The wire brush step is crucial for getting a refined look instead of just charred wood. It removes the loose char while keeping the deeper color changes, and you can control how aggressive you want to be. Starting light and building up is always safer than trying to undo heavy burning. That handheld wire brush gives you good control compared to a wheel on a grinder.
Safety-wise, keep a damp rag nearby and work in a well-ventilated area. The char dust from brushing isn’t something you want to breathe. The cleaning stage with denatured alcohol is worth the extra step too – any residue or oils from your hands will show up under that linseed oil finish. Multiple thin coats of oil will definitely help lock down any remaining char particles and give you a more durable surface than trying to rush it with one heavy application.