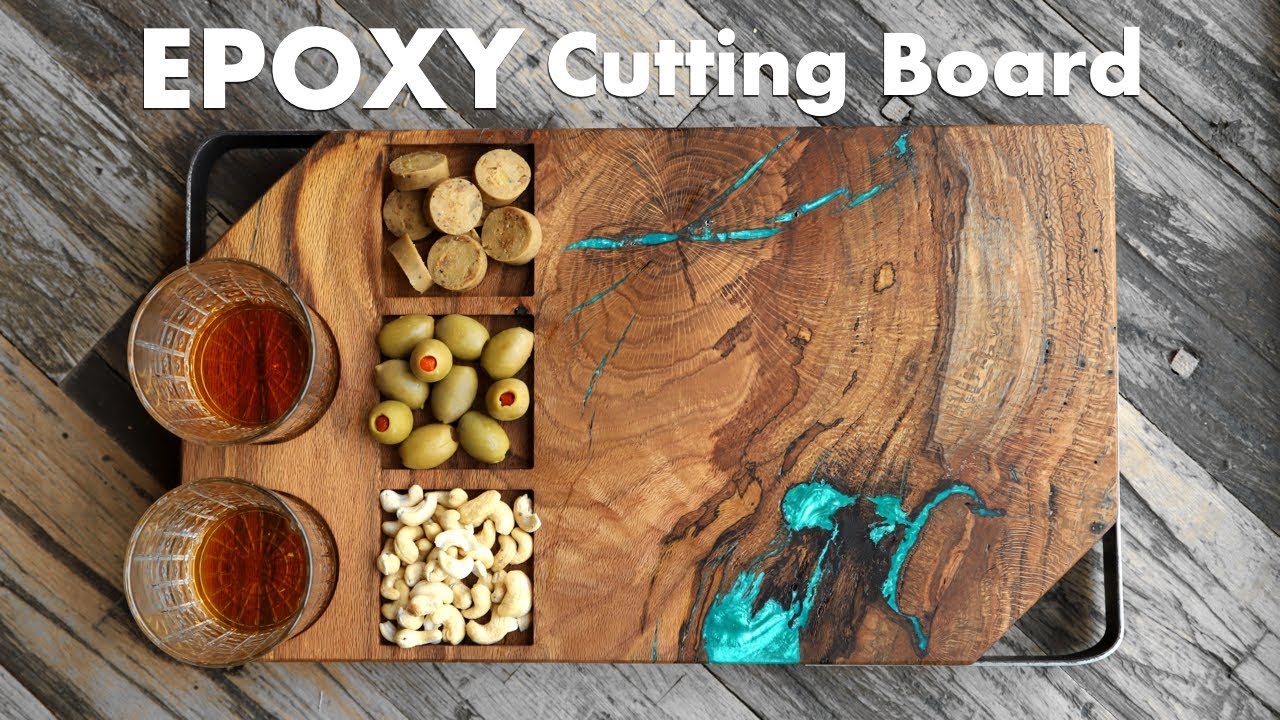
This project was built and designed by Jonny from Jonny Builds. It’s a creative and functional serving board that combines reclaimed wood, vibrant epoxy, and modern metal accents into a one-of-a-kind piece.
What started as a discarded slab becomes a striking serving board perfect for entertaining. Through careful preparation, epoxy filling, shaping, and finishing, Jonny shows how to turn trash wood into a treasured item.
Watch the full video and subscribe to Jonny’s channel:
Choosing and Preparing the Wood
The project begins with selecting the right piece of wood. Jonny picks a spalted petal slab, rich with natural imperfections like knots, voids, and spalting that give the board its character.
To get the slab ready, a planer sled made from MDF is built. Hot glue and shims are used underneath the wood to stabilize high spots, ensuring the surface is flattened evenly during planing.
Once the top surface is leveled, the slab is flipped and the process is repeated on the underside. Proper preparation is key to a smooth epoxy pour and a stable finished product.
Filling Voids with Epoxy
With the surfaces flat, Jonny moves on to filling the voids with epoxy. He uses Total Boat’s two-to-one resin, tinted with a turquoise pigment to simulate the look of natural turquoise stone.
Careful mixing of the resin and hardener ensures a full cure and a durable fill. Epoxy is poured slowly into the gaps to prevent overheating, and several rounds of pouring and curing are performed to fill all imperfections.
This meticulous process highlights how epoxy can bring new life and color to otherwise flawed wood, enhancing its natural beauty while reinforcing its structure.
Shaping and Designing the Board
After the epoxy has fully cured, it’s time to shape the serving board. Jonny uses an X-Carve CNC machine to create cutouts designed to hold two glasses and several snacks, adding both function and style.
Rough cuts on the bandsaw speed up the process, and a patterning bit ensures the final edges are smooth and consistent. Even when minor issues arise—like a tear-out—Jonny shows how patience and simple repairs can lead to flawless results.
The final shape balances practicality with visual interest, making the board perfect for both serving and conversation.
Adding Steel Handles for a Modern Touch
To take the design even further, Jonny adds steel bar handles to the board. Routing shallow channels into the surface ensures the metal handles sit flush, giving the project a sleek, professional look.
The steel is secured with screws, offering both strength and ease of use. The contrast between warm wood, bright epoxy, and cool metal gives the board a modern, upscale feel without losing its handmade charm.
Applying a Food-Safe Finish
The final step before use is finishing the board with a food-safe combination of mineral oil and beeswax. This treatment highlights the wood grain, deepens the epoxy’s color, and protects the board against moisture and wear.
Multiple coats are applied to saturate the wood fibers, and regular maintenance will help keep the board looking great for years. The finish also builds a barrier that supports safe serving for dry foods and beverages.
Important Food Safety Tips
While epoxy creates beautiful visual effects, it’s important to follow food safety best practices. Jonny emphasizes that epoxy should be fully cured before any use and recommends avoiding contact with hot foods.
Applying a food-grade finish over the epoxy surface adds an extra layer of protection. This makes the board safe for serving snacks, cold appetizers, and drinks while preserving its aesthetic value.
A Unique, Conversation-Starting Project
Jonny’s serving board project is a great example of how reclaimed materials can be elevated with a little creativity and craftsmanship. The mix of rustic wood, vibrant epoxy, and modern steel turns what was once scrap into a standout piece.
Each step—from preparing the slab to pouring the epoxy, shaping the board, and adding metal accents—builds toward a final product that is both functional and beautiful. It’s a perfect project for woodworkers who want to practice epoxy techniques or create handmade gifts.
Please support Jonny by checking out his website here: https://www.jonny-builds.com/.

Matt’s Take
These are my personal thoughts and tips based on my own experience in the shop. This section is not written, reviewed, or endorsed by the original creator of this project.
Working with spalted wood like this is always exciting because those natural defects become the star of the show once you add epoxy. The planer sled technique Jonny uses is spot-on for dealing with warped or uneven slabs — I keep MDF scraps around the shop specifically for making quick sleds like this. Hot glue and shims make it so much easier than trying to wrestle a twisted board through a planer.
That turquoise epoxy really makes the spalting pop, and mixing small batches is definitely the way to go. Large pours can generate enough heat to crack or distort, especially in thicker sections. I always keep my shop a bit cooler when doing epoxy work and have learned to be patient with multiple thin pours rather than trying to fill everything at once.
The CNC cutouts for glasses are a nice touch that takes this beyond just another cutting board. If you don’t have a CNC, a drill press with Forstner bits and some careful layout work can achieve similar results. Just remember to drill from both sides to prevent tearout on the back face.
One safety note worth emphasizing — always verify your epoxy is fully food-safe and cured before that first coat of mineral oil goes on. A good cure usually takes 72 hours minimum, and the finish really does make a difference for long-term durability and food safety.