These projects were built and designed by Clinton from Specific Love Creations.
Clinton demonstrates how to turn basic cedar fence pickets into three practical woodworking projects that are perfect for beginners. Each project uses simple construction techniques and requires minimal tools, making them accessible for woodworkers just starting their journey.
Watch the full video and subscribe to Specific Love Creations:


Rustic Side Table
The first project creates a sturdy side table using two fence pickets. Clinton cuts the boards into various lengths to form the legs, top, and connecting pieces.
A key technique Clinton emphasizes involves checking for warped boards before assembly. When boards curve in opposite directions, they create instability and make assembly difficult. Orienting all warped boards in the same direction ensures better alignment and a more stable final product.
The construction follows a logical sequence, starting with the legs and bottom shelf, then adding the top surface, and finishing with side braces for additional stability. This approach creates a robust table that works well both indoors and outdoors, and can be finished with paint, stain, or left natural.
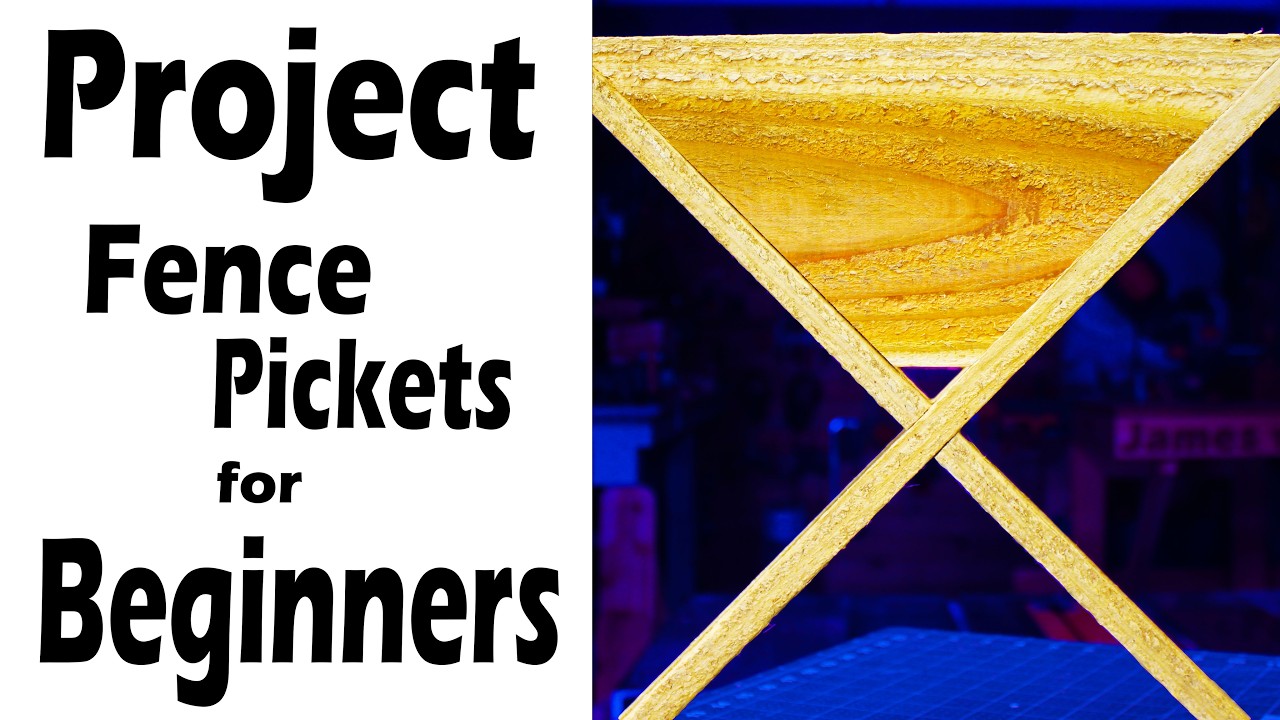
Crossed Planter Box
The second project transforms a single fence picket into an eye-catching planter with a unique crossed design. Clinton cuts angled ends on two shorter pieces and creates interlocking slots in two longer pieces.
The interlocking joint requires careful attention to the board orientation. Since fence pickets have one rough side and one smooth side, Clinton demonstrates how to cut both slotted pieces simultaneously while maintaining consistent grain pattern visibility.
The finished planter stands out from typical rectangular designs and naturally includes drainage through the gaps between boards. This makes it suitable for live plants while creating an interesting conversation piece that showcases the builder’s creativity.
Hanging Display Shelf
The third project uses two fence pickets to create a suspended shelf system. Clinton glues boards together in pairs to create thicker side panels, then connects them with horizontal shelves using pocket hole joinery.
Precision becomes important when drilling the rope holes, as they need to be perfectly vertical to ensure the shelf hangs level. Clinton uses a drill guide to maintain consistent angles, though the project can be completed with careful freehand drilling.
The rope suspension system offers flexibility in both hanging height and aesthetic choices. Clinton suggests variations like adding wooden blocks around the rope ends instead of simple knots, demonstrating how basic projects can be customized to match different design preferences.
Building with Fence Pickets
These three projects showcase the versatility of cedar fence pickets as a building material for beginners. Each project introduces different fundamental techniques while maintaining simple construction methods that build confidence.
The projects progress from basic assembly with the table, to more complex joinery with the planter, to precision work with the hanging shelf. This progression helps new woodworkers develop skills gradually while creating useful household items.
Watch the full video and subscribe to Specific Love Creations:

Matt’s Take
These are my personal thoughts and tips based on my own experience in the shop. This section is not written, reviewed, or endorsed by the original creator of this project.
Cedar fence pickets are one of my favorite materials to recommend to new woodworkers. They’re affordable, readily available at any home center, and come pre-dimensioned so you can focus on learning techniques rather than milling lumber. The natural cedar properties also mean these projects will hold up well outdoors without any finish, though a coat of exterior stain really makes that grain pop.
That tip about board orientation with warped pieces is gold. I’ve seen too many beginners fight against their lumber instead of working with it. When you’re dealing with any dimensional lumber, take a minute to sight down each board and group them by their warp direction. It’ll save you headaches during assembly and create a much stronger final product.
The pocket hole joinery on that hanging shelf is a great introduction to this technique. If you’re just getting into pocket holes, remember that cedar is relatively soft, so back off on your drill speed to avoid tear-out. And for anyone nervous about drilling those rope holes freehand, a simple trick is to clamp a square block against your workpiece as a guide – it’ll keep your bit tracking straight without needing a fancy jig.