Rob from Let’s Make Things shared the woodworking project featured in this video.
This jig solves two common workshop problems using only a table saw for construction. It creates straight reference edges on rough lumber and plywood while also functioning as a tapering jig.
Watch the full video and subscribe to Let’s Make Things:
Design and Materials
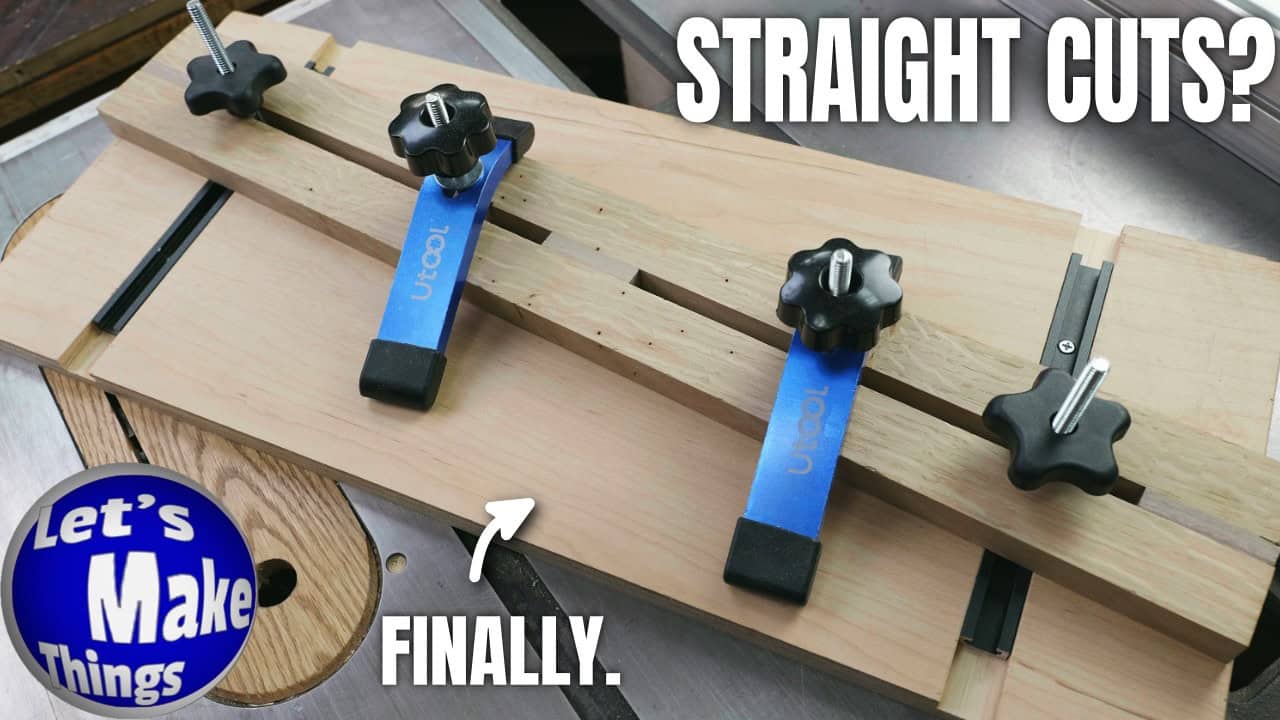
The jig consists of a plywood base with T-tracks and a movable hardwood arm that holds workpieces securely. Rob uses a piece of plywood as the foundation, sized generously to handle wider boards that need edge cleanup.
The clamping system relies on hold-down clamps with knobs and bolts rather than traditional toggle clamps. This approach provides strong holding power while keeping the design simple and the cost reasonable.
Building the Clamping Arm
The hardwood arm features a clever channel design that allows the bolts to slide freely while maintaining strength. Rob creates this channel by cutting grooves in two pieces of hardwood, then adding spacers before gluing them together.
Using packaging tape as a barrier prevents the spacers from getting permanently glued in place. This technique ensures the bolt channel remains clear while creating a solid, durable arm.
T-Track Installation
Creating the T-track slots requires careful setup with the table saw blade height matching the track depth. Rob uses a stop block system with the miter gauge to safely cut the slots without creating dangerous binding conditions.
The tracks mount with screws rather than adhesive, providing the holding power needed for this type of application. Proper spacing ensures the clamps can reach across various workpiece widths.
Creating Reference Edges
The jig excels at cleaning up rough-sawn lumber or bandsaw cuts that aren’t suitable for running against a table saw fence directly. By clamping the workpiece securely to the jig, it eliminates the risk of binding or shifting during the cut.
This approach works equally well with plywood, which cannot be run through a jointer safely. The result is two perfectly parallel edges ready for further machining or assembly.
Tapering Capabilities
The same clamping system that creates reference edges also enables precise tapering operations. While many tapering jigs use hooks for repeatability, the clamping approach offers more versatility.
For repeated tapers, Rob suggests adding a simple stop block with double-sided tape. This provides the reference point needed for consistent results while maintaining the jig’s primary function as an edge jointer.
This dual-purpose jig addresses two fundamental workshop needs with a single, table saw-built solution. The design prioritizes safety and accuracy while remaining accessible to woodworkers without specialty tools like jointers.
See Rob’s plans here: https://makethingswithrob.com/taper-reference-edge-jig/

Matt’s Take
These are my personal thoughts and tips based on my own experience in the shop. This section is not written, reviewed, or endorsed by the original creator of this project.
Rob’s approach to creating that bolt channel in the hardwood arm is really clever — using packaging tape to prevent the spacers from bonding permanently. That’s the kind of shop trick that saves you from having to drill out stubborn wood pieces later. When you’re doing similar glue-ups with temporary spacers, wax paper works great too, though tape gives you better control over placement.
The clamping system here really shines compared to hooks or simple stops. I’ve found that when you’re dealing with rough lumber or oddly-shaped pieces, having that adjustable clamping pressure makes all the difference in getting clean cuts. Just remember to take your time positioning the workpiece — once it’s clamped down, you want that edge running parallel to your fence line.
Safety-wise, this type of jig eliminates one of the scariest table saw scenarios: trying to run warped or rough stock directly against the fence. That’s a recipe for kickback. With everything securely clamped to a stable sled, you’re in control of the cut from start to finish. The key is making sure your jig base is dead flat and that first reference edge is true — everything else builds from there.