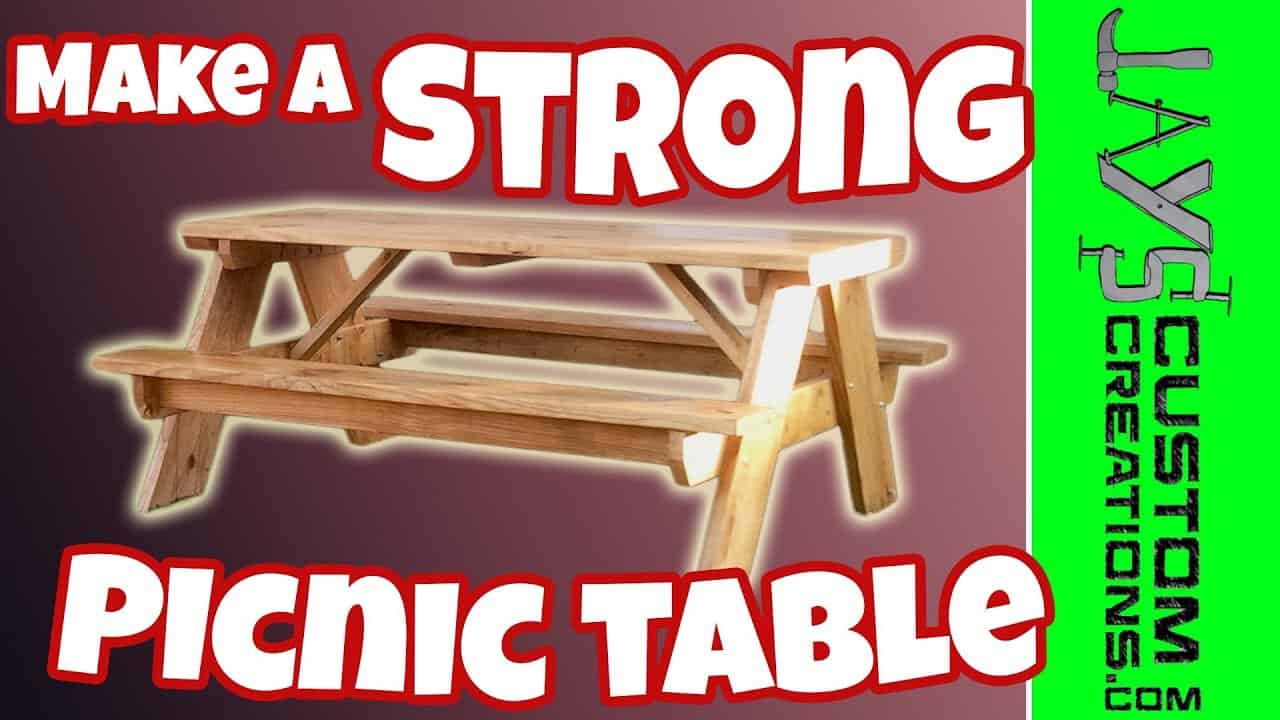
This project was built and designed by Jay Bates. It’s a practical and rewarding build that brings people together around a durable, custom-made picnic table for meals, games, and outdoor fun.
Jay walks through the entire process—from cutting the lumber to final assembly—showing how thoughtful design and preparation lead to a professional-looking result. This table is strong, stable, and perfect for backyard use.
Watch the full video and subscribe to Jay’s channel:
Project Overview
This picnic table project focuses on building from the ground up, literally. Jay uses a bottom-up assembly method that keeps fasteners hidden and results in a clean, polished appearance.
Rather than relying on complex joinery or a large tool collection, the project uses basic equipment. A circular saw, drill, clamps, and a pocket hole jig are the core tools needed to complete the build.
Materials and Design Considerations
The picnic table is made with weather-resistant lumber, such as treated pine or cedar, to ensure it holds up well to outdoor use. While specific measurements aren’t detailed in the summary, the overall design is flexible and easy to adapt to different sizes or layouts.
This particular version focuses on a six-foot layout, though the same principles can be used to build longer or shorter versions depending on your space.
Getting Started with Layout and Cuts
The first step is organizing the lumber and making accurate cuts. Jay emphasizes taking the time to measure and mark each board carefully. Precision early in the process helps avoid fitting issues later on.
All the pieces are prepared at once to streamline the assembly. By batching the cuts and pre-drilling any necessary holes, the build becomes more efficient and easier to manage.
Assembly: Building from the Bottom Up
To keep screw heads hidden, Jay assembles the table upside down. This gives clear access to key joints and allows clamps to hold everything in place while driving screws.
The legs are connected to support beams first. Each joint is secured with screws that are appropriate for outdoor use and sized correctly for the thickness of the material.
Assembling the frame this way ensures everything is tight and aligned. Clamps help prevent shifting, and checking for square at each step maintains the integrity of the design.
Adding the Tabletop and Seats
Once the base is complete, the top boards are installed. Jay aligns each board with care, spacing them evenly and securing them from underneath to maintain a seamless surface.
Seat supports and bench boards follow, using the same approach: bottom-side fasteners for a smooth finish and hidden hardware. The benches are built into the frame, adding to the table’s overall strength and giving it a cohesive look.
Smoothing and Sealing the Surface
After the main assembly is complete, it’s time to sand the entire structure. This step improves comfort for users and prepares the surface for sealing.
Jay recommends using a protective finish like Thompson’s WaterSeal to increase weather resistance. Applying multiple coats will help prevent moisture damage, prolong the table’s life, and keep it looking clean and well-maintained.
Design Variations You Can Try
While Jay’s build focuses on a standard six-foot picnic table, the concept is highly customizable. You can scale the table up to eight feet for larger groups or down for patios and balconies.
There are also opportunities to add features like built-in umbrella holders, angled leg supports, or decorative edge treatments. Each change offers a way to make the project more personal and better suited to your space.
Why Build One Instead of Buying?
Store-bought picnic tables can be convenient, but they often lack the sturdiness and quality of a handmade version. Jay’s approach not only delivers a better product—it gives woodworkers the chance to create something meaningful and lasting.
The process builds both skill and confidence. There’s satisfaction in knowing you created a gathering place for friends and family from raw lumber and your own effort.
A Functional Project with Lasting Value
With a solid structure and weather-ready materials, this picnic table is made to handle years of use. The bottom-up assembly keeps everything tight and clean, while the use of basic tools makes it accessible for most DIYers.
Jay’s clear approach and efficient workflow make the build manageable and enjoyable. Whether you’re upgrading your outdoor furniture or looking for a weekend project, this picnic table is a great choice.
Please support Jay by purchasing his plans here: Jay’s Custom Creations.

Matt’s Take
These are my personal thoughts and tips based on my own experience in the shop. This section is not written, reviewed, or endorsed by the original creator of this project.
Jay’s bottom-up assembly approach is really smart here. Working upside down gives you much better access to drive those screws from underneath, and it’s so much easier to keep everything square when you can see all your joints clearly. Plus, having all those screw heads hidden underneath makes for a much cleaner final look that won’t snag clothes or skin.
The pocket hole jig he mentions is a game-changer for projects like this. If you’re new to pocket holes, just remember to set your depth correctly for your material thickness and always drill your pilot holes before assembly. Those self-tapping screws can split boards if you’re not careful, especially near the ends of boards.
Weather sealing is absolutely critical for outdoor furniture. That Thompson’s WaterSeal Jay recommends is solid, but make sure you apply it in thin, even coats and give each coat plenty of time to cure. I’d also suggest hitting it with a fresh coat every couple of years to keep the protection up. And here’s a pro tip: do your sanding progression all the way up to 150 grit before sealing – it makes a noticeable difference in how smooth the final surface feels and how well the sealer penetrates.