Jon Peters of Longview Woodworking shared the woodworking build featured in this video.
A solid cherry stepstool is a practical project that teaches layout accuracy, template-based shaping, and strong—yet clean—joinery. The build also highlights what happens when things go wrong, and how small course corrections keep a project moving toward a polished result.
Watch the full video and subscribe to Jon’s channel:


Design: Simple Form, Clean Details
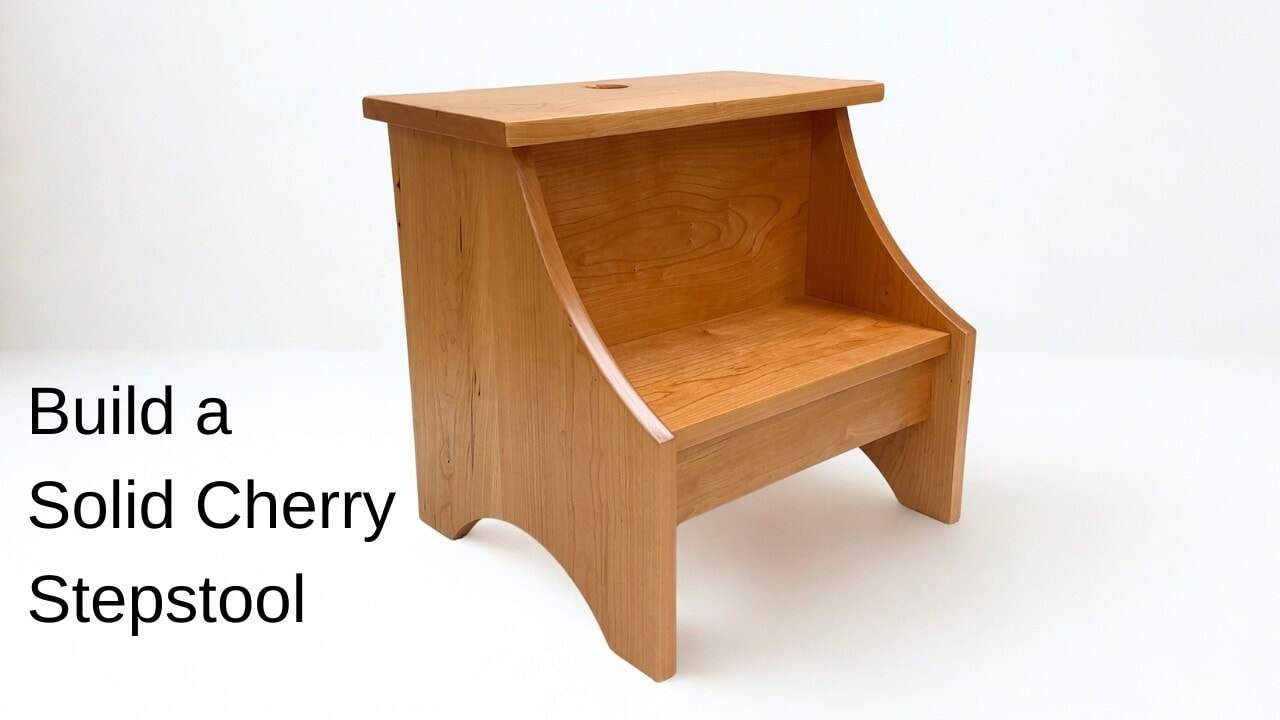
The stepstool design focuses on straightforward geometry with a sturdy footprint and a comfortable top. What makes the build feel “finished” is the attention to how curves transition into flat surfaces and how edges are softened for use.
Rather than relying on decorative elements, the design leans on joinery alignment and the natural visual depth of cherry. Cherry’s tone can shift dramatically as it darkens over time, so the project can look better the longer it’s allowed to develop.
Lumber Prep: Set Up for Stability and a Rich Finish
Working with hardwood is easier when boards are cleaned up, squared, and cut with consistency in mind. The build emphasizes getting reliable blanks before any shaping or template work starts.
Cherry in particular benefits from careful handling because its color and character are part of the final payoff. Good prep reduces surprises later, like uneven mating surfaces or warped pieces that make joinery harder than it needs to be.
Joinery: Biscuits, Pocket Holes, and Reliable Alignment
The stool’s structure is built around repeatable joinery methods that help parts stay aligned during assembly. Biscuits are used early to help keep wide sections positioned accurately while glue is applied.
Pocket holes handle the functional connections for supports and risers, which keeps the assembly process efficient without looking bulky. Selecting the best face of a part for visibility is also part of the joinery mindset—what matters is not only strength, but how the result reads from the outside.
Templates and Shaping: Make Curves Repeatable
One of the biggest quality drivers in the build is template use for shaping the side profiles. Instead of freehanding the curve, a printed pattern is transferred to a stable template so both sides match closely.
A sanding block approach is used to refine the curve smoothly and avoid tool marks. This matters because a smooth template-guided surface reduces the amount of cleanup needed later, which helps keep the design crisp.
Routing to a Pattern: Cleaner Cuts with a Template Bearing
After rough cutting, the build uses the template again to guide a flush-cleanup pass. The technique helps ensure the final outline is consistent, even when the initial cut is slightly rough.
Because cherry can show burn or discoloration from cutting friction, slower feeds and controlled passes help maintain a clean line. The goal is to end up with a shape that needs only sanding, not major rework.
Clamping and Assembly: Keep Parts Flush and Square
Glue-up relies on careful clamping pressure and alignment checks. The build repeatedly verifies flush edges and back alignment, because small misalignments can compound as the structure grows.
As assembly progresses, clamping becomes as important as the joinery choice. Pocket-hole connections and screw pulls help hold geometry, but the clamps do the quiet work of keeping everything where it should be before fasteners tighten.
Handling Mistakes: When a Layout Error Happens
The project demonstrates a real-world lesson: mistakes can occur at any skill level. A biscuit placement error happens during the side cutting process, and the response is simply to correct it and continue.
The takeaway isn’t perfection—it’s momentum. By quickly addressing the issue and keeping the overall fit under control, the build avoids letting one mistake derail the entire project.
Finishing with Cherry: Patience Pays Off
Finishing starts with sanding and an initial coat, then the process continues as the color develops. Cherry is chosen partly because it can reach a deep, rich tone over time, creating a look that feels more “antique” and warm as it darkens.
The finishing approach also includes strategies for keeping finishes from skinning over in storage. Using an oxygen-displacing product helps protect oil-based finishes and paints from going bad, which is especially useful when cans sit between projects.
Overall Takeaways: Why This Stepstool Teaches So Much
This stepstool is more than a convenient shop item. It teaches practical woodworking habits: template-driven accuracy, structured joinery, disciplined alignment during glue-ups, and finishing decisions that respect how cherry changes.
The project is also adaptable. The template-and-router approach can be reused for other curved parts, and the “fix-and-continue” mindset can make learning far less stressful for beginners and a useful refresher for experienced makers.
Conclusion: Make It Useful—and Learnable
A solid cherry stepstool is an ideal project for building confidence with hardwood while practicing repeatable shaping and dependable assembly. It shows that clean results come from preparation and process—not from avoiding every mistake.
For makers who want to keep improving, the techniques around templating, joinery alignment, and finish management are transferable to many other builds. Jon’s approach demonstrates how even a simple form can become a skill-building platform.
Get Jon’s plans here: https://jonpeters.com/products/simple-step-stool-plan.

Matt’s Take
These are my personal thoughts and tips based on my own experience in the shop. This section is not written, reviewed, or endorsed by the original creator of this project.
This stepstool project really showcases how much learning you can pack into a relatively simple build. Cherry is an excellent choice for a piece like this — it’s forgiving to work with but rewards good technique, and that natural darkening over time means the stool will literally get more beautiful as it gets used.
The template approach Jon uses here is worth emphasizing. Taking time to make a solid template pays dividends throughout the project, especially when you’re working on matching curved parts. I always keep a few pieces of 1/4″ plywood or MDF around specifically for templates — they’re stable, take layout lines well, and can be reused for future projects. The flush-trim routing technique he demonstrates is a game-changer for achieving consistent results.
That pocket hole and biscuit combination is really smart for this type of assembly. Biscuits help with alignment during glue-up, while pocket holes provide the clamping pressure exactly where you need it. Just remember to test your pocket hole settings on scrap first — cherry can be prone to tearout if your bit isn’t sharp or your settings are off.
The mistake recovery shown in this build is probably the most valuable part for newer woodworkers. Everyone makes layout errors, and seeing how to adapt and move forward without scrapping the whole project builds real shop confidence. Keep pushing through — most “mistakes” end up being invisible in the final piece.