This project was built and designed by Tom from Alley Picked.
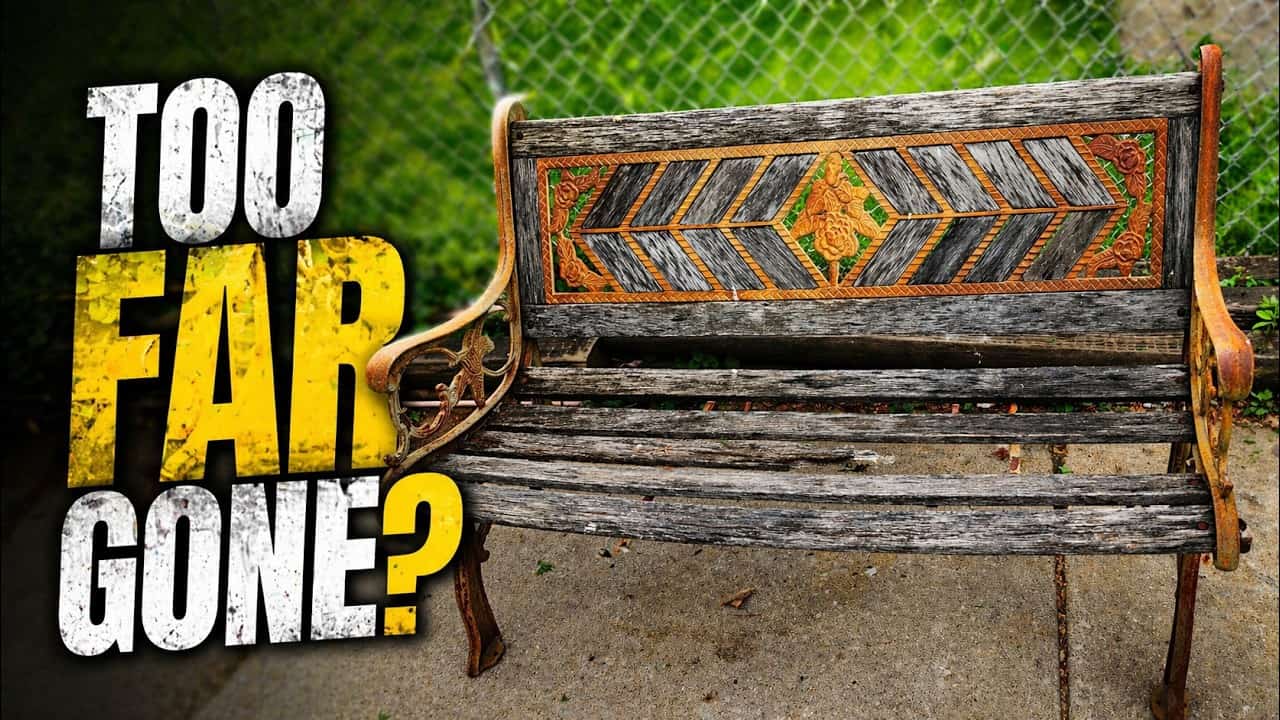
Tom discovered a heavily damaged cast iron and wood bench at an estate sale and decided to restore it completely. The bench appeared to be in terrible condition with rust, rot, and years of neglect, but Tom saw potential in the ornate cast iron frame.
Watch the full video and subscribe to Alley Picked:
Complete Disassembly
The restoration began with completely stripping the bench down to its basic components. Tom enlisted his grandson to help remove every rusty nut, bolt, and screw from the cast iron frame.
All of the original wood pieces were beyond saving and went straight to the garbage. Rather than trying to salvage the rotted slats, Tom decided to start fresh with new lumber for both the seat and backrest sections.
Cast Iron Preparation
The cast iron frame required extensive preparation before painting. Tom used a wire wheel on both a drill and bench grinder to remove old paint and surface rust from the ornate metalwork.
After mechanical cleaning, he applied a rust converter to treat any remaining corrosion. This step prevents future rust from forming under the new paint and ensures the restoration lasts for years.
Decorative Paint Work
The most ambitious part of the project involved hand-painting the decorative flowers and accent swirls on the cast iron. Tom used small bottles of enamel tester paints, the same type he remembered from childhood model making.
His technique involved layering colors for depth and realism. After painting each rose red, he mixed white and red together, thinned it with paint thinner, and brushed it around the petal edges for highlights. Black paint thinned down provided shadows and leaf veins.
This approach created much more natural-looking flowers than simple flat colors would have achieved.
New Wood Components
For the seating area, Tom selected treated decking material about an inch thick. He emphasized the importance of choosing dry lumber, as wet treated wood will warp and shrink as it dries.
The backrest required thinner material, so he used treated decking material. After cutting all the pieces to size on his chop saw, he sanded each one to remove mill marks and round the edges for a more finished appearance.
Staining and Finishing
Tom tested several stain colors including brown deck stain, gray, walnut, and even blue, but none satisfied him. He ultimately chose an ebony stain that had been sitting in his shop for some time.
The aged stain created an extremely dark, almost black finish that perfectly complemented the black cast iron while still showing the wood grain. He protected the stained wood with spar varnish for UV protection.
This restoration demonstrates how even severely damaged pieces can be brought back to life with patience and attention to detail. The combination of careful metalwork preparation, artistic paint application, and proper wood selection resulted in a bench that looks better than new. Tom’s approach of layering paint colors and choosing complementary finishes shows how traditional techniques can create stunning results in furniture restoration.
Watch the full video and subscribe to Alley Picked:

Matt’s Take
These are my personal thoughts and tips based on my own experience in the shop. This section is not written, reviewed, or endorsed by the original creator of this project.
Restoration projects like this one really showcase what’s possible when you’re willing to dig into the details. The wire wheel approach for cast iron prep is solid — I tend to reach for that combo of drill-mounted and bench grinder wheels myself. That rust converter step is crucial too; skipping it means you’re just painting over future problems.
The hand-painted decorative work caught my attention. Using model paint for detail work is clever since those little bottles give you way more control than regular brushes loaded with house paint. That layering technique with thinned paint for highlights and shadows takes patience, but it’s what separates a quick fix from real craftsmanship.
Smart call on emphasizing dry lumber selection. I’ve seen too many projects go sideways when someone grabs the first treated boards they find without checking moisture content. Wet treated lumber will absolutely move on you as it dries, and there’s nothing worse than perfectly fitted pieces that gap out six months later.
That aged ebony stain creating an almost black finish sounds like a happy accident that worked perfectly with the cast iron. Sometimes the best results come from materials that have been sitting around waiting for the right project.