This project was built and designed by Chris from A Glimpse Inside.
He transformed a plain living room wall into a bold, character-rich focal point by combining reclaimed barnwood with a large canvas periodic table print.
By pairing crisp printed artwork with rough, weathered lumber, Chris created an eye-catching visual contrast that feels both modern and timeless. The end result is not only visually striking but also thoughtfully built with secure mounting and practical finishing touches.
Watch the full video and subscribe to Chris’s channel:
Why Take on This Project?
Chris wanted to refresh a main living space without replacing furniture or repainting the whole room. Instead, he focused on a single large accent piece that anchors the room visually while incorporating personality through material choice.
The project started with a canvas print designed to look like a chalkboard-style periodic table. The challenge was figuring out how to mount it securely, frame it with reclaimed wood, and add lighting—all while making it child-proof and family-friendly.
Prepping the Artwork for Framing
To give the flexible canvas rigidity, Chris mounted it onto a thick hardboard backer. Rather than use messy liquid glue, he opted for a spray adhesive applied to both the canvas and the board.
To avoid bubbles, he used a rolling method with the original shipping tube, slowly pressing the canvas onto the surface from one side to the other. A few bubbles appeared later in the sun, but these were flattened with a straightedge and pressure. After trimming the edges with a sharp knife, the panel was ready for framing.
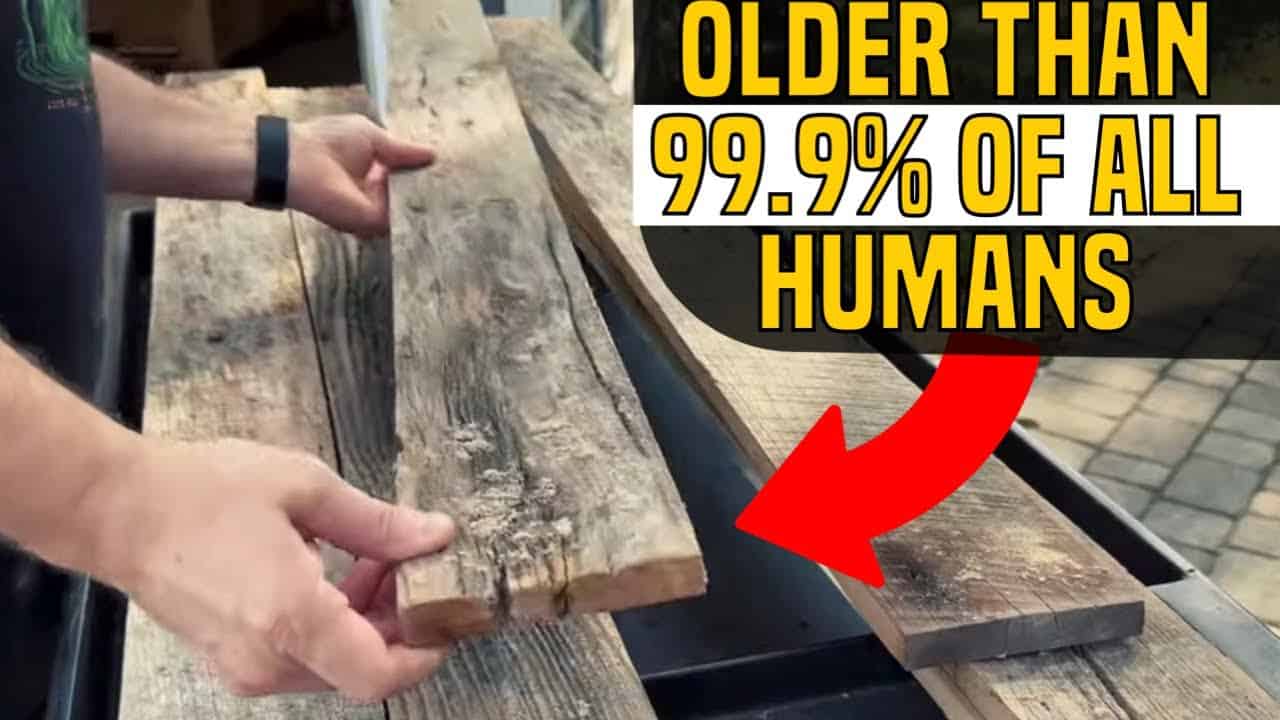
Working with Reclaimed Barnwood
The frame was built using salvaged barnwood—full of imperfections, character, and history. Chris intentionally left the wood weathered and raw, only cleaning it enough to be safe to handle and stable for joinery.
Rather than plane or resurface the wood, the goal was to preserve its aged appearance. He joined the frame using pocket holes and screws, choosing functionality over decorative joints. This kept the process efficient and let the material’s natural texture shine through.
For finishing, Chris lightly misted on a clear protective coat using a spray bottle, then leveled it with a foam roller. This method helped preserve the color and patina of the barnwood while giving it a sealed surface.
Mounting the Finished Panel
Because of the weight of the assembled panel, Chris mounted it directly to wall studs using long screws. This ensured that it could safely hang in a high-traffic room without the risk of falling.
Behind the frame, LED light strips were installed to add depth and ambiance. Chris tested the lighting during daylight to make sure it worked well in different conditions. His advice: spend a little more on better-quality LED strips to get consistent brightness and adhesive that actually sticks.
Making It Kid-Proof
One key design requirement was safety—especially around curious kids. Chris built a simple cord concealment box that screws into the back of the panel and keeps the power connection hidden.
This prevents accidental unplugging and keeps cords out of sight. It’s a small detail that makes a big difference in a home with young children.
Personal Touches and Shop Life
Chris doesn’t just show the final product—he includes the behind-the-scenes chaos that happens in real shops. His new family dog makes an appearance, hanging around the workspace like a loyal assistant.
He also uses humble tools with personal stories—like an old bakery bench brush to sweep off boards—and shares relatable fixes, like discovering the exact part needed to repair a misfiring nail gun. These shop moments help bring the project to life and make the process more approachable.
Additional Builds from Scrap
To complete the space, Chris used leftover barnwood for smaller projects. These included a curtain valance and a kids’ desk with a laser-etched squirrel motif beneath a sheet of acrylic. Both pieces helped tie the room together by continuing the same design language throughout.
Another unique piece in the room is an antique harpsichord. Though no longer playable, it anchors the space with personal history and adds character to the modern-rustic vibe.
Practical Tips and Design Lessons
This project offers several useful takeaways for woodworkers and homeowners alike:
- Contrast works: Pairing refined graphics with rough wood creates strong visual impact.
- Mount to studs: For heavy wall décor, always fasten into framing. Avoid drywall anchors.
- Use good LEDs: Higher-quality strips offer better brightness, color consistency, and adhesion.
- Preserve character: Reclaimed wood looks best when imperfections are left visible.
- Think beyond the main project: Use scrap to create complementary pieces that finish the space.
Why This Project Stands Out
Chris’s reclaimed wood wall art is a great example of how intention and improvisation can work together. The clean lines of the periodic table provide structure, while the barnwood adds warmth and history.
Importantly, the project doesn’t require pristine tools or a high-end shop setup. It’s built with patience, creativity, and a willingness to let the material guide the final look.
Please support Chris by visiting his website here: https://www.aglimpseinside.org

Matt’s Take
These are my personal thoughts and tips based on my own experience in the shop. This section is not written, reviewed, or endorsed by the original creator of this project.
Working with reclaimed barnwood like this is always a balancing act between preserving character and making the material workable. That light misting technique Chris used for the finish is smart — it’s easy to over-seal weathered wood and lose that authentic patina you’re trying to preserve. I’ve found that less is definitely more when it comes to finishing reclaimed lumber.
The spray adhesive approach for mounting the canvas is a solid choice over liquid glue, especially on a project this size. Liquid adhesives can create uneven spots and wrinkles that are tough to fix once they’re set. That rolling technique with the shipping tube is a neat trick — it’s similar to how sign makers apply large vinyl graphics to avoid bubbles.
Chris’s emphasis on mounting to studs can’t be overstated. This isn’t just heavy artwork — it’s artwork with a substantial wood frame and LED strips. Drywall anchors might hold initially, but they’ll fail over time, especially in a house with kids running around. The cord concealment box is a thoughtful touch that shows he’s thinking about long-term livability, not just the initial install.
The contrast between the crisp periodic table graphics and the rough barnwood really drives home how powerful material pairing can be in woodworking. Sometimes the most interesting projects happen when you combine opposite textures and finishes rather than trying to make everything match perfectly.