Keaton Beyer built and designed this project.
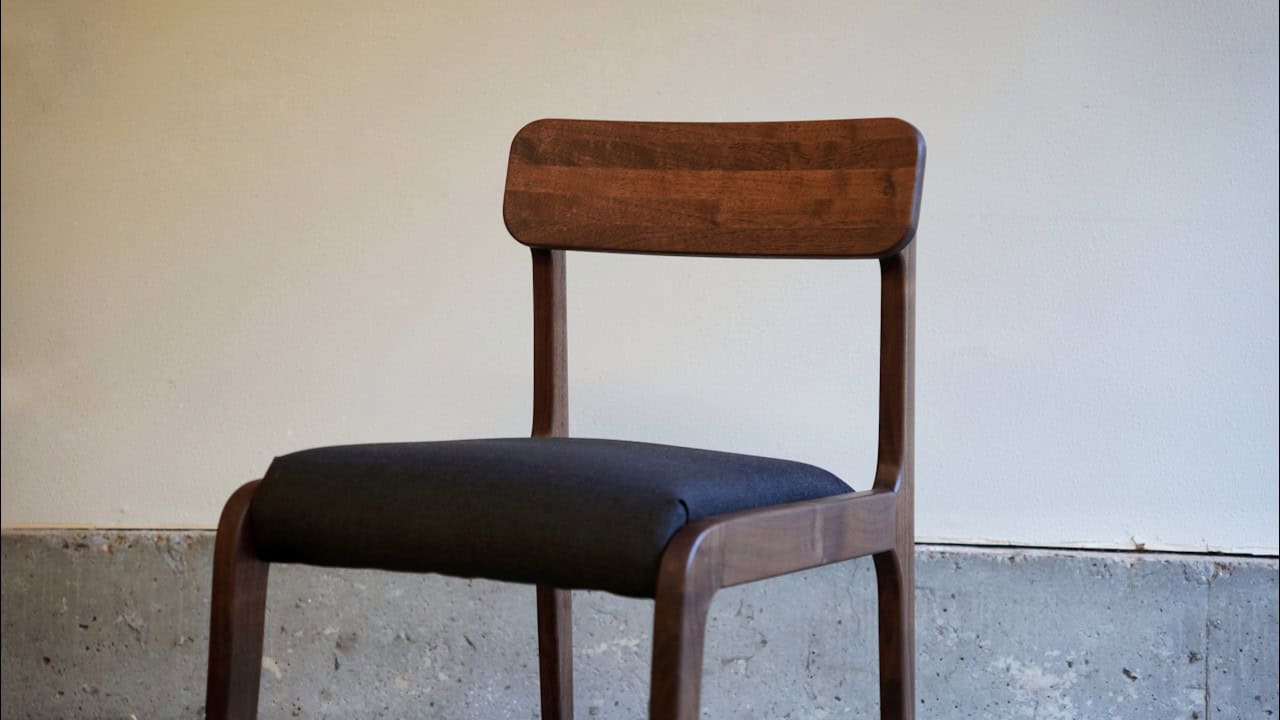
Keaton shows the process of making a first-ever set of dining chairs—six walnut chairs that emphasize comfort, solidity, and repeatable joinery while navigating lots of compound angles.
The video covers design decisions, templates and jigs, mortise-and-tenon joinery, shaping curved backrests, upholstery, and finish work.
Watch the full video and subscribe to Keaton Beyer Woodworking:
Design
Keaton approached the chairs with a set of simplifying rules to tame the complexity of angled parts and comfort requirements. One key design move was making the front and back joint faces the same size and parallel so the apron could be a simple 90° rectangle, which reduced joinery complexity.
The design was refined through multiple prototypes and real-world testing, focusing on balance between lightness and structural strength. Comfort was prioritized by planning for upholstered seats and a supportive webbing system under the foam.
Templates & Lumber Prep
Templates were used for consistent repeated parts—especially important when making 24 legs plus other matching components for six chairs. Keaton printed full-size patterns, glued them to thin plywood, then rough-cut and sanded to the lines for accurate templates.
Walnut was chosen for its workability and appearance, and parts were milled, flattened, and laid out to minimize waste and avoid defects. When a jointer wasn’t available, the router table was used to establish a straight reference edge for layout and template work.
Joinery & Jigs
Mortise-and-tenon joinery was used for the main structural joints to ensure long-term strength and solidity. Keaton drilled mortises with careful layout so the joints land in the center of faces, and used a sled and stop blocks to repeat accurate angled joint faces.
Some tenons were cut by hand for speed and efficiency, while floating tenons were used where needed for visibility or compound angles. When an angled mortise issue was discovered, Keaton filled and recut mortises with a simple fixture-based approach rather than buying a new tool—showcasing practical problem solving over gadget purchases.
Shaping the Backrests
Keaton explains three common methods to produce curved backrests—steam bending, strip lamination, or carving from solid—and chose the latter for this build. Carving from solid proved to be time-consuming and wasteful, requiring bulk removal with a saw and heavy routing before final shaping by hand.
Router catches and tear-out were mitigated by careful multiple passes, guide bushings, and leaving a center strip for hand finalization. A simple sled trick for mirrored cuts allowed reuse of the same jig for left and right parts, saving setup time and keeping angles consistent.
Upholstery & Seat Frames
Seats were built from simple plywood frames with webbing that bears most of the load, followed by foam and fabric. The webbing was stretched tight to provide spring and comfort, and foam was left slightly oversized to compensate for compression and minor unevenness.
A pneumatic staple gun made the upholstery step far easier with two people handling fabric tension and stapling, and a lesson in structure came when a test revealed insufficient corner support—side rails were added to distribute loads more evenly. Visible screw heads on backrests were repaired with face-grain plugs for a cleaner look.
Finishing, Assembly & Sanding
Final assembly began with glue-ups of the side frames, using small sacrificial blocks to give clamps purchase on curved areas and ensure uniform clamping pressure. Keaton preferred scraping dried glue with a sharp chisel rather than wiping wet squeeze-out to reduce additional sanding.
Sanding was one of the most time-consuming parts of the project, taking many hours to get smooth, seamless joins and softened edges before finish. The finishing sequence and careful sanding bring the walnut and upholstery together into a cohesive, comfortable chair.
Lessons Learned and Takeaways
Keaton’s main lessons are pragmatic: simplify where possible, use templates for repeatability, prioritize solid joinery, and favor clever setups over buying specialized tools. The build highlights that creative problem solving and incremental prototyping can overcome unfamiliar challenges like upholstery or compound angles.
For newcomers, chairs can be a demanding project because everything must be repeated multiple times and comfort adds an extra layer of complexity, but the result is a functional piece that rewards the extra effort and planning. Keaton’s approach shows how modest tools and thoughtful jigs produce consistent, durable outcomes.
Please support Keaton and learn more about this project by visiting his website: https://www.keatonbeyerwoodworking.com/blog/dining-chair-guide.

Matt’s Take
These are my personal thoughts and tips based on my own experience in the shop. This section is not written, reviewed, or endorsed by the original creator of this project.
Making six matching dining chairs is one of those projects that really separates the weekend warriors from the serious woodworkers. The repeatability factor alone is enough to drive you crazy if you don’t have solid templates and jigs dialed in from the start. What I appreciate about Keaton’s approach is the focus on simplifying wherever possible – that decision to keep the front and back joint faces parallel is the kind of smart design thinking that saves hours of headaches down the road.
The mortise and tenon joinery choice is spot-on for dining chairs. These pieces need to handle years of people leaning back, scooting around, and general abuse that comes with daily use. I’ve seen too many chairs with loose joints fail after just a few years because someone went with simpler joinery methods. The extra time upfront pays dividends in longevity.
That backrest carving approach really caught my attention – it’s definitely the hard way to do it, but sometimes solid wood just gives you the look you’re after. If you’re considering a similar approach, take your time with those router passes. Walnut can be unpredictable with grain direction changes, and a router catch on a curved surface can ruin hours of work in seconds. Multiple light passes and sharp bits are your friends here.
The upholstery component adds a whole different skill set to the mix, but that webbing system is a smart way to handle it without getting too deep into traditional upholstery techniques. Just remember that foam compresses more than you think over time, so err on the side of slightly thicker rather than thinner.