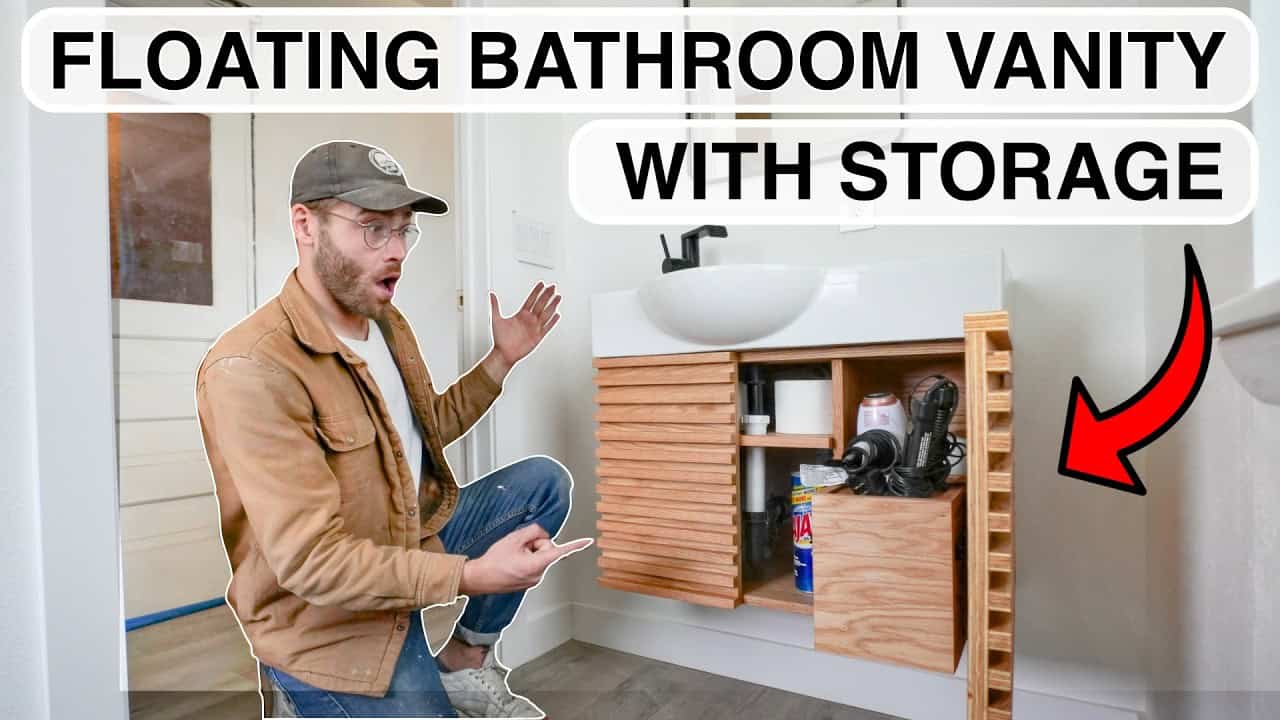
This project was built and designed by Mike Montgomery from Modern Builds. It’s a clean, mid-century modern floating vanity that combines sleek aesthetics with practical bathroom storage, including a custom drawer for hair tools.
Designed with functionality in mind, this vanity mounts to the wall to keep floors open and clear. The project makes great use of plywood, pocket hole joinery, and thoughtful design choices to deliver a stylish and highly functional bathroom centerpiece.
Watch the full video and subscribe to Mike’s channel:
A Mid-Century Modern Design Approach
The vanity’s overall design is inspired by mid-century modern style—simple, elegant lines with a focus on function. The floating form gives the bathroom a more open look while still offering generous storage for everyday items.
Mike reworks a previous vanity concept to improve how the cabinet stores larger items like hair tools, cleaning supplies, and toiletries. The result is a vanity that looks built-in but is simple enough for DIYers to tackle.
Materials That Balance Strength and Style
Red oak plywood is chosen for its durability, straight grain, and visual appeal. It also machines well and offers a solid surface for edgebanding and joinery.
Other supplies include edgebanding material, hinges, drawer slides, and adjustable shelf pins. Tools used include a miter saw, table saw, drill, hinge jig, and pocket hole jig. Mike keeps the process approachable by using tools most DIYers already have or can easily access.
Building the Basic Frame
The cabinet starts with a basic box structure using plywood panels cut to size. The side panels are taller than the width to support the floating design and provide room for plumbing access at the back.
Pocket hole screws are used to join the sides and base together. This method keeps screw heads hidden and creates a strong frame while speeding up the build process.
Before assembly, all plywood edges are sanded and cleaned up to ensure square and flush joints. Mike takes extra care to measure precisely so everything stays even when mounted.
Applying Edgebanding for a Finished Look
Edgebanding is applied to all exposed plywood edges using a heat-activated adhesive. This step helps hide the plywood core and adds a professional appearance.
Mike uses a standard household iron to apply the banding, trimming it with a flush-cut tool once it cools. It’s a simple process but adds a lot of polish to the final piece.
Designing the Slatted Doors
The standout feature of this vanity is the pair of slatted doors. Thin strips of plywood are glued across the surface in even spacing to create a visually appealing and functional facade.
A spacer block is used to maintain consistent gaps between the slats. This method not only adds interest but also provides passive airflow—perfect for storing warm hair tools inside the cabinet.
Each slat is glued and secured with pin nails to keep them in place. Once assembled, the entire door is sanded to ensure the surface is smooth and uniform.
Installing Hidden Hinges
Mike uses concealed hinges for a modern, minimalist look. A concealed hinge jig helps with accurate placement and depth, ensuring both doors hang evenly and operate smoothly.
Drilling the cup holes and mounting the hinges takes a bit of precision. Final door adjustment is done after the cabinet is installed on the wall to get perfect spacing and alignment.
Interior Layout and Custom Hair Tool Drawer
Inside the vanity, an internal divider helps split the cabinet into organized sections. This also supports a custom drawer specifically designed to hold hair tools like a blow dryer or straightener.
The drawer runs on small side-mount slides and fits neatly in the corner of the cabinet. A notch is included to allow for cord routing if needed.
Mike also drills shelf pin holes using a jig, allowing the user to add adjustable shelves depending on their storage needs. The overall interior is kept flexible but organized.
Sanding and Applying Finish
With the full cabinet assembled, all surfaces are sanded using fine-grit paper to smooth out any rough edges. Attention is given to corners, slats, and drawer fronts to avoid sharp edges or uneven spots.
A clear finish is applied to bring out the grain of the red oak and protect against bathroom moisture. Mike suggests allowing full curing before mounting the cabinet to avoid any finish damage during installation.
Mounting the Vanity to the Wall
The final step is securing the vanity to the wall using lag bolts driven into studs. Since the piece is floating, proper anchoring is essential to support the weight of the cabinet and anything stored inside.
Plumbing cutouts are made in the rear panel to align with existing pipes. Mike takes time to double-check all mounting points and final door spacing before calling the project complete.
A Functional and Stylish Bathroom Upgrade
This project blends smart storage with clean design, giving the bathroom a sleek update without sacrificing functionality. The slatted doors, floating form, and custom compartments make it a standout DIY option.
With good planning, accurate cuts, and a few key tools, this vanity can be built in a weekend and installed with confidence.
Please support Mike by visiting his website: https://www.modernbuilds.com/.

Matt’s Take
These are my personal thoughts and tips based on my own experience in the shop. This section is not written, reviewed, or endorsed by the original creator of this project.
Red oak plywood is an excellent choice for bathroom projects like this. The straight grain looks great under clear finish, and oak’s natural durability handles moisture well when properly sealed. That edgebanding step really makes all the difference — it’s one of those details that separates amateur-looking projects from professional ones. A standard iron works perfectly, just keep it moving and don’t let it sit too long in one spot.
Those slatted doors are brilliant for storing hair tools. The spacing allows heat to dissipate naturally, which is crucial when you’re putting away a blow dryer that’s still warm. That kind of thoughtful design consideration is what makes a project truly functional rather than just pretty. The concealed hinges are the right call too — they keep the lines clean and modern.
Wall-mounting floating vanities requires serious attention to your fasteners and stud locations. I’d recommend using a stud finder that shows the edges, not just the center, so you know exactly where you’re drilling. And don’t skimp on the lag bolts — bathroom cabinets see a lot of daily use and need to stay rock solid. Taking time to get the mounting points perfect will save headaches later.