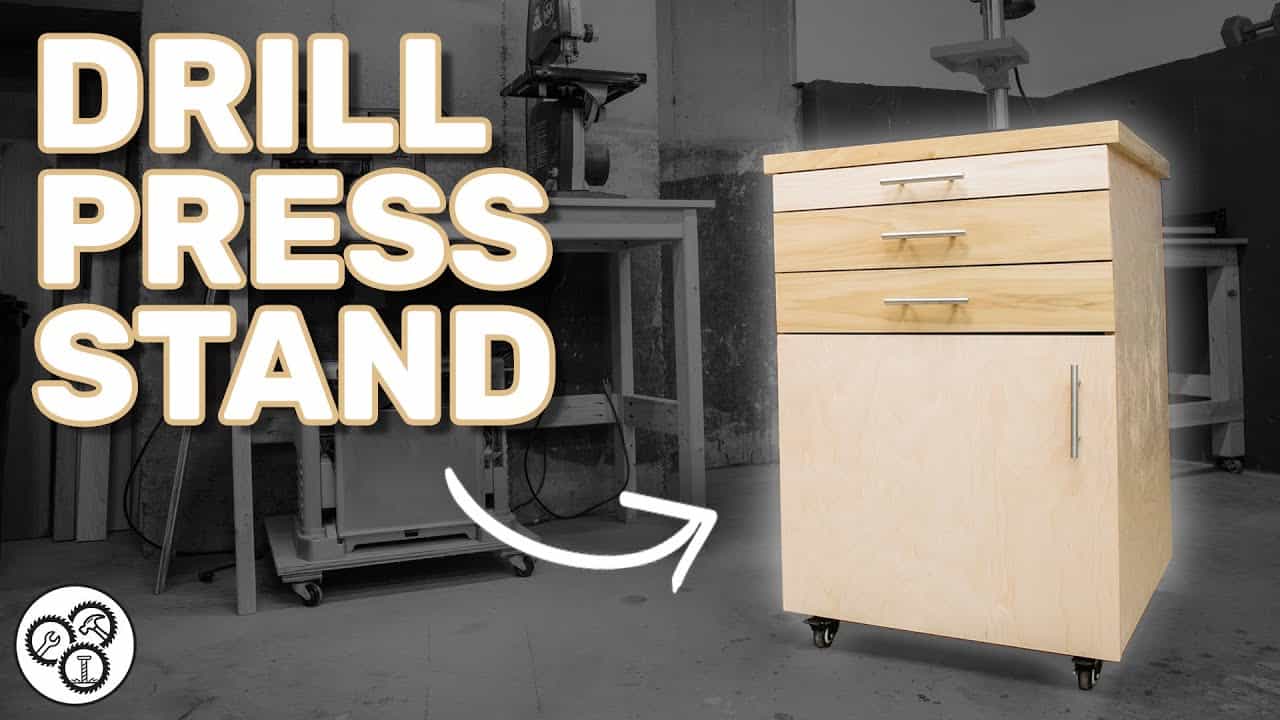
This project was built and designed by Tim from Casual Builds. It’s a versatile drill press stand built for mobility, storage, and improved shop organization—all while offering a clean and compact design.
Tim created this stand to solve a real workshop problem: lack of space and too much clutter. By incorporating drawers, a cabinet, and casters, this project adds both functionality and flexibility to any small shop setup.
Watch the full video and subscribe to Tim’s channel:
Why Build a Drill Press Stand?
In Tim’s workshop, the drill press and CNC machine were too close together, creating constant conflict when trying to use one or the other. A mobile stand became the perfect solution, allowing him to move the drill press as needed while gaining dedicated storage.
The stand also helps organize accessories like drill bits, clamps, and even an air compressor. With drawers and a lower cabinet door, it keeps everything in its place—reducing time spent searching and increasing workspace efficiency.
Tools and Materials Overview
Tim uses plywood for the entire build, choosing it for its strength, affordability, and ease of use. To upgrade the appearance, poplar trim is added around key edges, offering a clean contrast and finished look.
Common woodworking tools are used throughout the build: a circular saw for cutting plywood panels, a pocket hole jig for invisible joinery, and a cordless drill for assembly and hardware installation. These tools make it easy to replicate the build in most home workshops.
Building the Outer Cabinet
The project begins by cutting the plywood to size for the cabinet walls, top, bottom, and shelves. The panels are joined with pocket holes, making for strong, clean connections without visible screws.
After the basic box is assembled, Tim adds casters to the bottom. These give the stand mobility, allowing it to be moved easily—even in tight spaces. Small plywood blocks are used to provide a solid mounting surface for the casters, preventing screws from poking through the base panel.
Drawer Construction for Organized Storage
One of the key features of this build is the set of drawers. Tim begins by measuring the interior width and height of the cabinet to determine how many drawers can fit, and how wide they should be.
Each drawer box is constructed with plywood sides and a bottom attached using glue and brad nails. The bottom panels are slightly chamfered to help them slide into place cleanly and give the drawers a more refined look.
A Precise Method for Drawer Installation
Rather than attaching drawer slides to the cabinet first, Tim mounts them to the drawer boxes and then installs the full assemblies. This allows for precise alignment and ensures smooth operation.
To make sure each drawer sits evenly, spacer blocks are used during installation. These help maintain even gaps and take the guesswork out of measuring when stacking multiple drawers vertically.
Edge Banding and Hardware for a Clean Finish
To cover the exposed edges of the plywood, Tim applies edge banding to the front-facing areas of the stand. This step makes a big visual difference and gives the piece a more finished, professional appearance.
Drawer faces are then cut and attached, followed by cabinet pulls to complete the look. Choosing matching or modern hardware can further elevate the aesthetic of the project.
Door and Back Panel Assembly
The lower section of the stand is enclosed with a simple cabinet door. Using a pocket hole jig for the hinges ensures that the attachment is both strong and hidden, maintaining the clean design of the piece.
A back panel is added to help square up the frame and add rigidity. Tim opts for a thinner plywood for this part to keep weight down while still maintaining strength.
Durable Work Surface with a Protective Finish
The top surface of the stand is finished with several coats of water-based polyurethane. This adds protection from wear and tear and helps resist oil, glue, and other shop debris.
The final result is a rock-solid work surface that complements the stand’s functionality and gives the drill press a stable and elevated home.
A Practical Upgrade for Any Shop
This drill press stand is more than just a place to set a tool. It’s a smart use of vertical space, a way to stay organized, and an opportunity to practice precision joinery.
Whether your shop is large or compact, the mobility and storage offered by this build can make a real difference. Tim’s step-by-step approach makes the process clear, and the result is a project that’s as useful as it is satisfying to build.
Please support Tim by visiting his website: https://www.casualbuilds.com/.

Matt’s Take
These are my personal thoughts and tips based on my own experience in the shop. This section is not written, reviewed, or endorsed by the original creator of this project.
This type of mobile stand really showcases how thoughtful design can solve multiple shop problems at once. The combination of storage and mobility is brilliant—being able to roll your drill press out of the way when you need floor space, then pull it back when it’s time to work, makes a huge difference in smaller shops where every square foot counts.
Tim’s approach to the drawer installation is particularly smart. Mounting the slides to the drawers first, then installing the complete assemblies, takes a lot of the frustration out of drawer fitting. I’ve found that using spacer blocks like he does here is one of those simple tricks that separates a clean build from a sloppy one. It’s worth taking the extra time to get those gaps even.
The edge banding step might seem like a small detail, but it’s what transforms this from looking like a shop project to looking like furniture. Plywood is fantastic for shop builds—strong, stable, and budget-friendly—but those raw edges can make even the best joinery look unfinished. A few minutes with edge banding and a trimming knife makes all the difference in the final appearance.