

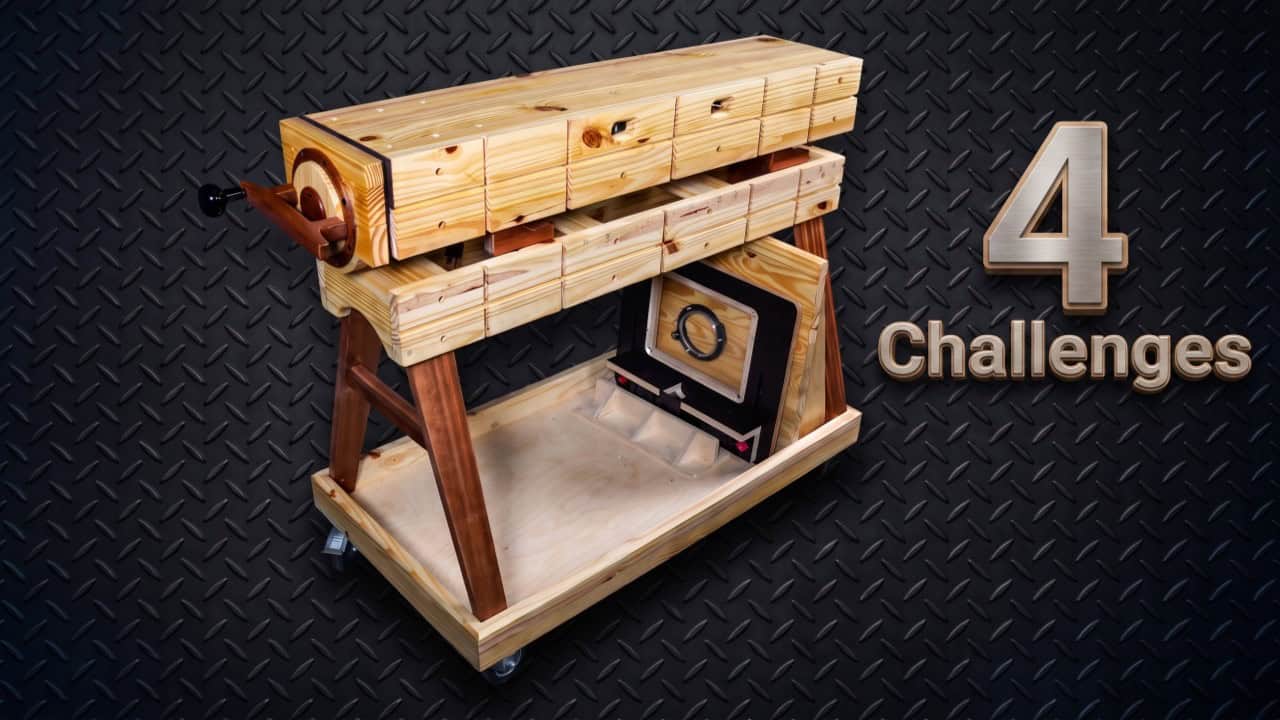
This project was built and designed by Izzy Swan.
Izzy set out to design a portable workbench that fit his own workflow, after searching for months and finding nothing on the market that checked every box. He wanted something light enough to carry up and down stairs, sturdy enough to hold a vise, capable of vertical clamping for panel work, and equipped with vacuum work holding, all while keeping the total cost well under a few hundred dollars.
The result is a compact bench packed with clever solutions, several of which he had to develop himself.
Watch the full video and subscribe to izzy swan:


Design and Planning
Before cutting any material, Izzy identified four major challenges the bench needed to solve: portability, an affordable vise, vertical clamping ability, and vacuum work holding. Once those priorities were clear, he moved into SketchUp to model a basic version of the bench, which helped him figure out material needs before committing to a build.
He settled on pre-laminated pine stair treads as the primary material, since they offer decent quality at a low price from any big box store. A doweling joinery system was chosen over more traditional joinery like box joints or dovetails, keeping the build simple while still producing strong, durable connections throughout the case.
Cutting Parts and Joinery
Much of the bench was cut on a CNC machine, which allowed for accurate, repeatable parts without the need for complex hand-cut joinery. Izzy pushed back against the idea that CNC work isn’t “real” woodworking, pointing out the amount of planning and design work that goes into preparing files for a machine like this.
Dowel joints held the case together, reinforced with vacuum clamping to hold panels steady while dowel holes were drilled and glue-ups were assembled. This approach let him skip traditional clamps entirely during many steps, speeding up the process and keeping his workspace clear.
Before final glue-up, mounting plates were added to hold small switches that control the bench’s vacuum system. These were positioned using custom 3D-printed guides to keep everything aligned before the case was sealed together.
Building the Vise
Rather than buying a heavy, expensive vise, Izzy designed his own using threaded rod hardware paired with wood components to keep the overall weight down. The stationary jaw was reinforced with dowels to handle the pressure it would face during clamping, while the sliding jaw was shaped with decorative round-overs and chamfers to make it a visual feature as well as a functional one.
An acme threaded rod runs through the sliding jaw, secured with a metal pin and epoxy to prevent it from spinning loose over time. Careful attention was paid to keeping the rod perfectly perpendicular to the jaw, which is critical for smooth operation. Once assembled, the components were waxed for easy future maintenance and finished off with a turn handle for quick adjustments.
Building the Base
The base needed to be sturdy enough for open-area use but still easy to detach for maximum portability. Izzy added a large chamfer around the top edge of the base for both a decorative touch and a more stable surface to rout against.
Attaching the removable top to the A-frame base took some extra thought, since it needed to lock in place quickly while still allowing the top to be used independently for clamping. Although he mentions wishing he had planned this connection a little more elegantly, the glue-and-screw method he landed on works reliably in practice.
Adding Vacuum Capability
The final piece of the build was integrating vacuum ports into the benchtop. A simple threaded fitting drops into a drilled hole, with a rubber washer compressed against the surface to prevent air loss, avoiding the need to cut threads by hand.
Vacuum switches were wired into the airline system to control airflow and quickly release pressure once a workpiece needs to move again. Filters were added at the end of the line to keep dust out of the system, completing a bench that can hold work down instantly without clamps getting in the way.
Why This Bench Stands Out
What makes this build worth studying isn’t just the finished bench, it’s the problem-solving that went into it. Building a custom vise instead of buying one, using vacuum holding to speed up assembly, and thinking through portability from the start all offer useful ideas for anyone designing a workspace on a budget.
The bench brings together several practical systems that woodworkers can adapt individually, whether it’s the doweling approach, the vacuum switch setup, or the compact vise design. It’s a strong example of how a clear list of priorities can guide a build from concept to a finished, functional tool.
Watch the full video and subscribe to izzy swan:

Matt’s Take
These are my personal thoughts and tips based on my own experience in the shop. This section is not written, reviewed, or endorsed by the original creator of this project.
What I like about this build is that Izzy started with a list of problems to solve instead of a set of plans to follow. That’s a mindset worth borrowing for any shop project, portable or not. Nailing down your actual requirements before you touch a tool almost always saves you from redoing steps later.
The shop-built vise is a great example of practical engineering. Acme threaded rod is a smart choice since it moves smoothly under load and resists binding better than standard threaded rod. If you’re building something similar, take your time getting that rod perpendicular to the jaw. Even a small amount of misalignment can cause binding or uneven pressure across the jaw face over time.
Vacuum work holding is one of those systems that seems intimidating until you actually wire one up. A few things worth keeping in mind if you go this route: always use a filter before your pump to protect it from dust, and check your fittings periodically since a slow leak can be hard to diagnose after the fact. It’s also worth remembering that vacuum holding works best on flat, sealed surfaces, so finish quality on the benchtop matters more than you’d think.
Dowel joinery gets overlooked a lot in favor of dovetails or box joints, but for case work like this, it’s plenty strong when paired with a good glue-up and accurate drilling. A doweling jig or a drill press with a fence makes a big difference in keeping those holes consistent.