This project was created by Zach from Bear Mountain Builds. If you’re looking for woodworking projects and shop solutions, check out his channel for more great ideas.
Watch the full video and subscribe to his channel:
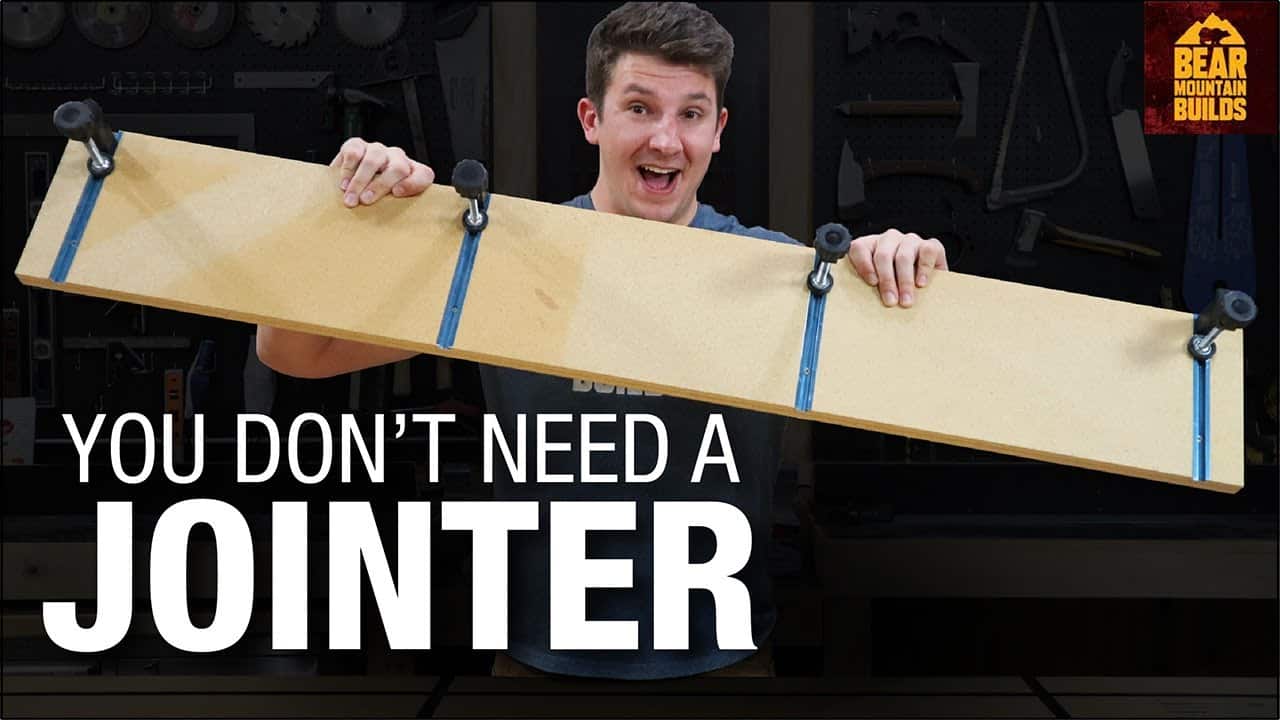
A Simple Solution for Warped Boards
A common challenge in woodworking is dealing with boards that aren’t perfectly straight. While a jointer is the ideal tool for this, not everyone has access to one.
Zach’s board straightening jig offers a practical alternative using a simple sled-style setup that allows woodworkers to create straight, clean cuts with just a table saw.
The concept behind this jig is straightforward: it provides a stable reference edge that guides a warped board through the saw, trimming away inconsistencies to create a perfectly straight edge.
By adjusting the setup, woodworkers can square edges or even taper boards, maximizing usable material without needing specialized tools.
How the Jig is Designed
Zach designed his jig with adjustable clamping features that securely hold boards in place without causing damage. Instead of relying on permanent fasteners like screws or glue, this setup allows for repeated use and quick adjustments.
The jig is constructed from stable materials that resist warping, ensuring long-term reliability. The base is designed to accommodate various board sizes, making it a versatile addition to the workshop.
The inclusion of adjustable tracks allows for fine-tuned positioning, helping achieve precise cuts with minimal material waste.
A Valuable Tool for Woodworkers
Whether you’re dealing with rough lumber or reclaiming boards that would otherwise be unusable, this jig is a great alternative to traditional milling methods.
It enables woodworkers to straighten boards efficiently while maintaining accuracy and control.
You can get the plans for this project here.

Matt’s Take
These are my personal thoughts and tips based on my own experience in the shop. This section is not written, reviewed, or endorsed by the original creator of this project.
This type of jig is honestly one of those game-changers that makes you wonder how you worked without it. When you’re dealing with lumber that’s slightly warped or has rough edges, having a solid reference surface makes all the difference. The key is making sure your jig base itself is dead flat and stable — any bow or twist in the base will transfer right to your workpiece.
Safety-wise, always keep your hands well clear of the blade path and use push sticks when feeding material through. With a sled-style jig like this, there’s a temptation to reach over the blade area, so plan your hand positions before you start the cut. Also worth noting that fresh cuts can sometimes relieve stress in the wood, causing it to move slightly, so take your time with multiple light passes rather than trying to remove everything in one go.
The adjustable clamping system Zach built is smart — I’ve seen too many jigs that rely on screws driven into the workpiece, which either damages the wood or limits you to sacrificial boards. Being able to reposition and reclamp quickly means you can work through a whole stack of boards efficiently. For anyone building something similar, consider adding some sandpaper strips to the clamping surfaces for extra grip without marring the wood.