This project was built and designed by Keaton Beyer. It’s a great way to turn special artwork or photographs into a personal and lasting display.
Whether you’re framing sentimental pieces or just looking for a fun weekend project, these picture frames are both practical and rewarding. Keaton’s approach keeps the process simple, while still allowing for thoughtful design and clean joinery.
Watch the full video and subscribe to Keaton’s channel:
Getting Started with Lumber
Keaton starts by milling down rough lumber, which allows for greater control over the final look and feel. While pre-milled boards can work too, starting from rough stock offers a chance to select higher-quality or unique wood.
He uses a planer to flatten the faces of the board. This ensures the material is consistent and makes later steps more accurate.
Once the faces are flattened, the edges are squared using a hand plane. This helps guarantee a solid foundation for all the cuts that follow.
Creating the Frame Profile
The board is ripped into strips that will form the frame sides. Keaton adds a simple bevel to the inside edge of each strip to reduce shadowing around the artwork.
To maintain accuracy and safety, he uses a feather board during this cut. It keeps the material tight against the fence for a smooth and controlled pass.
Next, he cuts the rabbet that holds the artwork, mat board, and backing. For this, he uses a dado stack, which speeds up the process and produces clean, consistent cuts.
Planning the Frame Dimensions
Keaton starts the sizing process by trimming one end of each strip at a 45-degree angle. Then he uses a formula to calculate the length of each frame rail.
By accounting for the size of the picture, rail width, and groove depth, the rails fit perfectly around the artwork. Taking time on these calculations ensures that all four corners come together evenly.
Cutting and Sanding
With the math figured out, the pieces are cut to size using a stop block for repeatable cuts. Keaton sneaks up on the final length by trimming just a little at a time.
Before glue-up, he pre-sands the inside faces of the frame. This makes final sanding easier and gives the inner corners a clean finish.
Gluing the Frame
For the glue-up, Keaton uses a ratcheting picture frame clamp. This tool applies even pressure on all four corners and keeps everything aligned.
Compared to traditional clamps, this method is faster and more reliable. It also cuts down on glue drying time, which helps speed up the build.
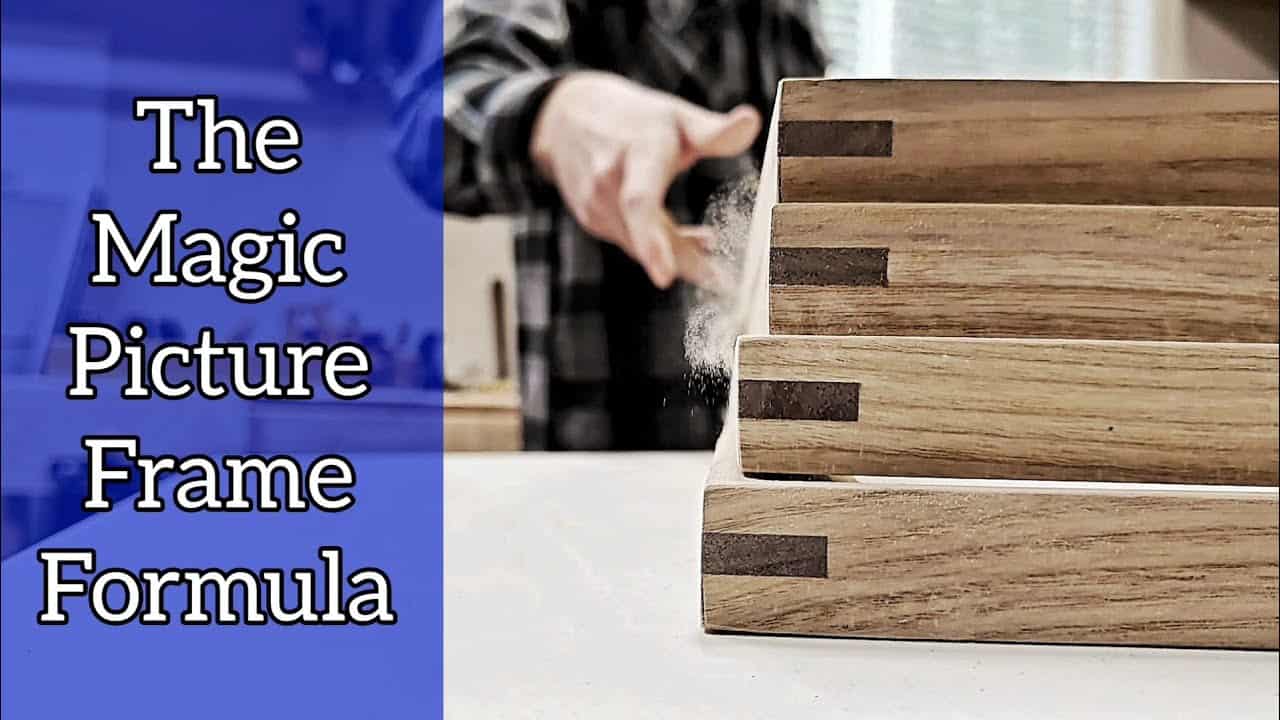
Reinforcing the Corners
Once the frame is dry, Keaton adds splines to reinforce the miter joints. These splines increase the glue surface area and strengthen what is normally a weaker joint.
He skips the fancy jig and instead marks both ends of each joint by hand. This keeps setup simple and the process efficient.
Assembling the Inards
For the glazing, Keaton uses acrylic instead of glass. It’s lightweight, doesn’t yellow, and can be cut with standard woodworking tools.
He keeps the protective film on while cutting to avoid scratches. Each piece is measured carefully to match the interior rabbet dimensions.
Finishing the Frame
After trimming the splines, Keaton gives the frame one final sanding. He rounds over the corners lightly to remove any sharp edges.
The finish is a few coats of spray lacquer, which brings out the wood grain and protects the frame. It’s a quick way to give the project a clean and durable surface.
Why This Project Matters
Keaton made these frames to hold artwork his wife created as a child. The project is meaningful not just for the craftsmanship, but for the memories it will help preserve.
Simple projects like this remind us that woodworking isn’t always about complexity. Sometimes it’s just about taking the time to finish something that matters.
Want to See the Full Build?
Please support Keaton, but visiting his website: https://www.keatonbeyerwoodworking.com/.