Jon Peters – Longview Woodworking shared the woodworking project.
This short project shows a simple, low-cost way to frame artwork using common lattice molding and a couple of basic techniques that anyone can adopt.
Watch the full video and subscribe to Jon’s channel:
Design
The frame is a strip frame made from inexpensive lattice molding that’s usually sold pre-profiled at home centers. This approach keeps the frame visually lightweight while giving artwork a finished, gallery-style edge.
Jon emphasizes covering end grain at the sides by attaching the top and bottom pieces first, which improves the final look without complex joinery. The method is adaptable to canvas, panel, or mounted prints and works with a simple stained finish to elevate the piece.
Hand-Tool Method
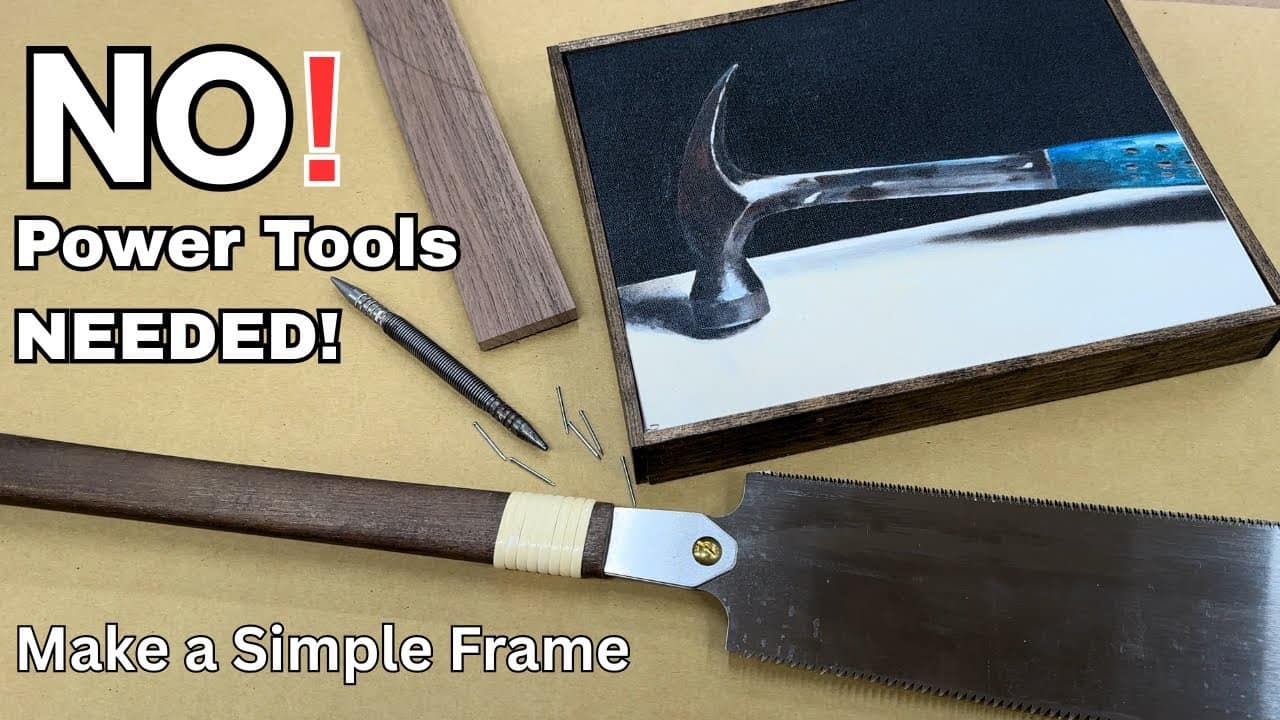
The video demonstrates how to make the frame using only hand tools: a handsaw, hammer, nails, and a nail set are sufficient to get a clean result. The molding is cut to fit and used as a measuring guide for the next piece, which keeps layout simple and accurate without fancy jigs.
To steady the artwork while nailing, Jon uses a small sacrificial block screwed to the bench so the piece doesn’t shift during hammering. Countersinking the nails with a nail set and keeping the edges flush are the finishing touches that make the hand-tool version look professional.
Power-Tool Method
For faster work, Jon shows the same framing concept done with a chop saw and a nail gun, which speeds up cutting and fastening for multiple pieces. He suggests a chopsaw and a nail gun/compressor combo as practical shop upgrades for anyone who frames regularly.
The power-tool method keeps the layout identical to the hand method—measure with the cut piece, then cut the mating piece—so the workflow remains straightforward even when shifting to power tools. Small, pin-like nails give a nearly invisible fastening for a cleaner appearance on finished work.
Fastening Tips
Jon discusses the trade-offs between nail sizes: heavier 18-gauge nails offer more holding power but leave larger holes, while 22–23 gauge pin nails leave almost no visible mark. He demonstrates holding the nail gun at a slight angle so a bent nail will deflect into the frame material rather than through the artwork.
When using nails by hand, it helps to pre-start the nails and brace the piece so the painting doesn’t move; this provides better control and reduces the risk of damaging the art. Safety and patience are key—avoid forcing nails or rushing the nailing step to keep the frame and artwork intact.
Finishing and Presentation
A light stain, such as a walnut tone on pine lattice, quickly upgrades the look and complements many styles of artwork. The subtle profile of the molding creates a defined edge that frames the piece without overwhelming it.
The framed prints shown in the video demonstrate how a modest edge treatment can change the perception of a piece, and the approach is easy to adapt for a series of artworks to create a cohesive display. Simple framing like this is ideal for artists and makers who want a polished presentation on a budget.
Overall Takeaways
This technique is a practical solution for anyone who wants to present art cleanly with minimal cost and minimal tools. The method scales from purely hand-tool builds to a faster power-tool workflow while keeping the essential steps the same.
Jon’s approach highlights that careful layout, a few thoughtful fastening tricks, and a modest finish can make inexpensive materials look refined. The process is adaptable and useful for artists, crafters, and hobby woodworkers looking to elevate their work.
Support Jon by visiting his website here: https://jonpeters.com/collections/plans.

Matt’s Take
These are my personal thoughts and tips based on my own experience in the shop. This section is not written, reviewed, or endorsed by the original creator of this project.
The beauty of this approach is how it makes framing accessible to anyone, regardless of their tool collection. Lattice molding is one of those underrated materials that punches above its weight class — it’s cheap, consistent, and already has a nice profile that would take serious router work to replicate from scratch. I keep a few different profiles of lattice on hand because it’s so versatile for quick projects like this.
That angled nail gun technique Jon shows is worth remembering. When you’re shooting nails close to the edge of thin material, that slight angle gives you insurance against blowout. It’s one of those little details that separates clean work from “close enough” work. The same principle applies with hand nailing — starting your nails at a slight cant toward the center gives you more material to grab.
The measuring trick using the cut piece as a template is gold for keeping things square and consistent. It eliminates the chance of measurement errors and keeps your workflow smooth. When you’re making multiple frames, that kind of efficiency really adds up. Plus, the order of assembly — top and bottom first, then sides — is smart for hiding end grain without any complex joinery.
A light stain really does transform basic lattice molding. It’s amazing how much difference that small upgrade makes in the final presentation. Even something as simple as a coat of Danish oil can take your frames from “craft project” to “gallery worthy.”