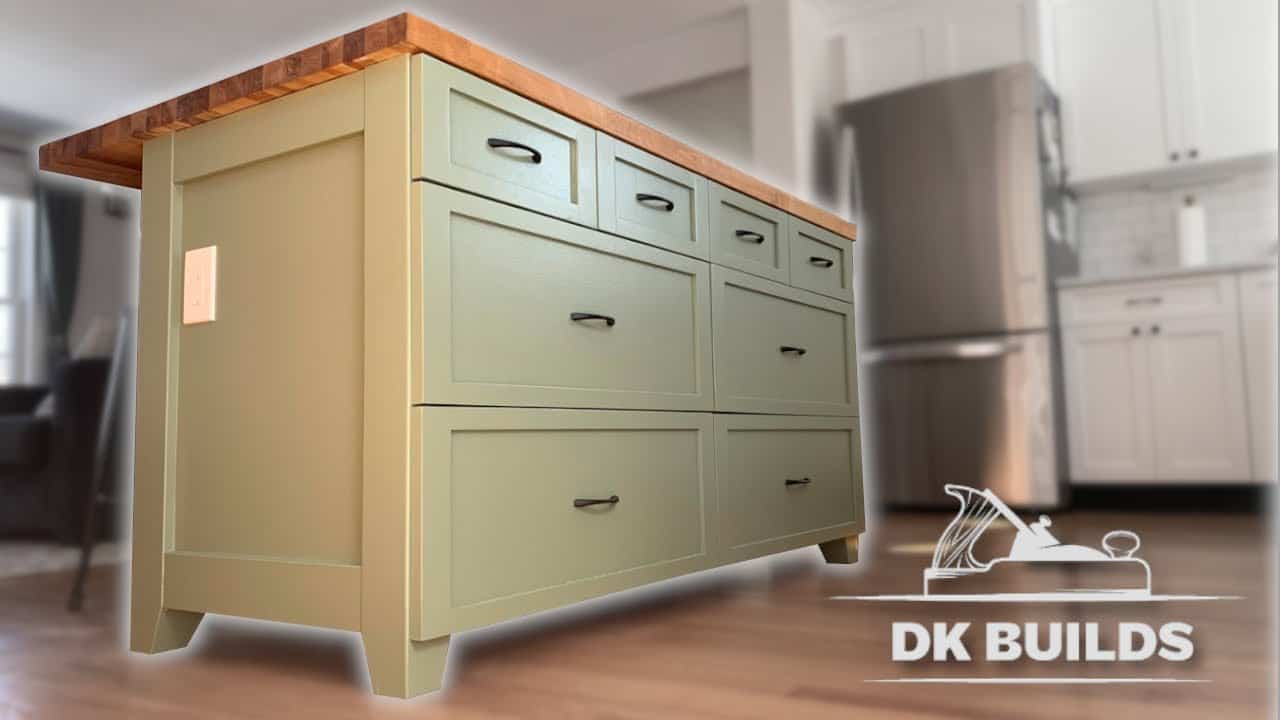
This project was built and designed by David from dk builds. It’s a multifunctional kitchen island workspace that adds extra storage, electrical access, and a clean butcher block surface—ideal for cooking, prepping, or entertaining.
Designed with both style and practicality in mind, this kitchen island brings custom cabinetry and thoughtful design to the center of the kitchen. From the laminated poplar legs to the integrated power outlets, every detail contributes to both function and visual appeal.
Watch the full video and subscribe to David’s channel:
Planning the Design with Function in Mind
David begins with a digital design to work out the proportions and spacing of the island before making a single cut. This step ensures all components—drawers, outlets, overhang, and supports—fit together without guesswork.
With the plan set, the focus shifts to translating the virtual model into a physical structure. Accuracy is key at this stage, so David carefully marks all factory edges to preserve square cuts during the build.
Constructing the Cabinet Base
The foundation of the island is a plywood cabinet carcass, made from two identical cabinets bolted together. Plywood sheets are cut down using a circular saw, ensuring clean edges and consistent sizing.
To assemble the cabinet, David uses dado and rabbet joints for strength and durability. A dado stack is used to cut the joinery, which requires fine-tuning to match the plywood thickness—a common challenge in cabinetmaking.
Assembling the Carcass
Assembly is done with glue and brad nails, allowing for fast construction and solid joints. The glue holds everything in place while the nails provide temporary reinforcement during drying.
This carcass is designed to support not just the butcher block top but also drawers and electrical components. Careful measuring during glue-up ensures square cabinets and reliable alignment for trim and drawers later.
Adding Legs for a Furniture Feel
To give the island a freestanding furniture look, David laminates poplar boards together to form solid legs. These legs are strong, straight, and able to support the weight of the entire structure.
A clever touch is the central foot, which hides electrical wiring routed from the floor to the outlets. This keeps the island looking clean and uncluttered, while also making the power source accessible.
Each leg is tapered at the bottom for a more elegant appearance. A leg template helps maintain uniformity, giving the finished piece a professional look.
Incorporating Electrical Components
Electrical outlets are installed along the island for added functionality. These are useful for plugging in kitchen tools or charging devices while cooking.
To accommodate the wiring, boxes are mounted strategically and access holes are drilled through the back panels. Routing wires through the center leg keeps them out of sight and away from drawer slides.
Decorative Trim and Edge Banding
To hide raw plywood edges and enhance the overall appearance, David adds trim pieces around the island’s perimeter. These don’t add structural strength but tie the design together visually.
Edge banding is applied to exposed plywood faces, which helps the build look clean and cohesive. Once painted, the banding blends in seamlessly with the cabinet surfaces.
Building and Fitting Drawers
Drawer boxes are constructed from plywood using rabbet joints for durability. Each one is built to fit snugly within the cabinet openings, maximizing available storage space.
David customizes some of the drawers to work around the installed electrical boxes. Notches and relief cuts ensure smooth operation without sacrificing capacity.
The drawers are finished with polyurethane to add water resistance, making them more durable for kitchen environments.
Installing the Butcher Block Top
The countertop is made from a thick butcher block slab, offering a heavy-duty surface that’s ideal for food prep or daily use. It’s a centerpiece that adds warmth and utility.
To support the overhang and prevent sagging, David recesses steel flat bars into the underside of the butcher block. This support system allows for a clean look without exposed brackets.
Once positioned, the countertop is fastened securely to the cabinets below. The final result is a solid, professional-grade work surface.
Final Installation and Wiring
The completed island is bolted to the floor for safety and stability, especially in homes with children or pets. Electrical wiring is connected and tested, ensuring full functionality of the integrated outlets.
David reminds viewers to follow local codes when dealing with electrical installations and to consult a licensed professional if unsure.
A Custom Feature Worth the Effort
This kitchen island isn’t just a stylish centerpiece—it’s a fully functional upgrade to any kitchen workspace. With custom storage, electrical access, and a durable surface, it’s designed to make cooking and meal prep easier and more enjoyable.
For those looking to build their own, David offers detailed plans available for purchase. The full video walkthrough provides helpful insights and techniques to guide the process from start to finish.
Please support David by visiting his Etsy Store and buying his plans.

Matt’s Take
These are my personal thoughts and tips based on my own experience in the shop. This section is not written, reviewed, or endorsed by the original creator of this project.
Kitchen islands are one of those projects that really showcase the value of detailed planning. The digital design approach David uses here is spot-on—it’s so much easier to work out spacing issues on screen than after you’ve already cut expensive lumber. I always recommend sketching or modeling complex builds first, especially when you’re dealing with multiple components like drawers, electrical, and structural supports all working together.
The electrical integration is particularly smart. Running wiring through that center leg keeps everything clean and code-compliant. Just remember that any electrical work needs to meet local building codes, and it’s always worth having a licensed electrician handle the final connections if you’re not comfortable with that part. The recessed steel support bars for the butcher block overhang are a nice touch too—they provide serious support without cluttering up the visual lines.
One thing I really appreciate about this build is the attention to joinery. Those dado and rabbet joints in the cabinet carcass will hold up to years of kitchen use. When you’re building something that’ll see daily use like this island, it’s worth taking the time to cut proper joints rather than just screwing everything together. The poplar legs are a great choice for both strength and workability—they take stain well and give you that custom furniture look that makes the whole piece feel intentional.