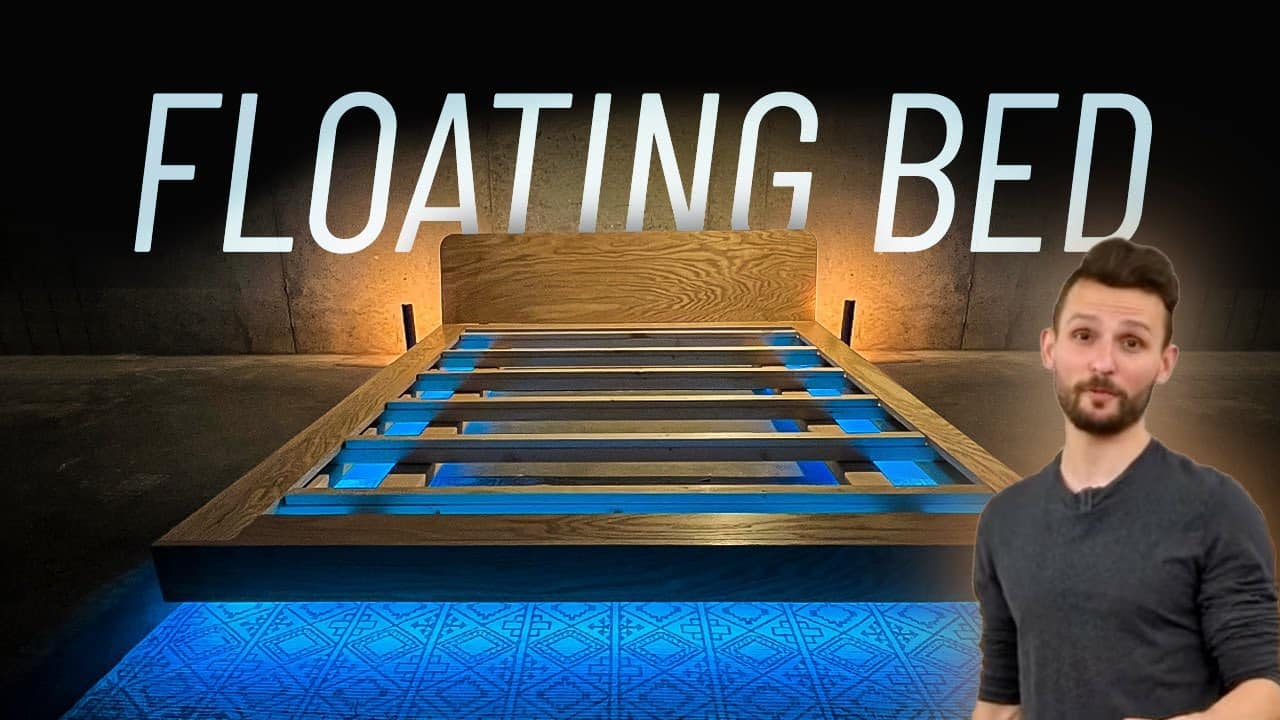
This project was built and designed by Danny from ModernRemade. It’s a modern, budget-friendly platform bed frame with a floating design and underglow LED lighting—all for about the cost of a comparable IKEA setup.
The frame is sturdy, sleek, and functional, making it a great choice for anyone looking to upgrade their bedroom without overspending. Danny’s design combines smart joinery, basic tools, and thoughtful finishing for a stylish result.
Watch the full video and subscribe to Danny’s channel:
Clean Design Built from Common Materials
The entire frame is constructed from standard 2x material and a single sheet of red oak plywood. These readily available materials keep costs low while delivering a strong and attractive structure.
Most cuts are made using a circular saw with a cutting guide attachment. This ensures long, straight cuts across the plywood and helps maintain accuracy throughout the build. The rough pieces are then refined using a miter saw for final trimming and squareness.
Polishing with Edge Banding
To give the exposed plywood edges a finished look, Danny applies iron-on edge banding. This quick step makes a big difference in visual quality and helps the frame look like a premium piece of furniture.
A household iron on the cotton setting is used to apply the banding, followed by a roller to press it down evenly. Once cooled, the edges are sanded smooth to blend with the surrounding surface.
Each panel is labeled for easy tracking during assembly, which helps avoid confusion as the build progresses. This planning step pays off when it’s time to bring all the pieces together.
Building the Frame
The frame is assembled upside down using pocket holes. This method hides all fasteners and gives the bed a clean appearance with no visible screws.
Clamping is essential to ensure proper alignment. Danny uses multiple clamps to keep the frame square while driving in the screws. While the upside-down method makes access to the pocket holes easier, it also requires some extra effort to keep the work stable and level.
Creating the Inner Support Structure
Inside the main frame, a support skeleton is added to carry the weight of the mattress and anyone using the bed. The support consists of cross members running both horizontally and vertically, locked together with screws and glue.
Each support is measured and cut to fit tightly between the frame sides. This skeleton reinforces the structure and prevents sagging or shifting over time.
Attaching the Floating Legs
To create the floating effect, the legs are inset and not visible from most angles. They’re made from solid blocks of wood and attached to the frame using heavy-duty screws.
After securing the legs, Danny flips the bed upright to test for wobble. A quick inspection confirms the frame is solid and evenly balanced, thanks to the careful measurements and reinforcement underneath.
Custom Headboard from Leftover Plywood
The headboard is built from leftover red oak plywood to keep the build economical. It’s shaped using a jigsaw and refined with sanding blocks, then supported with angled braces to hold it comfortably upright.
The angled supports are cut from templates to match the bed’s profile. They’re secured with screws and allow the headboard to be removed if needed—making the whole frame easier to transport or adjust later.
Smoothing and Filling Before Finish
Before applying any finish, Danny fills nail holes and pocket hole gaps with wood filler. This ensures the entire piece has a seamless appearance once the final finish is applied.
Everything is given a final sanding pass to smooth out transitions, soften edges, and prepare the wood for stain or sealant. This final sanding step also helps the LED strip lighting adhere better to the surface.
Installing LED Lighting for a Modern Touch
To complete the floating look, LED strip lighting is installed underneath the outer frame. The glow creates the illusion that the bed is hovering above the floor and adds soft ambient light to the room.
The lights are powered by a standard plug-in unit and can be customized for color and brightness. Installation is simple and requires only basic routing and adhesive backing.
Affordable and Stylish
The total cost of materials comes to about $160, including lumber, hardware, and LED lights. Compared to big-box options with similar styling, this DIY project offers better durability and a custom look at a fraction of the price.
By combining clean lines, modern accents, and thoughtful construction, Danny delivers a standout piece that’s practical, affordable, and satisfying to build.
Watch the full video and subscribe to Danny’s channel:

Matt’s Take
These are my personal thoughts and tips based on my own experience in the shop. This section is not written, reviewed, or endorsed by the original creator of this project.
The floating effect on this bed really comes down to those inset legs—it’s a clever visual trick that makes a big difference. When you’re attaching legs like this, taking time to ensure they’re perfectly square and level is crucial. Even a small wobble will be noticeable on a bed frame, so testing the stability before moving on to finishing is smart.
Edge banding can be tricky for first-timers, but it’s one of those finishing touches that separates amateur work from professional-looking results. The key is getting the temperature right on your iron—too hot and you’ll scorch the veneer, too cool and it won’t adhere properly. A veneer roller really helps get consistent pressure along the entire edge.
That internal support skeleton is doing the heavy lifting here, literally. Platform beds put all the weight on the frame rather than box springs, so this reinforcement prevents the dreaded middle-of-the-night sag. The cross-bracing approach spreads the load nicely across the entire structure.
For around $160, this is a solid value compared to store-bought options. The LED lighting is a nice modern touch, and using readily available 2x lumber keeps both costs and complexity manageable for most home workshops.