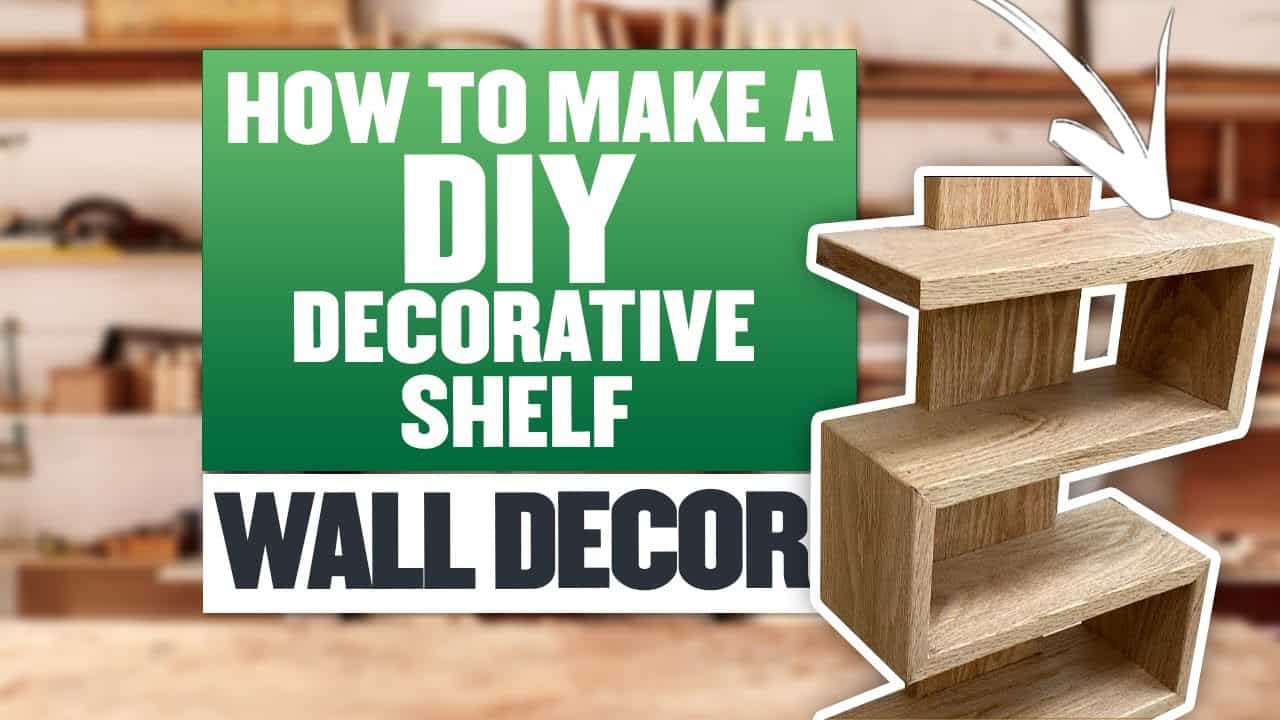
This project was built and designed by Nick from Rocky River Woodworks. It’s a clean and modern decorative shelf made from Red Oak that blends functionality with artistic flair, making it a perfect wall-mounted addition for any room.
The build is beginner-friendly, requires minimal materials, and can be completed in a day. With thoughtful joinery and a smooth finish, this project shows how even a simple shelf can elevate a space with handmade character.
Watch the full video and subscribe to Nick’s channel:
Why Make a Decorative Shelf?
Decorative shelves offer both practical storage and a way to display personal items like photos, books, plants, or artwork. They can fill empty wall space, serve as visual anchors in a room, or bring attention to smaller objects that might otherwise go unnoticed.
By building one yourself, you have full control over the design. You can customize the size, wood species, and finish to match the rest of your decor, creating something that’s not just functional but also meaningful.
Material and Tool Selection
Nick chooses Red Oak for this project, a hardwood known for its strength and beautiful grain pattern. It’s a great option for shelving since it provides both visual appeal and the durability needed to support weight.
The tools used are fairly standard in most home workshops. A miter saw or circular saw helps with breaking down the boards, while a drill, clamps, and sander assist with assembly and finishing. These tools make the project approachable even for beginner woodworkers.
Preparing the Wood
The process starts by flattening and cutting the Red Oak into workable pieces. Proper preparation ensures that all joinery fits well and that the final shelf sits flush against the wall.
Nick keeps his cuts clean and square, allowing the pieces to align smoothly during assembly. Even at this early stage, accuracy is important, especially if you want crisp lines and a finished product that looks professional.
Shaping and Joinery
With the boards cut to size, the next step involves shaping and joining the parts. Nick uses bridal joinery—a strong, simple joint where one piece slides into a cut-out slot on another. This provides both mechanical strength and a clean, visible connection that adds detail to the finished shelf.
Careful layout and marking ensure everything lines up correctly before the pieces are glued together. It’s a small shelf, but attention to detail during the joinery phase makes a big impact on how polished it looks when complete.
Assembly and Clamping
Once all joints are cut and dry-fitted, Nick assembles the shelf using wood glue and clamps. The glue provides long-term stability, and the clamps hold everything in place while it dries.
This is a critical step—rushing it can lead to gaps or misalignment. Nick takes his time to make sure each joint is seated fully and squared up, resulting in a solid, clean structure.
Sanding and Finishing
After the glue dries, the shelf is sanded smooth with 220-grit sandpaper. This removes any glue squeeze-out and softens the edges slightly for a more refined feel.
A clear finish is applied to protect the wood and bring out the natural color and grain of the Red Oak. Nick keeps the look minimal and clean, letting the material shine without adding any unnecessary color or embellishment.
Mounting and Placement Tips
The finished shelf is designed to be wall-mounted, and Nick suggests choosing a space where it will not only be seen but also used. Whether it’s above a desk, in a hallway, or as a floating feature in a living room, proper placement can help the shelf stand out.
He also encourages thinking about what you’ll put on it—mixing objects of different sizes, colors, and textures can create visual interest and give the shelf more personality.
A Simple Project with a Clean Payoff
This shelf build is a great example of how woodworking doesn’t need to be complicated to be satisfying. In just a few hours, you can create something that adds real value to your home—and that you can take pride in every time you see it.
For beginners, this project offers a great opportunity to practice layout, joinery, and finishing without being overwhelming. For more experienced woodworkers, it’s a fast and rewarding way to make a high-quality piece with minimal waste.
A Great Starting Point for Wall Decor Projects
Nick’s approach to this build makes it easy to replicate or customize. You can adjust the size, shape, or wood species to fit different rooms or uses—consider a pair of matching shelves, a staggered wall layout, or even building several in a batch for gifts or craft fairs.
It’s a quick win with lasting visual impact, and a great way to get comfortable with core woodworking techniques.
Please support Nick by visiting his website here: https://www.rockyriverwoodworks.com/.

Matt’s Take
These are my personal thoughts and tips based on my own experience in the shop. This section is not written, reviewed, or endorsed by the original creator of this project.
Red oak is such a solid choice for this type of project. It machines beautifully and has that classic grain pattern that really pops under a clear finish. One thing I appreciate about working with red oak is how forgiving it can be for beginners—it’s hard enough to hold crisp joinery lines but not so dense that it fights you during cutting and shaping.
That bridle joint Nick uses is perfect for a shelf like this. It’s strong, looks intentional, and gives you a nice mechanical connection that doesn’t rely solely on glue. When you’re wall-mounting something that’ll hold weight, having that positive lock between the pieces gives you confidence the shelf won’t fail over time. Plus, it’s a great joint for practicing your layout and sawing skills without getting too complex.
The mounting approach is worth thinking through carefully. I always remind folks to find at least one stud when hanging shelves, especially if you plan to put any real weight on them. Even a lightweight decorative shelf can become surprisingly heavy once you start loading it with books or pottery. A good toggle bolt in drywall works for lighter loads, but there’s nothing like hitting solid wood behind the wall for peace of mind.