This project was built and designed by Jodee from Inspire Woodcraft.
Jodee set out to make a simple wooden spoon from a scrap piece of 4×6 pine as a toy for a three-year-old who keeps borrowing the household spoons, and the result is a solid first attempt that highlights practical problem-solving in a small shop project.
Watch the full video and subscribe to Jodee’s channel:
Design
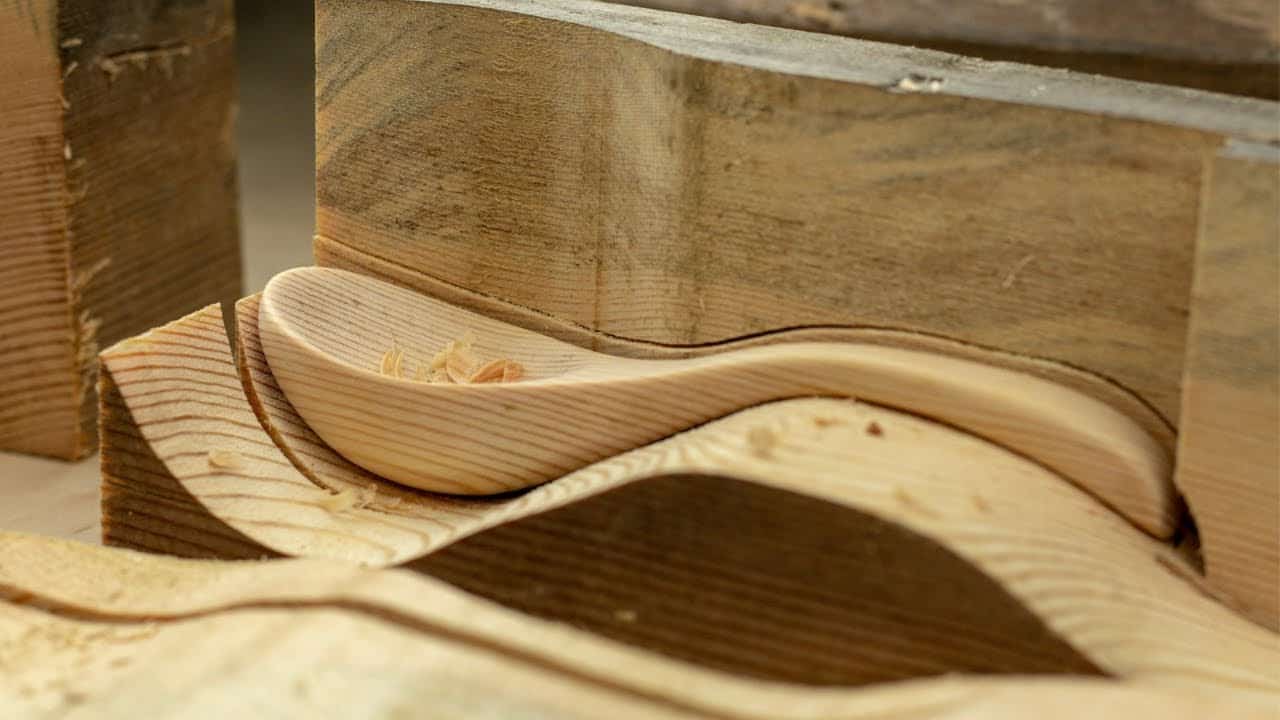
The spoon was designed with a child-friendly profile, focusing on rounded edges and a modest bowl suitable for play rather than food service.
Jodee laid out both a bird’s-eye view and a side profile to guide the cuts, keeping the overall form simple and approachable for a first-time carving project.
Preparation
A single scrap board was the starting point and layout work involved drawing both plan and elevation shapes so the final form could be cut from the same blank.
After cutting the bird’s-eye profile, the cut pieces were reassembled and held together with blue tape to allow cutting the side profile from the same composite blank.
Cutting and Shaping
Rough shaping was done on a bandsaw to remove the bulk of the waste, followed by belt sander work to clean up the profiles and refine proportions.
Using sanding and selective material removal helped balance the handle and bowl and brought the spoon closer to its final silhouette before carving the concave area.
Carving the Bowl
Without a traditional hook knife or gouge on hand, Jodee improvised a carving tool by heating and bending a utility blade into a shop-made hook, which proved effective after some practice.
The improvised tool was initially awkward to use but allowed quick removal of the concave material, demonstrating how creative tool solutions can bridge gaps in a small-shop setup.
Sanding and Finishing
Finishing was focused on gradual sanding progression from coarse to fine grits, working up to a smooth surface that’s comfortable for little hands.
Attention to sanding the entire form—bowl interior, handle, and edges—produced a tidy result appropriate for a toy and left the spoon feeling pleasant to hold.
Lessons Learned
The project shows that simple forms make excellent practice pieces, and repurposing scrap lumber is an economical way to experiment with carving and shaping techniques.
Jodee noted the value of the improvised approach for a one-off job while also planning to invest in dedicated carving tools to make future spoons easier and faster to produce.
Why This Build Matters
This small project highlights problem-solving, adapting tools to the task, and the satisfaction of making a durable toy from leftover material.
The techniques used are easily adapted for other small wooden objects where simple layout, rough shaping, and patient sanding yield a worthwhile finished piece.
Support Jodee by visiting his online store here: https://inspirewoodcraft.com/collections/all.

Matt’s Take
These are my personal thoughts and tips based on my own experience in the shop. This section is not written, reviewed, or endorsed by the original creator of this project.
This project really captures what I love about woodworking — taking a simple need and turning scrap into something useful. Pine’s actually a smart choice for a kid’s toy spoon since it’s soft, lightweight, and forgiving to work with. The taping technique to keep cut pieces aligned for the second profile cut is clever shop thinking that works for all kinds of projects.
That improvised hook knife is brilliant problem-solving. Heating and bending a utility blade shows how you can adapt when you don’t have specialized tools. Just remember to work slowly with any shop-made cutting tool until you get a feel for how it behaves — they can be grabby at first. A proper hook knife or small gouge will definitely make future spoons easier, but there’s something satisfying about making it work with what’s on hand.
The sanding progression approach here is solid — starting coarse and working through the grits gives you control over the final shape while removing tool marks. For wooden toys, I always make sure there are no sharp edges or splinters that little hands might find. A light coat of food-safe finish like mineral oil would help protect the wood and make it easier to clean, though for pure play use, leaving it unfinished works fine too.