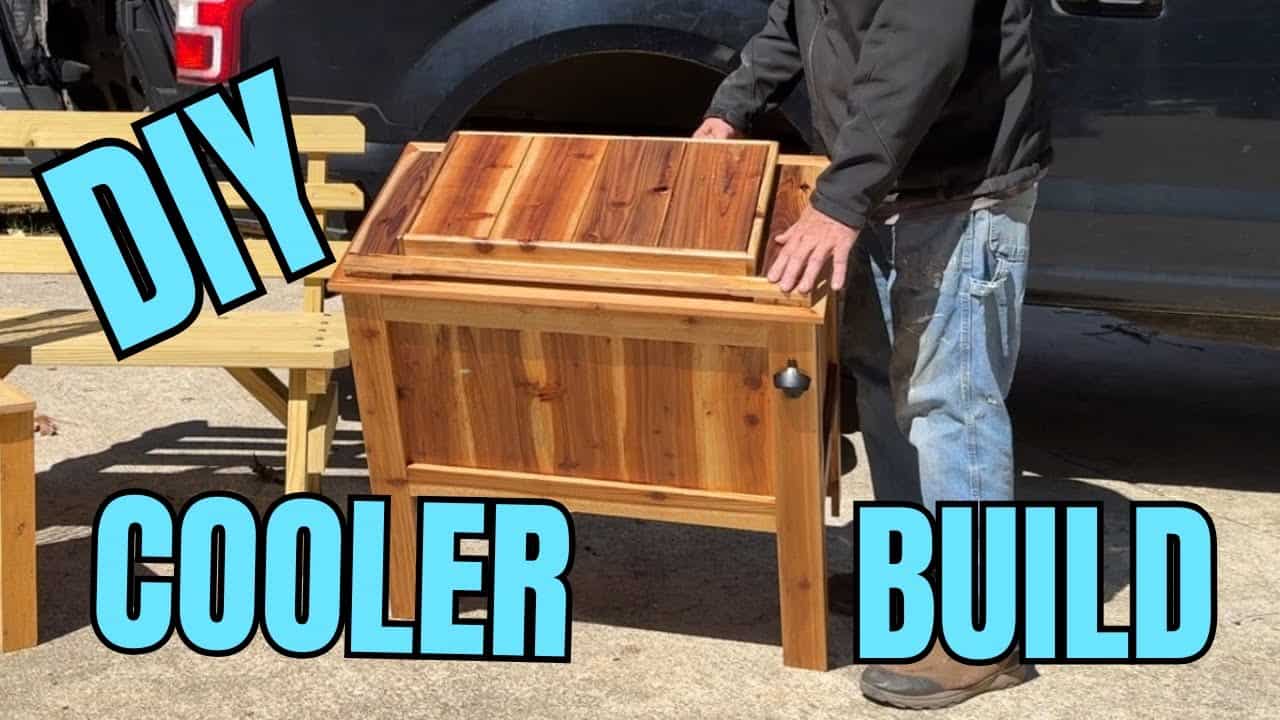
This woodworking project was built and designed by Joe Heide from Woodworkers DiyLemma. A rustic cedar ice chest like this one provides both a practical and visually appealing way to enhance your outdoor entertaining space.
For more woodworking projects and creative builds, make sure to visit Joe’s YouTube channel, Woodworkers DiyLemma, and explore his detailed woodworking tutorials.
Watch the full video and subscribe to Joe’s channel:
Why Build a Cedar Ice Chest?
A cedar ice chest adds both charm and functionality to any backyard or patio area. It provides an elegant, rustic look that complements outdoor gatherings, while conveniently keeping beverages cool during events.
Cedar is also naturally resistant to moisture and insects, making it an ideal choice for outdoor projects. Over time, cedar ages gracefully, developing an attractive patina that enhances its rustic appeal.
Starting the Project: Material Selection
Joe selected cedar pickets for this ice chest, an affordable and practical material choice known for its durability outdoors. Cedar’s attractive appearance and natural protective qualities ensure the chest stays beautiful and sturdy for many seasons.
Before beginning construction, Joe carefully cut and prepared all the wood pieces, ensuring each component fit perfectly. Thorough preparation and precise measurements were key to achieving a stable and seamless final product.
Building a Strong Frame
The first stage of the construction involved building sturdy frames for the top and bottom of the ice chest. Joe carefully assembled these frames, checking to make sure they were square and identical in size, ensuring structural stability.
He used additional bracing, creating a robust support system for the base. By incorporating a mini joist structure, the bottom frame was significantly strengthened, supporting the weight of both the cooler and its contents.
Assembling the Cooler Housing
Once the frames were complete, Joe attached cedar sidewalls to create the main structure of the ice chest. He ensured tight and secure attachments by using a combination of glue and fasteners, carefully maintaining alignment as he progressed.
Each step of this assembly was executed thoughtfully, making adjustments as needed for perfect alignment. The result was a sturdy, visually pleasing exterior ready to house the cooler.
Innovative Cooler Centering System
A distinctive feature of Joe’s ice chest design was a unique self-centering mechanism. He carefully designed angled supports inside the chest, allowing the cooler to effortlessly drop into place, aligning perfectly every time.
This clever design feature ensured the ice chest lid closed tightly, improving both the functionality and appearance of the project. Joe’s thoughtful engineering simplified future use, enhancing overall convenience.
Finishing and Enhancing the Appearance
After assembling the primary structure, Joe thoroughly sanded the entire ice chest. Special attention was given to the edges, ensuring a smooth, comfortable finish that enhances both look and feel.
He then applied a protective finish, carefully selected to preserve the cedar’s natural beauty while protecting it from outdoor elements. High-quality hardware, such as hinges, a bottle opener, and a drainage spout, were added, elevating both usability and aesthetics.
Final Result: A Functional Outdoor Centerpiece
The completed cedar ice chest immediately improved Joe’s outdoor space, offering practical convenience and visual appeal. This handcrafted chest not only keeps beverages cold but also serves as a charming focal point during social gatherings.
Building this ice chest is a rewarding woodworking project that demonstrates skill, creativity, and functionality. It’s an ideal build for anyone looking to enhance their outdoor entertaining area and showcase their craftsmanship.
Ready to See the Complete Build?
Watch the full video and subscribe to Joe’s channel:

Matt’s Take
These are my personal thoughts and tips based on my own experience in the shop. This section is not written, reviewed, or endorsed by the original creator of this project.
Cedar is such a fantastic choice for outdoor projects like this ice chest. The natural oils in cedar not only give it that beautiful aroma we all love, but they also provide genuine protection against rot and insects. What really catches my eye about Joe’s build is that self-centering mechanism – that’s the kind of thoughtful engineering that separates a good project from a great one.
When working with cedar pickets like Joe did, I always remind folks to be mindful of the grain direction when cutting. Cedar can be prone to splitting, especially near the ends, so taking your time with cuts and pre-drilling for screws is worth the extra effort. A sharp blade makes all the difference too – dull tools tend to tear cedar fibers rather than cut them cleanly.
The drainage spout is a smart addition that often gets overlooked on ice chest builds. Without proper drainage, even the best cedar construction can suffer from standing water issues. Joe’s approach of building those robust frames first is spot-on too – it’s much easier to ensure everything is square and properly supported before you start adding the sides and hardware.