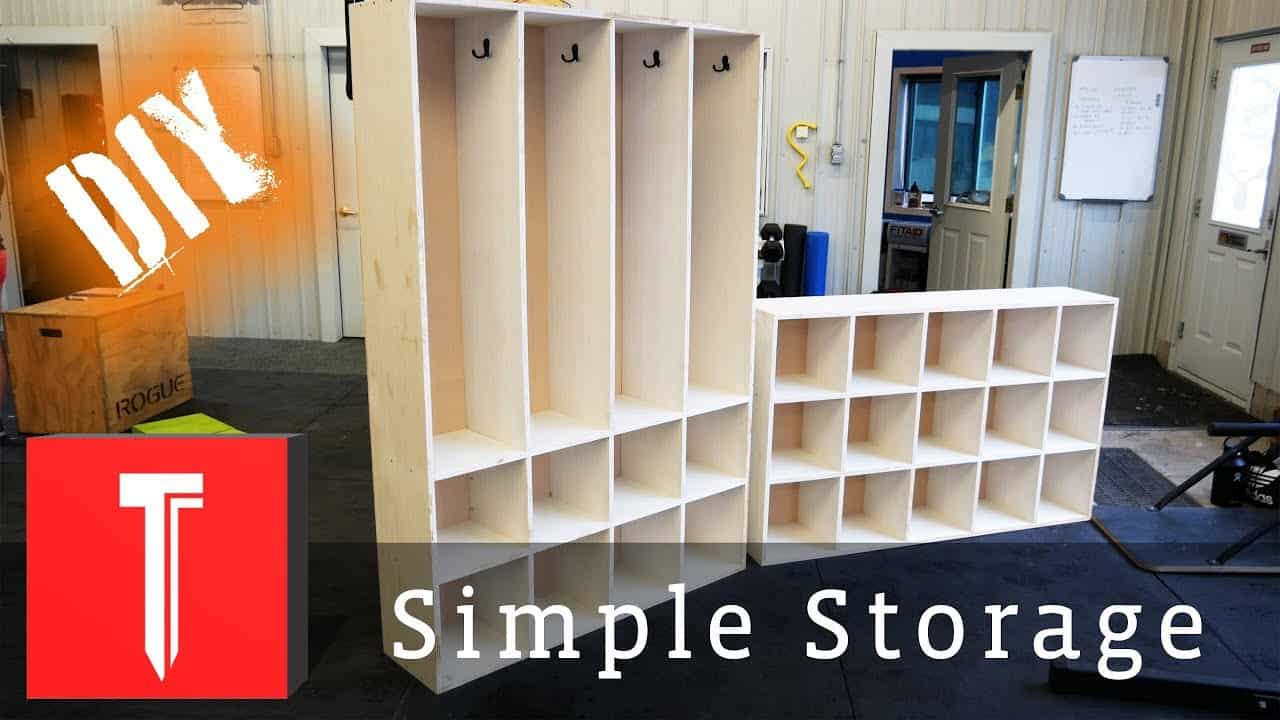
This project was built and designed by Sam Macy. These storage cubbies are a clean and practical way to organize everything from shoes to household items.
They’re simple to build, easy to customize, and fit seamlessly into mudrooms, entryways, or closets. If you’re aiming to tidy up without sacrificing style, this is a solid project to consider.
Watch the full video and subscribe to Sam’s channel:
Starting with Materials and Layout
The cubbies are made from plywood, which is durable and easy to work with. Sam uses it for both the main structure and interior shelving, keeping things simple and consistent.
The design can be adjusted for different heights, widths, and number of compartments. This flexibility makes the project useful in a wide range of spaces, from utility rooms to kids’ bedrooms.
Cutting and Assembling the Frame
The outer frame is built first by cutting and assembling the top, bottom, and two side panels. This approach helps ensure everything is square and allows for precise interior measurements later.
Once assembled, the outer frame acts as a solid base for the rest of the build. It also helps lock in the overall proportions of the final cubby setup.
Adding the Interior Shelves
After the frame is complete, Sam measures and cuts the internal dividers. These are added to create individual storage compartments that can be square or rectangular, depending on your needs.
Each divider is secured in place, with care taken to keep the spacing consistent and level. This step is where the cubbies really take shape and start looking like a finished piece.
Backing and Reinforcement
For added stability, Sam attaches a plywood backing to the rear of the unit. This helps square up the frame and provides support for anything that will be stored inside.
Attaching the back is a quick step, but it’s important to check for square before securing everything. Proper alignment ensures the unit will sit flat against a wall without wobbling.
Final Finishing Touches
After assembly, the entire cubby unit is sanded for a smooth, clean finish. Corners and edges are softened slightly to make the piece safer and more comfortable to use.
Sam then applies a protective finish, which could be paint or stain, depending on the intended look. This step adds durability and helps the unit blend in with existing decor.
Why Storage Cubbies Are a Great Fit
Storage cubbies offer a neat and efficient way to organize busy areas of the home. They’re perfect for separating shoes, bags, or supplies into their own compartments.
Custom sizing means you can make them as compact or expansive as needed. It’s a smart way to bring structure to any space without using bulky furniture.
See the Full Project from Start to Finish

Matt’s Take
These are my personal thoughts and tips based on my own experience in the shop. This section is not written, reviewed, or endorsed by the original creator of this project.
Plywood really is the perfect material for storage projects like this. It’s stable, cuts clean, and gives you that consistent look throughout the build. One thing I always appreciate about cubby designs is how forgiving they are – if your cuts are slightly off, the backing panel can help pull everything square during assembly.
The order of operations Sam uses here is spot-on. Building that outer frame first gives you a solid foundation to work from, and it makes measuring for those interior dividers much more straightforward. When you’re installing multiple shelves, taking time to mark everything out before making cuts saves a lot of headaches later.
Safety-wise, remember that plywood can splinter pretty easily when cutting, especially on the back side of your cut. A sharp blade and some masking tape on your cut line can help minimize tearout. Also, those interior corners can be surprisingly sharp once everything’s assembled, so don’t skip the sanding step – your knuckles will thank you.
Projects like this are great for trying out different joinery methods too. Pocket screws work well for speed, but if you want to step up your game, dados for the shelves or even simple rabbet joints can make everything feel more solid and professional.