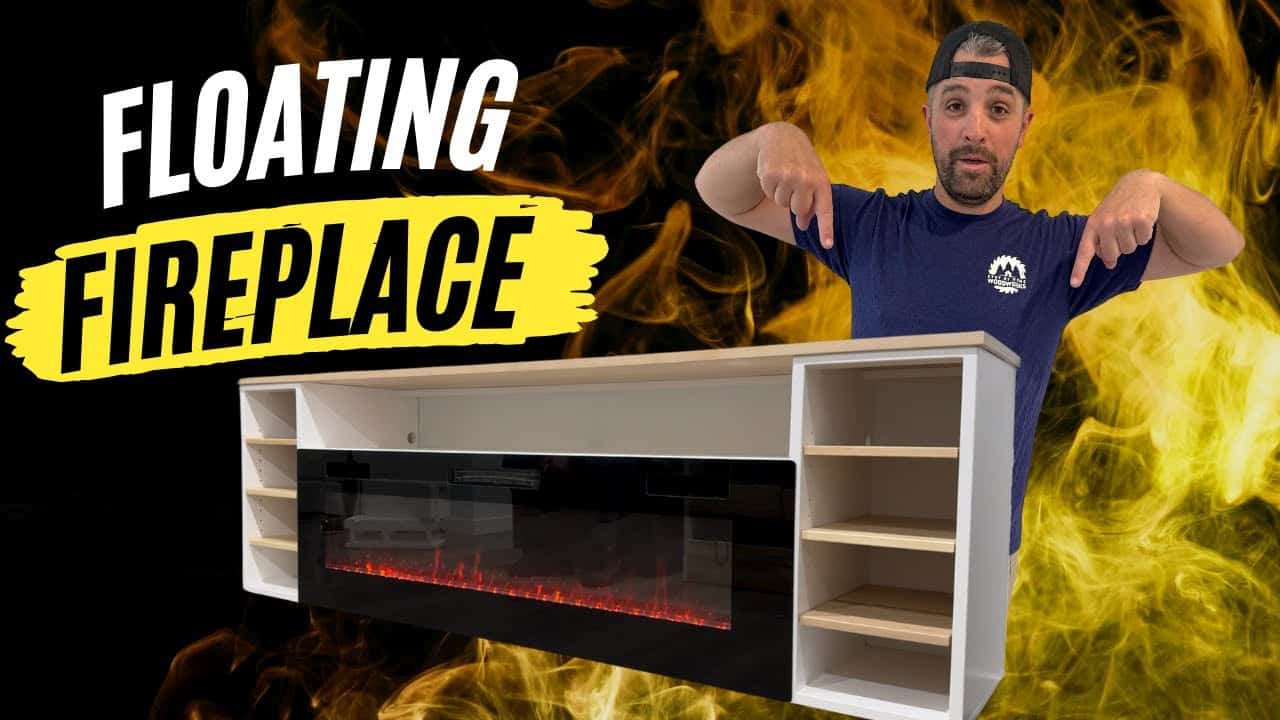
This impressive DIY floating fireplace and entertainment center was built and designed by Aaron from Stay At Home Woodworks. It’s an excellent woodworking project that not only transforms your living space but also adds practical storage and a modern aesthetic.
Watch the full video and subscribe to Aaron’s channel:
Why Choose a Floating Fireplace?
A floating fireplace is both a stylish and functional addition to any room. This unique design frees up floor space and creates a sleek, modern look that complements a variety of interior designs.
Aaron’s floating fireplace incorporates additional storage for electronic devices and decorative items. It’s the perfect solution if you’re looking to combine warmth, organization, and a contemporary feel in your living area.
Preparing the Lumber
Aaron began the project by carefully milling the raw lumber to ensure a precise and sturdy build. He started by cutting the boards into manageable lengths, leaving extra material to accommodate milling adjustments.
Using a jointer, Aaron flattened one face of each board to create a stable reference surface. After flattening, he squared an edge before running the boards through a planer to ensure consistent thickness across all components.
Constructing the Panels
Once the lumber was milled to perfection, Aaron moved on to assembling the individual panels that form the main structure. He used domino joinery to ensure strong and precise alignment during the glue-up process.
Alternatives like biscuits or dowels can also work well, but domino joinery provides exceptional strength and alignment. Aaron applied glue generously and clamped each panel thoroughly, carefully alternating clamps to maintain even pressure and achieve flat panels.
Finalizing the Panel Dimensions
After the panels dried, Aaron carefully trimmed them down to their final dimensions. He used a jointer to ensure each edge was perfectly flat before making the final precise cuts.
For the cutting process, Aaron utilized a track saw for accuracy, but noted that a circular saw with a straight-edge guide can also achieve similar results. Attention to accuracy in this stage ensured that all components fit together seamlessly during assembly.
Enhancing Structural Strength
To create a robust and durable structure, Aaron incorporated rabbets and dados into the joinery. Rabbets were cut into the end panels, while dados were created for interior panels, adding considerable strength and stability to the entire unit.
Aaron used a router equipped with a temporary fence to ensure these cuts were precise and consistent. He clamped panels together for simultaneous dado cuts, ensuring perfect alignment and a clean, professional finish.
Drilling for Adjustable Shelving and Wiring
For practical functionality, Aaron added adjustable shelf pin holes to allow flexible storage options. He used a shelf pin jig for consistent spacing, allowing users to easily customize shelf height according to their needs.
Additionally, Aaron drilled holes to neatly route wiring for electronic devices, maintaining a clean, uncluttered appearance. These thoughtful details make the unit highly functional for everyday use.
Mounting the Floating Fireplace
Aaron achieved the floating design by using a French cleat mounting system. This method securely attaches the fireplace to the wall, providing robust support and stability while maintaining a sleek look.
He attached a 45-degree angled cleat to the bottom panel and secured the matching cleat directly to wall studs. This hidden system allowed the fireplace to appear seamlessly suspended, enhancing the modern aesthetic.
Completing the Assembly
The final assembly required careful planning and preparation. Aaron began by assembling the interior shelves and media section, followed by attaching them to the bottom panel, ensuring alignment throughout each step.
He performed dry test runs before applying glue, helping identify any potential issues and ensuring smooth final assembly. Having clamps ready beforehand streamlined the glue-up, making the process efficient and accurate.
Finishing and Detailing
With assembly complete, Aaron thoroughly sanded all surfaces to prepare for finishing. He applied a protective clear finish to highlight the wood’s natural grain, enhancing the beauty and durability of the final piece.
To elevate the design, Aaron added a subtle chamfer along the edges, providing an elegant and cohesive look. He finished the project by carefully installing the fireplace insert and adjustable shelves, finalizing both form and function.
Why You’ll Love This Project
This DIY floating fireplace offers both functionality and modern design, making it a standout addition to any home. Aaron’s careful attention to detail throughout the milling, assembly, and finishing processes ensures a beautiful, long-lasting piece.
Whether you’re looking to upgrade your living space or simply enjoy a challenging woodworking project, Aaron’s floating fireplace design provides both inspiration and practical guidance.
Please support Aaron by visiting his website.

Matt’s Take
These are my personal thoughts and tips based on my own experience in the shop. This section is not written, reviewed, or endorsed by the original creator of this project.
This floating fireplace project really showcases the importance of proper milling and prep work. When you’re building something that’s going to be mounted on the wall, every little twist or bow in your lumber is going to show up magnified in the final piece. Taking the time to get those panels perfectly flat and consistent in thickness pays dividends throughout the entire build.
The French cleat mounting system is a brilliant choice here. It distributes the weight across multiple wall studs and gives you that clean floating look without visible brackets. Just make sure you’re hitting solid framing members – this unit will have some serious weight with the fireplace insert and all that solid wood. I’d recommend using a good stud finder and maybe even opening up a small section of drywall to visually confirm your stud locations.
One thing I really appreciate about this build is the attention to wire management. Nothing ruins a clean modern look like cables hanging everywhere. Drilling those routing holes during construction is so much easier than trying to retrofit them later. Consider adding a few extra holes while you’re at it – you never know what future electronics might need power or data connections.
The domino joinery is rock solid for this application, but don’t let that stop you if you don’t have a Domino. Good old-fashioned pocket screws from the back, or even just well-placed dados and a strong glue joint, can create plenty of strength for a wall-mounted cabinet like this.