This project was built and designed by Nick Starrett. It’s a creative outdoor addition that combines a sandbox and picnic table into one fun and functional space for kids.
The dual-purpose design makes it perfect for backyard play, providing both a surface for snacks and a place to dig in the sand. If you’re looking for a kid-friendly woodworking idea, this one hits the mark.
Watch the full video and subscribe to Nick’s channel:
What Makes This Project Great
A sandbox picnic table offers a contained, shaded space where children can enjoy the outdoors. It allows them to transition from snack time to playtime in seconds without taking up extra yard space.
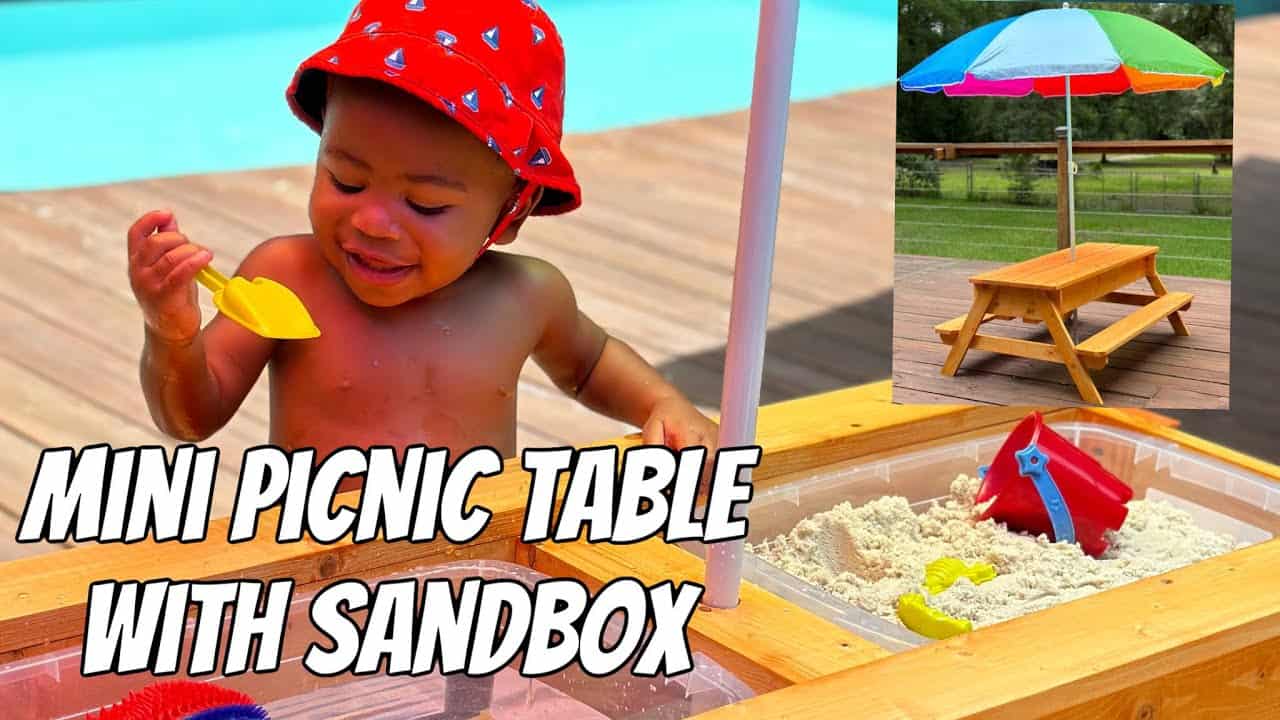
Nick’s version of this project includes thoughtful touches like angled legs, a center support for an umbrella, and a built-in sand and water area. The result is something that looks great and keeps kids entertained.
Starting the Build
Nick begins by selecting materials that are readily available at most hardware stores. In addition to wood, items like sand containers and a basic umbrella are easy to find and cost-effective.
Once the materials are gathered, the wood is cut to length using a miter saw. A table saw helps trim the boards to the right width for each part of the table.
Cutting and Preparing Components
The legs are cut with a 30-degree angle on each end, creating a clean and stable stance. These angled cuts give the table a polished appearance and help distribute weight evenly.
Support pieces for the structure are also cut with beveled edges for better fit and strength. All parts are sanded thoroughly to remove rough spots and splinters.
Assembling the Base Frame
The sandbox portion starts with a rectangular frame that holds the containers. Longer boards are attached to shorter cross pieces, forming a sturdy box that fits the sand and water bins snugly.
Once the box is complete, the legs are secured from the inside to keep the outer surfaces clean. This technique hides fasteners and creates a smooth, finished look.
Adding the Seats and Tabletop
With the base in place, the table is flipped upright so the seat boards can be added. Spacers are used to keep consistent gaps and even overhangs.
The top boards are installed next, forming a sturdy surface and holding the sand and water containers in place. Nick adds a center support in the tabletop for mounting an umbrella.
Final Finish and Setup
The assembled table is sanded again to soften the edges and prepare it for finishing. A wood-toned outdoor stain is applied to highlight the grain and protect it from the elements.
After the finish dries, the table is ready for the backyard. With the umbrella in place and the bins filled, it’s ready for hours of outdoor play.
Why It’s a Worthwhile Project
This picnic table brings together utility, creativity, and fun in one compact design. It’s a standout piece in any backyard and provides a safe, shaded play area for kids.
Nick’s attention to detail makes this project feel polished and long-lasting. It’s a great example of how simple materials can be turned into something truly enjoyable.
Want to See the Full Build?
Please support Nick by visiting his website here: https://www.nickscustomwoodworks.com/.