This project was built by Drew Fisher at Fisher’s Shop.
If you enjoy creative woodworking builds, be sure to check out his channel for more unique projects.
Watch the full video and subscribe to Drew’s channel:
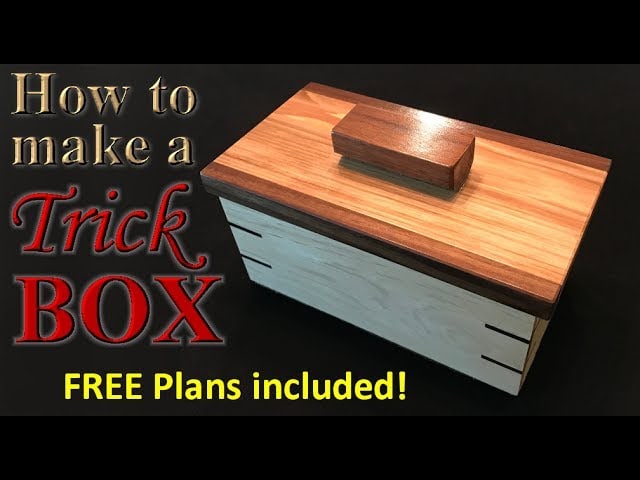
A Trick Box with a Hidden Lock
This isn’t just an ordinary wooden box. Drew designed it with a clever locking mechanism that keeps the lid securely closed until you know the secret to unlocking it.
It’s a fun and functional woodworking challenge that makes for a great gift or conversation piece.
Selecting the Materials
For this build, Drew repurposed white oak hardwood flooring scraps. The boards feature a tongue and groove design, adding an interesting detail to the project.
To start, he prepared the wood by planing the underside, ensuring a smooth finish that allows the locking mechanism to function properly.
Constructing the Box
Once the boards were milled, Drew cut them to size and shaped the sides using lap joints.
These joints provide a strong structure and are easier to glue together than mitered joints.
By carefully making precise cuts on the table saw, he ensured the pieces fit snugly, creating a clean and sturdy box frame.
Crafting the Locking Mechanism
The key to this trick box is its hidden locking system. Drew initially considered drilling holes for the locking bars but later decided on a different approach.
Instead, he used a table saw to create channels where the bars would slide in and out.
To complete the mechanism, he cut small wooden bars that fit into the channels, ensuring they moved smoothly.
After testing and adjusting, the locking system worked perfectly, keeping the lid secure until the secret release method was used.
Assembling the Lid and Handle
With the locking mechanism in place, Drew turned his attention to the lid.
He selected another piece of hardwood flooring and added walnut strips along the sides for contrast. This not only enhanced the appearance but also provided a decorative accent to the design.
For a functional touch, he crafted a walnut handle that complemented the overall aesthetic.
The handle was shaped to be comfortable to grip, making it easy to open the box once the lock was disengaged.
Finishing the Project
To complete the build, Drew attached the bottom panel and checked all the components for a precise fit.
A few coats of spray lacquer were applied to protect the wood and give it a smooth, glossy finish.
For a professional touch, he lined the bottom with felt. This small detail not only protects surfaces but also elevates the final look of the box.
After trimming any excess material, the trick box was ready for use.
A Fun and Rewarding Build
This project is a great way to explore fine woodworking techniques while building something both functional and fun.
Whether used as a puzzle box, a gift, or a personal keepsake, it’s a satisfying project that highlights creativity in woodworking.
If you’re interested in building this trick box yourself, Drew offers free plans.
His detailed instructions make it easy to follow along and create your own version.

Matt’s Take
These are my personal thoughts and tips based on my own experience in the shop. This section is not written, reviewed, or endorsed by the original creator of this project.
White oak flooring scraps are such a smart choice for a project like this. The tongue and groove profile adds visual interest, and oak’s density makes it perfect for precision mechanisms that need to function smoothly over time. When repurposing flooring, that planing step on the underside is crucial — you’re removing any potential finish or debris that could interfere with tight tolerances.
Lap joints are definitely the way to go here instead of miters. They’re more forgiving during glue-up and create a stronger mechanical connection, which is important when you’re dealing with a functional mechanism. The real key with any trick box is getting those sliding components just right — too tight and they’ll bind, too loose and the mechanism feels sloppy. Test-fitting repeatedly during construction saves a lot of headaches later.
That felt lining is one of those finishing touches that separates a shop project from something that feels professionally made. It’s worth investing in quality adhesive-backed felt rather than trying to glue regular felt — the results look much cleaner. Projects like this are great for practicing precision work since everything has to function properly, not just look good.