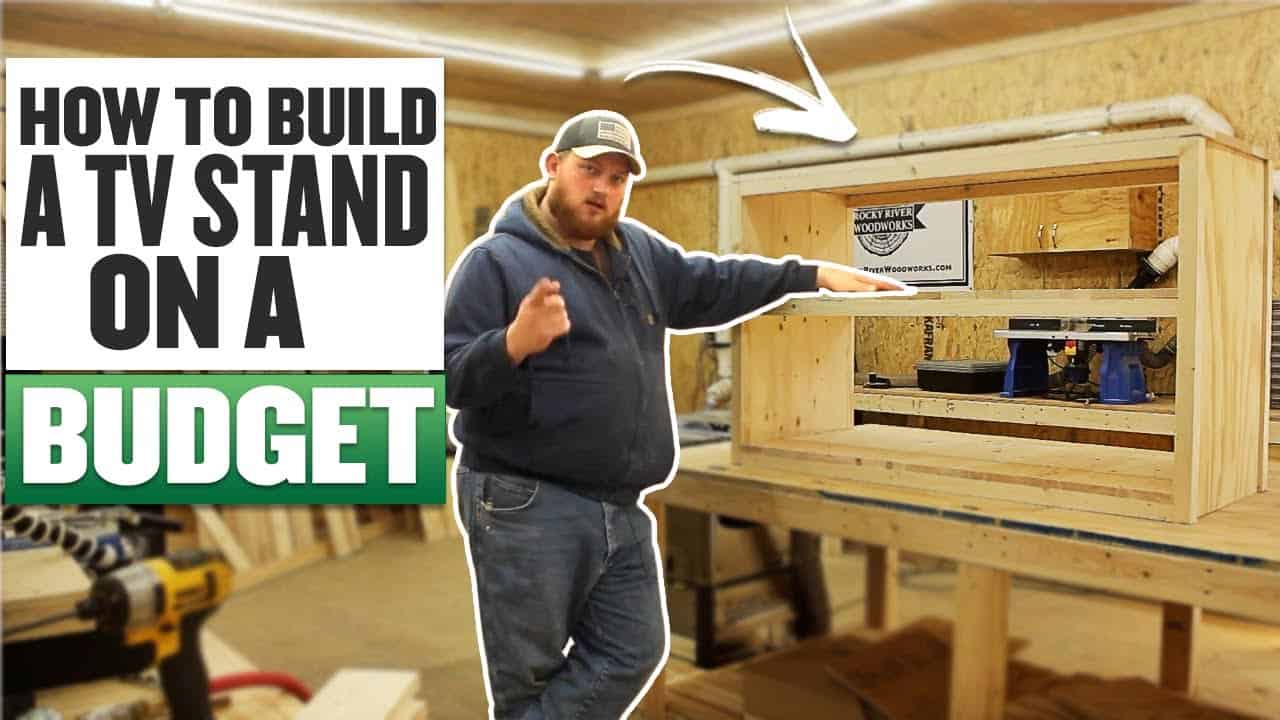
This project was built and designed by Nick from Rocky River Woodworks. It’s a sturdy, customizable TV stand made from affordable materials and built using approachable techniques—perfect for woodworkers looking to furnish a space without overspending.
The design balances cost, strength, and style. With a few basic tools and some inexpensive lumber, Nick walks through each step of the build and shows how a simple design can deliver great results.
Watch the full video and subscribe to Nick’s channel:
Smart Design Using Affordable Materials
This TV stand is built primarily from whitewood pine, chosen for its low cost and reliability. Though not the most premium wood, it’s easy to work with and strong enough to support a television, game consoles, and more.
The stand includes a wide tabletop and two open shelves for storing or displaying media components, books, or decorative items. The design keeps things simple and versatile—no cabinet doors or drawers, just clean lines and open access.
What You’ll Need
For the main structure, Nick uses standard 2x4s for the legs and frame supports. The top and shelves are built from joined 1x4s. To dress it up a bit and hide pocket holes, some thin plywood is used as trim.
The tool list is approachable: a miter saw or circular saw for cuts, a drill with a pocket hole jig, a brad nailer, and a sander. A stop block setup helps with consistent cuts, especially when repeating measurements for shelves and frame pieces.
Breaking Down the Boards
The first step is cutting the lumber to size. The tabletop is made from several 1x4s joined edge to edge. Nick uses pocket holes and glue to create a solid panel that stays flat and stable.
The shelves are built the same way as the top, using matching boards for a uniform appearance. This not only keeps costs down but also makes the entire piece look cohesive.
Assembling the Top
With all boards cut to length, Nick assembles the tabletop using pocket hole screws and clamps. This method keeps the fasteners hidden on the underside while ensuring strong joints across the whole surface.
He also recommends sanding the individual boards before assembly. This extra step makes the final finish smoother and reduces the need for aggressive sanding after the table is built.
Building the Frame
Next, 2x4s are used to build the leg assemblies and support frame. Each leg is cut to height and attached using pocket hole screws driven into horizontal rails.
Nick attaches the upper and lower frame supports to tie everything together. These rails provide structural support for both the tabletop and the shelves while maintaining a clean, open look.
Installing the Shelves
With the frame complete, the shelves are installed by laying 1x4s across the lower rails. These are secured using brad nails—fast and effective for projects like this where strength is distributed across several boards.
The shelves can be adjusted in height if needed. Nick installs them midway up the frame, leaving space below for baskets or storage bins and room above for taller items.
Polishing the Look
To clean up the final appearance, Nick adds a few simple trim pieces using thin plywood. These pieces cover any exposed pocket holes and give the stand a more finished look.
The plywood can be cut to size and glued or nailed in place. Once the trim is added, Nick sands the entire project to remove sharp edges and prep for finish.
Finishing Options
The TV stand can be finished in a number of ways depending on your preference. Nick opts for a wood stain to enhance the grain and warm up the color, followed by a protective top coat.
Paint is also an option, especially if you want to match existing furniture or achieve a modern farmhouse look. Because the design is clean and minimal, almost any finish will work well.
Why This Build Makes Sense
This TV stand is a practical weekend project that delivers real value. It’s simple enough for beginners but leaves room for small upgrades—like adding drawers, doors, or decorative accents—if you want to customize it further.
Nick’s design proves that budget builds don’t have to look cheap. With good joinery, smart material choices, and a little patience, this TV stand can easily become a centerpiece in your living room.
A Great Project for Any Skill Level
Whether you’re furnishing a first apartment, replacing a store-bought stand, or just want to build something useful, this project checks all the boxes. It’s functional, affordable, and rewarding to build.
Nick breaks down each step clearly in his video and offers tips to keep everything square and sturdy. It’s a solid introduction to pocket hole joinery and an excellent project for building confidence in your woodworking.
Please support Nick by visiting his website here: https://www.rockyriverwoodworks.com/.

Matt’s Take
These are my personal thoughts and tips based on my own experience in the shop. This section is not written, reviewed, or endorsed by the original creator of this project.
Whitewood pine gets a bad rap sometimes, but it’s honestly perfect for projects like this. It’s affordable, machines cleanly, and takes stain well if you want to warm up the color. The key with pine is managing any pitch pockets and being gentle with your sanding—it can get a bit fuzzy if you’re too aggressive with coarse grits.
That pocket hole approach for the tabletop is solid. When you’re edge-gluing boards like this, take your time with the alignment. A few clamps and some patience during glue-up will save you hours of sanding later. I’d also suggest checking your boards for any bow or twist before you start—even small imperfections can throw off the whole assembly.
The open shelf design is smart from both a cost and practical standpoint. No doors or drawers means fewer materials and simpler joinery, but you still get plenty of storage. If you’re worried about things sliding around on the shelves, a small lip routed on the front edge or even just a thin strip of wood can help keep items in place.
One thing I really appreciate about this build is how the 2×4 frame distributes the weight. That lower rail system means your TV’s weight isn’t just sitting on the legs—it’s spread across the whole structure. That’s good engineering that’ll keep everything stable for years.