These projects were built and designed by Clinton from Specific Love Creations.
Clinton demonstrates three approachable 2×4 projects that teach useful shop techniques while producing practical results for the home and family.
Watch the full video and subscribe to Specific Love Creations:
Project 1 — Heavy‑Duty Wall Brackets
This first build is a pair of simple, heavy‑duty shelving brackets made from common construction lumber, intended to support significant weight when mounted to studs.
Key techniques include selecting cleaner boards, cutting opposing angled ends to form a neat support profile, and using pocket holes to create tight corner joints without visible fasteners on the front face.
Clinton also highlights fit‑up tips: trimming small amounts for perfect mating and light sanding to remove factory marks before finishing, which keeps the final look tidy for a garage or interior wall.
Project 2 — Family Tic‑Tac‑Toe Set
The second project is a playful tabletop tic‑tac‑toe set designed for family fun, built from short lengths of 2×4 and a simple framed board to contain the pieces.
Construction focuses on repetitive cutting and light joinery, with pre‑drilling to avoid splitting and a choice between a backed frame or an open tray for quick reset and easier piece access.
Finishing touches include a protective coat of paint or stain and stencils or paint for Xs and Os, with the suggestion to make one extra X since X always starts first — a small practical detail that makes the set ready to play.
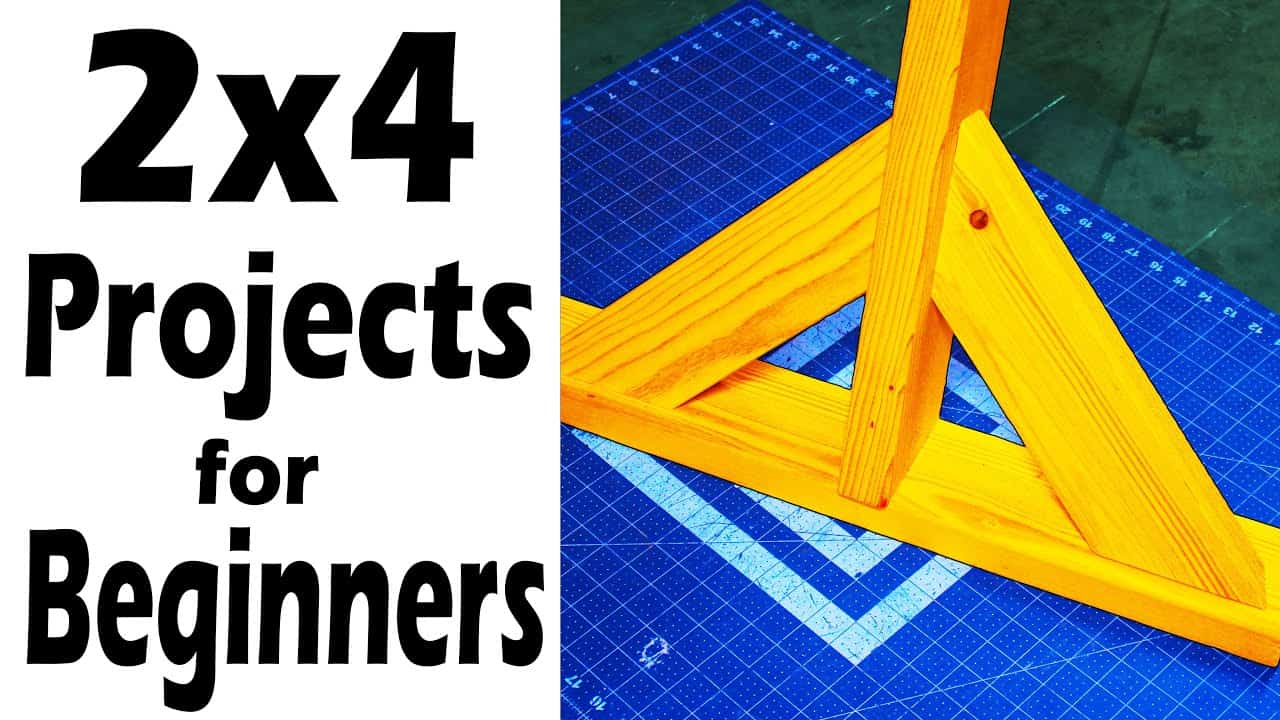
Project 3 — Photo Arch / Backdrop
The third build is a large freestanding arch suitable as a photography backdrop for events, made from long 2x4s joined with half‑lap style connections and braced with angled feet for stability.
This section demonstrates a variety of intermediate techniques: laying out opposing 45° cuts, marking and removing half the thickness for lap joints, and using a sliding miter saw with a depth stop to make repeatable partial cuts.
Clinton covers preventing tearout by backing the cut with a small spacer, creating a level base by removing the factory corner, and cutting compound angles for the angled support legs so the arch sits flush and stable.
Assembly options include glue for a cleaner appearance or screws and pocket holes for speed and serviceability; final sanding and paint or stain finish the piece for events or displays.
Overall Takeaways
Across these three projects, the emphasis is on learning repeatable layout, proper edge and angle preparation, and practical joinery that can be adapted to many shop builds.
Clinton’s approach mixes pocket holes, half‑laps, careful mitering, and simple clamping tricks — such as using sacrificial spacers and wedges — to get reliable results without specialized machinery.
These builds are well suited for beginners looking to gain confidence with measuring, cutting angles, and finishing, and each project can be scaled or adapted for different sizes and uses.
Watch the full video and subscribe to Specific Love Creations:

Matt’s Take
These are my personal thoughts and tips based on my own experience in the shop. This section is not written, reviewed, or endorsed by the original creator of this project.
These three projects showcase exactly what makes 2×4 lumber such a great starting point for new woodworkers. Construction grade lumber is forgiving, affordable, and teaches you essential skills without the pressure of working with expensive hardwoods. The variety here — structural brackets, a game set, and an architectural backdrop — shows how versatile basic framing lumber can be.
The pocket hole joinery featured in these builds is worth mastering early. It’s one of those techniques that opens up a lot of possibilities once you get comfortable with it, and the investment in a pocket hole jig pays for itself quickly. For the tic-tac-toe project specifically, pre-drilling is crucial with construction lumber since it can split easily, especially near the ends.
Safety-wise, pay extra attention when making those half-lap cuts for the photo arch. Partial depth cuts on a miter saw require steady hands and good work support. Take your time setting up that depth stop — it’s much better to sneak up on the final depth with multiple passes than to cut too deep on the first try.
The finishing advice here is solid too. Construction lumber has those rounded edges and sometimes rough surfaces, so a light sanding really does make a difference in the final appearance, even for shop projects.