

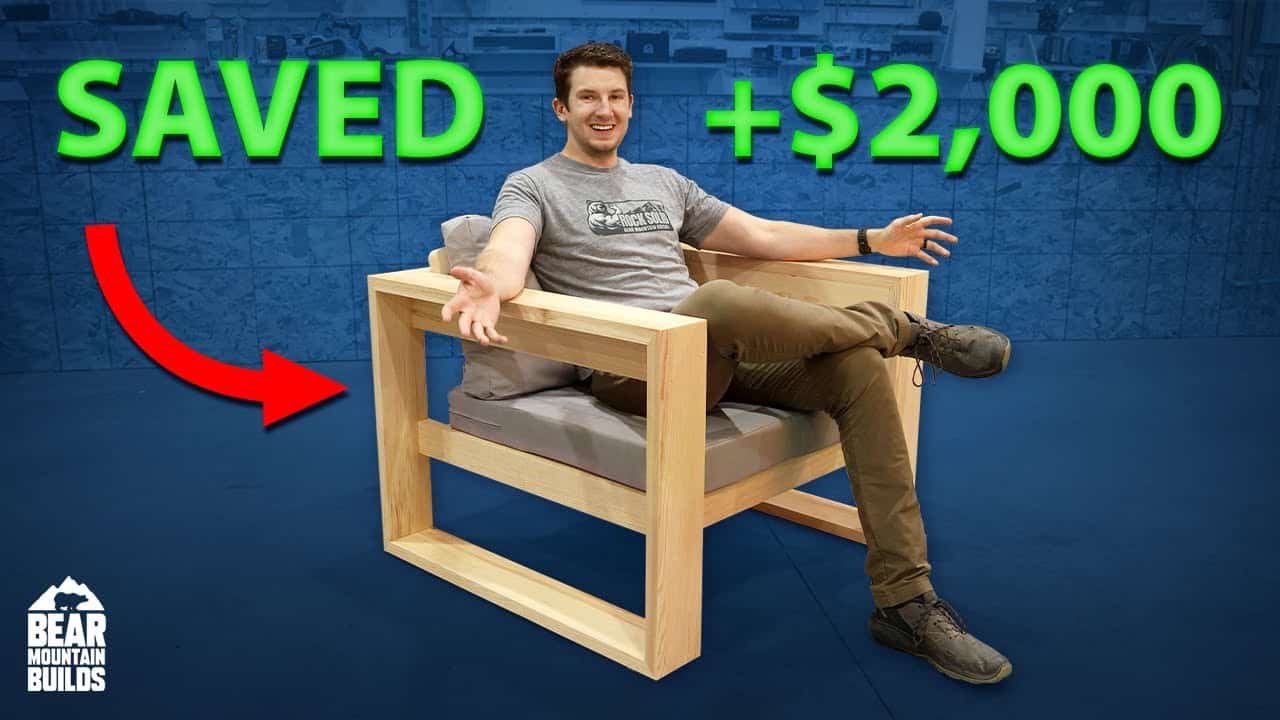
This project was built and designed by Zach from Bear Mountain Builds.
Zach discovered an expensive modern patio chair that he and his wife loved, but the high price tag led him to create his own version instead. This outdoor chair delivers the same aesthetic and comfort at less than a tenth of the cost by using standard construction lumber and off-the-shelf cushions.
Watch the full video and subscribe to Bear Mountain Builds:
Material Selection and Preparation
The entire chair frame is built from standard construction grade lumber. While these boards arrive with rough surfaces and marks, they offer significant cost savings compared to premium hardwoods.
Zach cleaned up the lumber using a planer to remove surface imperfections and reduce the thickness slightly. For those without a planer, orbital sanding provides an alternative method, though it requires more time. The visual difference between planed and unplaned boards is minimal once the project is complete.
After planing, the boards receive a quick pass through the table saw to crisp up the edges and remove any remaining rounded corners from the milling process.
Frame Construction
The side frames form the foundation of the chair and use miter joints at all corners. This joinery method creates clean appearance by hiding end grain while also providing protection against moisture penetration when sealed with glue.
Zach uses a specialized counterbore bit that creates perfectly sized holes for screws while simultaneously drilling a shallow recess for wooden plugs. This hardware concealment system maintains the chair’s clean aesthetic while ensuring strong mechanical connections.
Each joint receives thorough glue coverage on the end grain surfaces before clamping and fastening. The assembly process moves systematically from individual corners to complete side frames.
Cross Braces and Structural Elements
Upper and lower cross braces connect the side frames and provide mounting points for the seat and backrest components. Careful measurement and the use of spacers ensure consistent positioning across both sides of the frame.
The backrest cross brace receives an angled cut that tilts the backrest for improved comfort. Since this piece cannot accommodate through-screws due to its positioning, pocket holes provide the necessary connection method.
All cross braces receive the same glue and clamp treatment as the side frame joints, with particular attention paid to achieving flush alignment with the surrounding frame members.
Seat Slats and Support System
Rather than using the seat slats in simple shear, Zach reinforces them with ledger strips that create a supportive framework. These narrow strips attach to the cross braces and provide bearing surfaces for the individual seat slats.
The slats themselves are ripped from the same construction lumber used throughout the project. Consistent spacing between slats creates visual appeal while allowing for drainage and air circulation.
Each slat receives glue on both ends and along its bottom edge where it contacts the ledger strips. Strategic use of spacers ensures uniform gaps between all slats during installation.
Backrest Integration
The backrest panel receives rounded corners for improved aesthetics and comfort. Precise positioning determines the final seating angle and overall ergonomics of the finished chair.
Before final installation, masking tape protects areas where glue application could interfere with subsequent staining or finishing operations. This detail ensures uniform finish penetration across all surfaces.
The backrest attaches to both the angled cross brace and the side frame end grain, creating a rigid connection that can withstand typical use loads.
Hardware Concealment
Wooden plugs cut from matching offcut material fill all counterbored screw holes. A tapered plug cutter ensures tight fits that blend seamlessly with the surrounding wood grain.
After the glue cures, the plugs are trimmed flush using either a fine-tooth saw or oscillating tool. Light sanding removes any remaining proud surfaces and creates smooth transitions.
Proper grain orientation during plug installation helps the filled holes disappear completely once the finishing process is complete.
Surface Preparation and Waterproofing
Complete sanding with medium-grit paper prepares all surfaces for finishing while breaking sharp edges throughout the piece. This step significantly improves the chair’s feel and appearance.
For outdoor durability, multiple coats of spar urethane provide UV and moisture protection. Zach applies several coats with light sanding between each application to achieve a smooth, protective finish.
Adhesive furniture pads lift the finished chair slightly off ground surfaces, promoting air circulation and preventing water accumulation that could compromise the wood over time.
This construction approach demonstrates how thoughtful design and quality execution can create attractive, comfortable outdoor furniture using readily available materials. The combination of traditional joinery techniques with modern hardware concealment methods produces results that rival expensive commercial pieces at a fraction of the cost.
See Zach’s plans here: https://www.bearmountainbuilds.com/products/patio-chair

Matt’s Take
These are my personal thoughts and tips based on my own experience in the shop. This section is not written, reviewed, or endorsed by the original creator of this project.
Working with construction lumber for outdoor projects is one of my favorite ways to keep costs down while still getting great results. The key is understanding that these boards need a little extra attention upfront, but the savings are absolutely worth it. A good planer makes quick work of cleaning up those rough surfaces, but don’t skip this step if you’re sanding by hand — it really does make a difference in the final look.
Miter joints are an excellent choice for this type of outdoor furniture because they shed water so much better than butt joints. When you’re gluing end grain, especially on construction lumber, I always give those surfaces a light coat of glue first, let it soak in for a minute, then apply a second coat before assembly. That first coat acts like a primer and helps prevent the wood from absorbing all your adhesive.
The counterbore and plug system is brilliant for outdoor pieces — it gives you the strength of mechanical fasteners with the clean look of all-wood construction. When you’re cutting your own plugs, try to match the grain direction as closely as possible. A little extra time spent here pays off big when you apply your finish. Speaking of finish, multiple thin coats of spar urethane will protect this chair for years, and those furniture pads are a small detail that makes a huge difference in preventing moisture problems.