This project was built and designed by Tom from Alley Picked.
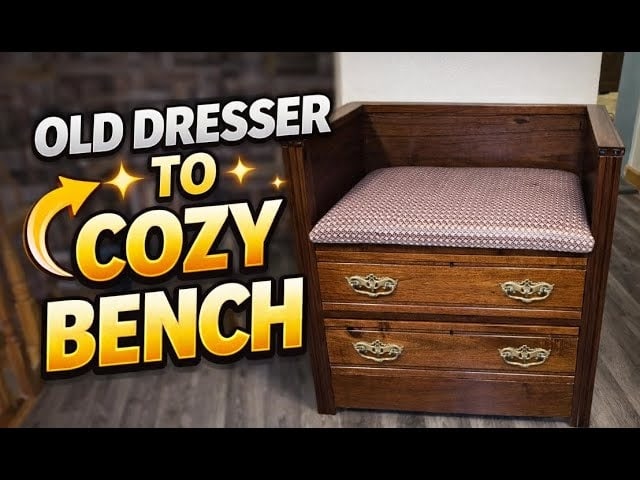
Tom rescued a broken, early-20th-century walnut dresser found at the curb and set out to repurpose it into a sturdy, upholstered bench. The build kept as much original material and hardware as possible while adding strength and a comfortable seat.
Watch the full video and subscribe to Alley Picked:
Design
The concept was straightforward: repurpose the dresser body into a seating unit by using the bottom drawer area and cutting the middle drawer to make space for a seat.
Tom leaned on the piece’s original lines and brass hardware to keep the character of the 1920s build while adapting proportions for people to sit on it comfortably.
Tear-down and Lumber Prep
Every joint was loose and most drawer bottoms were warped, so the cabinet came apart almost completely to assess and repair the structure.
Tom salvaged the solid walnut where possible and replaced only a few internal panels with thin plywood to restore stability without losing the original look.
Joinery and Reinforcement
Dovetail drawer joinery was preserved when possible, but the bench required additional reinforcement for seating loads, so some hidden screws and glued repairs were added to secure fragile corners.
Worn wooden drawer slides were flattened and reglued to restore proper alignment so the remaining drawers function smoothly.
Seat Construction and Upholstery
The seat uses a plywood platform framed into the opening, topped with foam and batting, then covered in a cane-like plastic weave to match the vintage feel.
Tom reused an old cushion kept in his garage for years and fitted the fabric with a small allowance at the edges; armrests were secured with dowel pins and even retain a bit of dovetail detail as a subtle nod to the original construction.
Shaping, Details, and Hardware
Sanding focused on cleaning scars while preserving small historic marks like old table-saw traces on the drawer back to keep the piece’s story visible. The original ornate brass handles were polished and reinstalled to maintain authenticity and visual appeal.
Finishing
Rather than heavy staining, Tom used a thinned dark walnut wiping stain to even out color differences across panels, then built a protective surface with several coats of warm semi-gloss polyurethane.
This approach keeps walnut’s natural depth while unifying slightly lighter and darker pieces for a cohesive finish.
Lessons Learned
The project shows the value of patience and selective replacement: saving most original wood preserves character and can be more rewarding than starting from new lumber.
For those attempting a similar repurpose, Tom suggests choosing a piece in better condition if time and budget are limited, since extensive structural repairs add many hours to a project.
Watch the full video and subscribe to Alley Picked:

Matt’s Take
These are my personal thoughts and tips based on my own experience in the shop. This section is not written, reviewed, or endorsed by the original creator of this project.
Rescue projects like this one are some of my favorite builds to watch. There’s something really satisfying about seeing old furniture get a second life, especially when the creator respects the original craftsmanship. That early walnut has a character you just can’t buy today, and keeping those brass fittings makes all the difference in maintaining the piece’s personality.
The structural reinforcement approach here is spot-on for furniture repurposing. When you’re converting a dresser to seating, you’re completely changing the load requirements. Dressers are built to hold weight vertically in drawers, but a bench needs to handle dynamic seating loads and potential side forces. Those hidden screws and glue repairs are smart moves that preserve the look while adding the strength needed for daily use.
That finishing strategy is really thoughtful too. When you’re working with mixed wood tones from repairs and replacements, a light tinted topcoat can work wonders to unify everything without hiding the natural grain. The key is building up thin layers rather than trying to fix color differences with one heavy application. It’s a technique that works great for any project where you’re blending old and new materials.