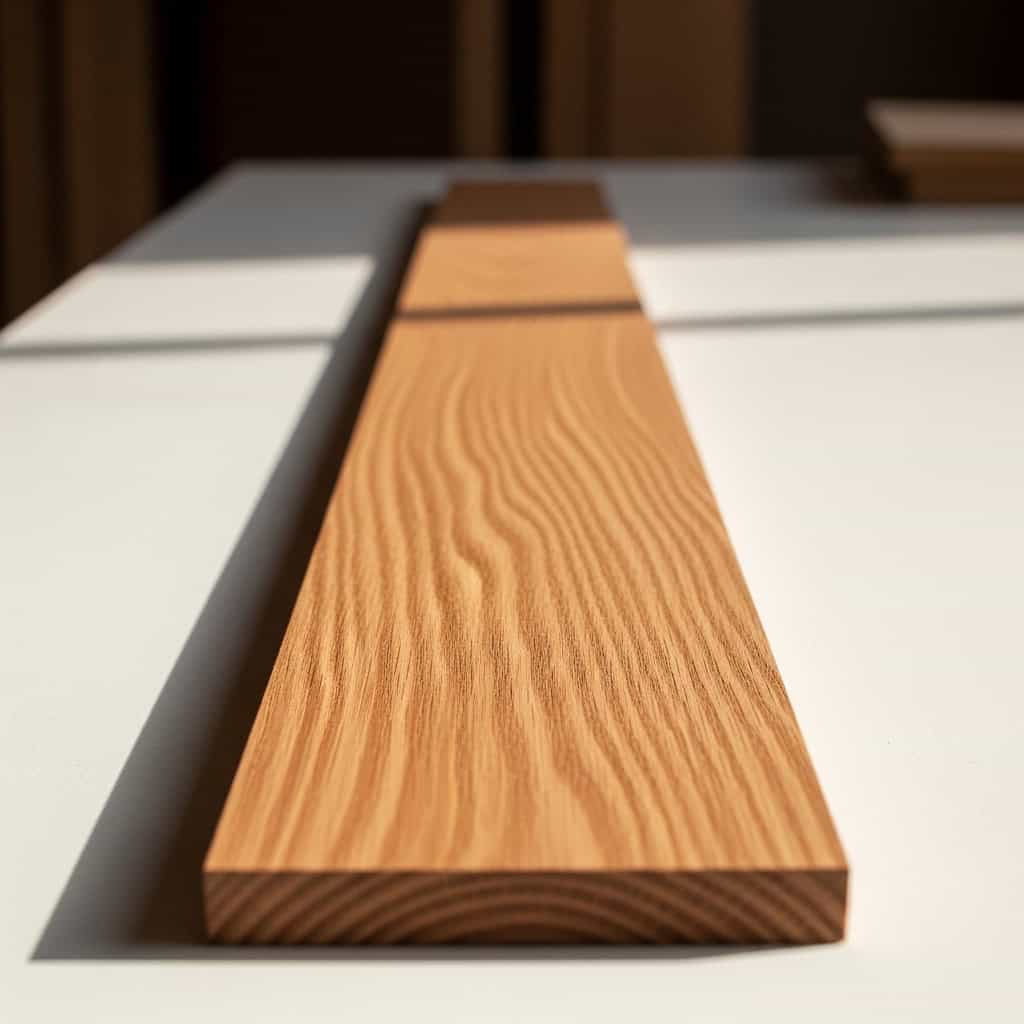
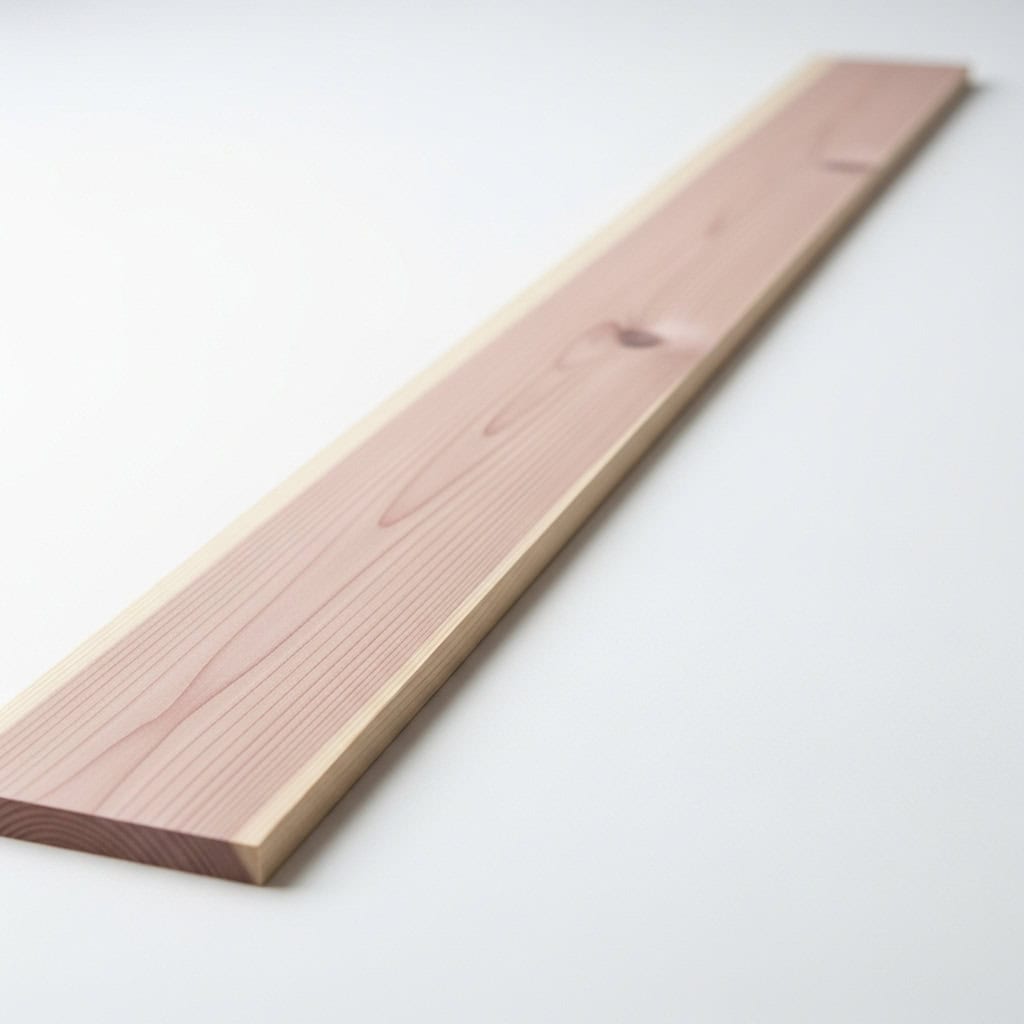
I’ve made a lot of picture frames in my shop—some for family photos, others as gifts, and plenty just to practice miters or try out a new profile.
It’s one of those deceptively simple projects. Looks easy at first, but the wood you use makes a big difference.
Some woods split when you cut thin pieces. Others warp just enough to throw your corners out of square. And some look great raw but blotch horribly under stain or paint.
I used to grab whatever was on hand—leftovers from bigger projects or whatever was cheapest.
But after a few twisted frames and rough finishes, I started sticking to woods that actually behave.
In this post, I’ll break down what to look for in a good frame wood, which ones have worked best for me, and a few I’d avoid altogether.
What Makes a Good Wood to Use for Picture Frames

Picture frames don’t take a beating like cutting boards or tabletops, but they still need to be strong, stable, and easy to work with—especially when you’re cutting thin strips or dialing in tight miters.
If the wood chips, warps, or doesn’t take finish well, you’ll notice right away. And if it’s too heavy or brittle, it’s just not worth the hassle.
Here’s what I look for before choosing a wood for a picture frame:
- Stability: You want wood that stays straight. Warped or twisted pieces will ruin your corners and leave gaps in the frame.
- Workability: Thin frame stock means delicate cuts. Woods that splinter or burn easily aren’t ideal.
- Grain and Texture: Closed-grain woods are easier to sand smooth and finish cleanly. Open-grain woods may need filling.
- Weight: Lighter woods are easier to hang. Heavier ones may need wall anchors or sturdier mounting.
- Finish Compatibility: Some woods look best with just oil. Others take paint or stain well. The right choice depends on your final look.
Even simple frames turn out better when you start with the right wood. Up next, I’ll break them down based on how you plan to finish your frame.
Best Woods for Picture Frames: Natural Finish
If you want the wood itself to be the star of the show, these are the ones I trust. They look great with a simple oil, shellac, or clear poly finish—no stain needed.
These woods have natural color, character, and grain patterns that make them perfect for picture frames you want to leave “naked” or enhance with just a little sheen.
1. Cherry

Cherry brings warmth and elegance to any frame. It starts as a soft reddish-brown and deepens to a rich amber over time.
Why Cherry Works:
- Appearance: Beautiful reddish tone that darkens with age
- Grain: Tight, smooth, and easy to sand
- Workability: Cuts cleanly and shapes well—great for profiles and miters
- Finish: Looks great with just oil or shellac
- Weight: Light to medium—easy to hang
Great for traditional, classic frames that age beautifully.
2. Walnut

Walnut is one of the most popular frame woods for a reason. It’s rich in color, easy to work with, and looks high-end without much effort.
Why Walnut Works:
- Appearance: Deep chocolate brown with natural contrast
- Grain: Closed and consistent—takes finish evenly
- Workability: Machines and sands smoothly
- Finish: Oil or wax makes the grain pop
- Weight: Moderate—strong and stable without being too heavy
Perfect for upscale frames or clean, modern looks.
3. Mahogany

Mahogany gives a timeless, furniture-quality look to frames. It’s easy to work and finishes beautifully with oil or lacquer.
Why Mahogany Works:
- Appearance: Rich brown with subtle shimmer in the grain
- Grain: Straight and fine—ideal for smooth surfaces
- Workability: Cuts and sands easily with minimal chipping
- Finish: Accepts oils and clear finishes very well
- Weight: Medium—stable and strong
Great for formal or heirloom-style picture frames.
4. Sapele

Sapele is similar to mahogany but has more visual interest. It’s often ribbon-grained, with bold patterns that really stand out.
Why Sapele Works:
- Appearance: Medium to dark reddish-brown with dramatic ribbon grain
- Grain: Interlocked, with striking texture
- Workability: A little tougher to plane, but cuts and sands cleanly
- Finish: Looks fantastic with oil or a satin poly
- Weight: Dense, but manageable in thinner strips
A smart pick when you want something natural but a little different.
Best Woods for Picture Frames: Painted Finish
If you’re planning to paint your frame, you don’t need fancy grain or rich color—you want a wood that’s smooth, stable, and easy to work with.
These woods take paint well and don’t require grain filling or special prep. They’re also more forgiving when you’re cutting thin stock or shaping decorative profiles.
1. Poplar

Poplar is my go-to for painted frames. It’s affordable, easy to find, and finishes smoothly with very little fuss.
Why Poplar Works:
- Appearance: Pale greenish wood—not pretty raw, but great under paint
- Grain: Fine and closed—no grain filler needed
- Workability: Cuts and sands easily—great for miters and routed edges
- Finish: Holds paint extremely well without blotching
- Weight: Lightweight—easy to hang
Great for beginner frames, especially when using bold colors.
2. Basswood

Basswood is very soft and lightweight, which makes it great for small or decorative frames. It’s also ideal if you want to carve or add custom detail.
Why Basswood Works:
- Appearance: Plain, pale cream color
- Grain: Extremely fine and even—smooths out with minimal effort
- Workability: Excellent for hand tools, carving, or shaping
- Finish: Paints cleanly without soaking up too much
- Weight: Very light—great for wall-hung frames
Best for small frames, carved accents, or when working by hand.
3. Birch

Birch is a good middle-ground option—harder than poplar, but still easy to work and excellent under paint.
Why Birch Works:
- Appearance: Light-colored with a tight, subtle grain
- Grain: Closed and smooth—rarely needs filler
- Workability: Machines cleanly and holds sharp corners
- Finish: Takes primer and paint evenly
- Weight: Light to medium—easy to hang without anchors
A solid choice when you want durability without visible grain.
Woods That Can Be Tricky for Picture Frames
Not all wood plays nicely when you’re cutting thin strips or aiming for clean miters. Some are too soft.
Others are too unpredictable. And a few just take too much work to make them look good.
These are the woods I usually pass on when making picture frames.
1. Red Oak

Red oak is strong and easy to find, but it’s not a great choice for frames. The open grain and splintering make it tough to get clean results on small, detailed pieces.
Why Red Oak Doesn’t Work Well:
- Grain: Very open—leaves a rough texture and needs grain filler
- Workability: Prone to tearout, especially on mitered corners
- Finish: Can look blotchy if not sealed and prepped carefully
- Weight: Heavier than most other woods used for frames
Better for furniture than delicate or decorative frame work.
2. Pine

Pine is budget-friendly and widely available, but it comes with tradeoffs. It’s soft, unstable, and often more trouble than it’s worth.
Why Pine Doesn’t Work Well:
- Softness: Dents and scratches easily, especially in thin strips
- Stability: Warps or twists as it dries or moves with humidity
- Grain: Often uneven, with knots or resin pockets
- Finish: Tends to blotch badly unless pre-treated
Okay for rustic, painted frames—but not ideal for clean, polished work.
3. Cedar

Cedar smells great and works well in closets, but not so much in picture frames. It’s soft, unstable, and its strong aroma can linger.
Why Cedar Doesn’t Work Well:
- Aroma: Scent can linger and affect indoor air quality
- Softness: Dents, crushes, and splinters easily
- Stability: Not consistent enough for precise miters
- Finish: Absorbs oil unevenly and often looks blotchy
Save it for outdoor projects—not the living room wall.
Tips for Finishing and Caring for a Wood Picture Frame

Even if a frame doesn’t see the same kind of wear as a table or cutting board, the finish still matters.
It protects the wood, highlights the grain (if you’re not painting), and gives the whole piece a more polished look.
Here’s what I recommend when finishing a picture frame:
Choose the Right Finish
- Clear Oil or Wax: Great for natural woods like cherry, walnut, or mahogany. Brings out the grain and gives a soft, natural look.
- Shellac or Lacquer: Good for a more traditional, slightly glossy finish. Dries quickly and is easy to apply.
- Paint: Use a quality primer first, then apply multiple light coats. Works best on woods like poplar, birch, or basswood.
Sand Carefully
- Start with 120 or 150 grit and finish at 220 or higher for a smooth surface
- Use a sanding block or sponge to keep edges crisp
- Watch for burning or tearout on miters, especially with harder woods
Apply Finish Lightly
- Don’t flood it—thin coats give better control and fewer drips
- For oils, wipe on and let it soak before buffing off the excess
- Let each coat dry fully before applying the next
A well-finished frame doesn’t just look better—it lasts longer and holds up well over time.
Final Thoughts
Picture frames are one of my favorite small projects. They’re quick to build, make great gifts, and let you try new profiles or finishes without using a ton of material.
But the wood you choose really makes or breaks the end result.
For natural finishes, I keep going back to walnut and cherry—they’re easy to work with and look great right off the sander. If I’m painting, poplar is tough to beat. And if I’m just experimenting, birch or beech give me clean results without burning through my budget.
Pick a wood that fits your project, take your time with the finish, and you’ll end up with a frame that’s worth showing off—both the art and the craftsmanship.
