
At some point in your woodworking projects, you will want to use a dovetail joint. Perhaps in making bureau drawers, boxes, or cabinets, dovetail joints are necessary for strength and stability.
Have you ever used a dovetail joint in one of your projects? How did you make it? Did you use a marker? Was it a DIY marker, or did you use another tool already in your shop? For those of you who haven’t made a dovetail joint, let’s take a look at some particulars.
What Is A Dovetail Joint?
Dovetail joints are a woodworker version of a picture puzzle. If you’ve assembled a picture puzzle before, you know that pieces have both a protruding nose and an inset where that nose fits and locks the pieces together.

Dovetail joints follow the same principle. It’s a series of interlocking “pins” and “tails,” with the pins being the protruding nose if you will, and the inset where the pins fit are the tails. The tails are cut in one piece of wood (the tail piece), and the pins are cut in the second piece. The pins then fit neatly into the tails, and the pieces are then joined together.
If you are making a bureau drawer, you will likely include a mitered corner with the miter cut to 45 degrees. When joined, the two pieces of wood, the tail piece and the pin piece form a 90-degree angle and a very smooth edge.
Dovetail joints are the strongest joints for two pieces of wood that match the grains of each piece being joined. The benefits of a dovetail joint are:
- Strength of joinery. More glue surface is created with the pins and tails, and coupled with the mechanical strength of the puzzle pieces together, make for a strong joint. Even without the extra gluing surface area, the joint in and of itself will remain strong. If you’ve seen older pieces of furniture that used dovetail joinery and the glue has broken down or chipped away, the joint still remains very strong.
- They are a handsome joint, and when done correctly, make a smooth and neat row of pins showing through the tails.
- Craftsmanship. They show a quality of woodworking talent that all woodworkers wish to be known for in their work.
The only disadvantage of a dovetail joint is the degree of difficulty for the new woodworker in making them. The difficulty in marking them out and cutting them accurately is a challenge, and it may take a few tries before you will master them. If made badly, you lose the benefits noted above.
How To Mark a Dovetail Joint Accurately
Marking a dovetail joint can be a little tricky. Angles to follow, different for softwoods and hardwoods, depths that need to match as between the pins and tails, can both present challenges. The strength and appearance of the joint depends on accuracy.
Fortunately, there are such things as dovetail joint markers. These dovetail marking gauges are easy to use as long as you follow a few simple rules that pertain to angles.
For instance, the Veritas Saddle Marker comes in a variety of angles when laying out your wood to identify where to cut. They are made of anodized aluminum and are easy to use. Different angled markers at 1:6 and 1:8 ratio offer the ability to work with either hardwood or softwood. And, they provide the straight edge to mark the end of the wood piece where the cut will begin.
Clarke Brothers Dovetail Markers are another option. This precision tool is more elaborate than the Veritas Marker but equally effective in marking cuts are the correct angle from 1:5, 1:6, 1:8, and more. Again, the different angles apply to hardwoods and softwoods, as well as the pieces being joined and their size (number of pins and tails across the span).
Along the same lines as the Clarke Brothers markers is the NewKiton Dovetail Marker. It, too, is a precision tool that offers a variety of angles and a straightedge to mark the end of the wood piece.
These dovetail marking guides are all good products that contribute to an accurate dovetail layout. They range in price from around $14 to $25, depending on the model you choose and are all considered to be both accurate and easy to use.
Do You Need a Dovetail Jig?
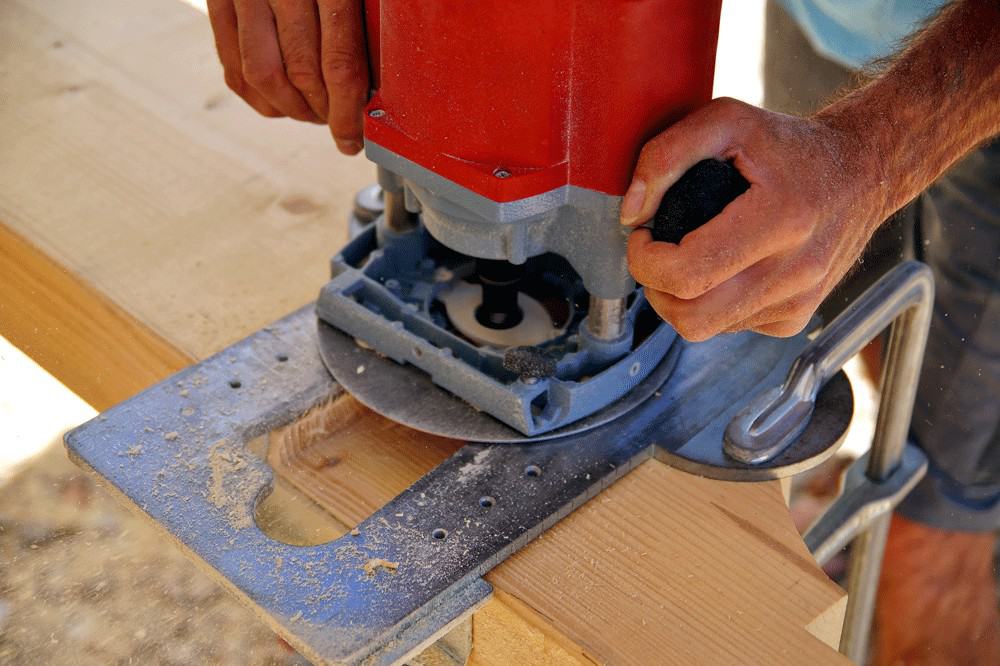
If you have a few extra dollars, though, and want more options from your tools, you can choose a dovetail jig. These jigs usually use both the imperial measurement scale and the metric scale and can be used to create a number of different joints, not just a dovetail joint.
These templates make repetition easy and can help you create a standard dovetail, a box joint, or a half-blind or full-blind mitered joint. They can be expensive, though, running from $40 to $350, depending on how extensive the options are.
But, do you really need one? Are there alternatives to all of the markers and jigs mentioned above?
You may already have a tool at your disposal in the shop that can do what each of these guides does – a sliding T bevel.
They’re handy for measuring angles accurately and are easy to use. They also have the straightedge for marking the end of the pieces where cuts would begin. And, they are much less expensive, starting from $5 at your local hardware store.
We’ve previously written about them here. Check out that piece to see how easy they are to use and how accurately they can be for measuring those 1:6 and 1:8 angles.
Lots of words, yes, but videos can sometimes help demonstrate better than words can describe. Here are a couple of videos that show dovetail markers in action, as well as ideas for DIY markers:
A homemade version from a woodworking teacher is here.
Several options for dovetail markers that we’ve mentioned above.
If you are new to woodworking, dovetail joints are in your future. But we’ve offered a lot of material here to help you get started on your first dovetail joint project. Good luck to you, and remember to have fun with them.