This project was built by Steve from JKM Woodworking. If you’re interested in woodworking projects that are both practical and enjoyable, be sure to check out his channel for more builds and inspiration.
Watch the full video and subscribe to Steve’s channel:
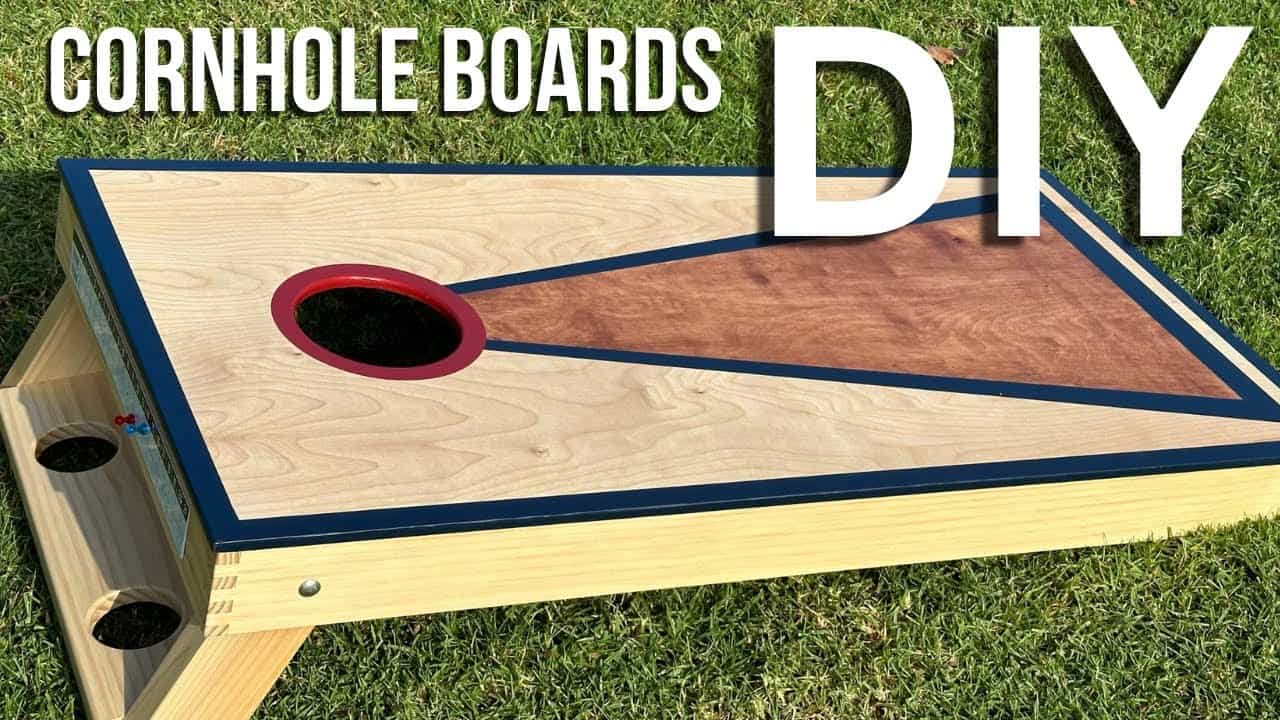
Why Build Your Own Cornhole Boards?
Cornhole is a classic outdoor game that’s perfect for gatherings, and building your own boards allows for complete customization. Whether you want to personalize them with a unique design or ensure they meet regulation size, making your own set is a great way to improve your woodworking skills while creating something fun.
Preparing the Wood for the Playing Surface
Steve starts by cutting a sheet of plywood to create the playing surface. To achieve clean edges, he uses a two-step cutting method, making a shallow scoring cut first before completing the full cut. This prevents splintering and ensures a polished look.
Once cut, the plywood is divided into two equal pieces, each measuring approximately two feet by four feet. The edges are refined on the table saw for accuracy, then rounded over with a router before being sanded smooth. This prepares the surface for later assembly and finishing.
Constructing the Frame for Stability
To support the playing surface, Steve constructs a frame using sturdy wood cut to size. He ensures strong connections by using precise joinery techniques, including box joints made with a custom jig. Test cuts help fine-tune the fit before assembling the final pieces.
Each frame component is sanded before assembly to create a smooth finish. Glue is applied carefully to the end grain, allowing it to soak in before adding more for a strong bond. Clamping everything square ensures a sturdy and well-aligned structure.
Adding Supports and Attaching the Top
For additional stability, Steve installs center supports in the frame. These pieces are cut to fit and secured with pocket hole screws, reinforcing the structure. Once the frame is fully assembled, the plywood tops are attached with glue and brad nails to hold everything securely in place.
Cutting the Game Holes and Making the Legs
The signature feature of cornhole boards is the target hole, which Steve cuts using a six-inch hole saw. To prevent splintering, he drills a pilot hole first and makes a shallow cut from one side before finishing from the other. This method creates a clean and professional result.
The legs are made from 2x4s, planed down for uniformity and shaped with rounded ends for a smooth fit. When attaching them, Steve carefully considers their angle for proper function. For an extra touch, beverage holders can be incorporated into the design for added convenience.
Finishing and Protecting the Boards
Before painting, Steve seals the wood grain with a shellac mixture diluted with denatured alcohol. This helps prevent blotchiness and ensures clean, sharp paint lines. Once sealed, the boards are sanded again and taped off for painting.
Stencils are used to create precise designs, and multiple coats of exterior water-based urethane are applied for durability. Sanding between coats helps achieve a smooth and professional finish, protecting the boards for long-term outdoor use.
Final Assembly and Game-Ready Setup
Once the finish has dried, the legs are attached using stainless steel carriage bolts for added strength. A scoreboard can be added for extra functionality, making gameplay even more convenient. After everything is assembled, the boards are ready for a game at the park, backyard, or tailgate event.
Watch the full video and subscribe to Steve’s channel:

Matt’s Take
These are my personal thoughts and tips based on my own experience in the shop. This section is not written, reviewed, or endorsed by the original creator of this project.
One thing I really appreciate about this build is the attention to preventing tear-out when cutting plywood. That scoring cut technique Steve uses is gold – plywood can chip out badly on the exit side of a cut, especially with cheaper blades. Taking that extra step with a shallow pass saves a ton of sanding and filling later.
The shellac sealer before painting is a smart move that a lot of folks skip. Raw wood can absorb paint unevenly, leading to blotchy coverage that’s tough to fix. Thinned shellac creates a barrier that helps the paint lay down consistently. Just make sure to use dewaxed shellac if you’re going with water-based topcoats – the wax in regular shellac can cause adhesion issues.
For the hole cutting, starting with a pilot hole is crucial. A 6-inch hole saw generates serious torque, and without that pilot to guide it, you’re asking for trouble. The saw can grab and kick, potentially damaging the workpiece or worse. Taking it slow and backing out frequently to clear chips will also help prevent overheating and premature blade dulling.
Building cornhole boards is a great project for developing fundamental skills – measuring, cutting, assembly, and finishing. Plus, you end up with something that’ll get plenty of use at gatherings. Way more satisfying than store-bought boards that often use cheap materials and questionable construction.