
In my woodworking projects, I often find myself reaching for polyurethane, whether it’s oil-based or water-based.
This choice always leads to a crucial question: How many coats are necessary for that perfect finish?
Water-based polyurethane requires 3 to 4 coats, while 2 to 3 coats are needed for oil-based polyurethane. The coats required may vary depending on the project.
In this article, I’ll explain the specifics of these guidelines, helping you understand the ideal number of coats for different projects and conditions.
What Is Polyurethane Wood Finish?
Polyurethane, a synthetic resin, forms a hard, protective layer over the wood’s surface, guarding against water damage, scratches, and other common hazards. There are two primary types of polyurethane: water-based and oil-based.
Water-based polyurethane is known for its low odor and quick drying time. It’s environmentally friendly, retains the wood’s natural color, and adds a clear finish that doesn’t yellow over time.
Oil-based polyurethane adds a warm amber glow to the wood. It takes longer to dry and has a stronger odor compared to water-based polyurethane but is often chosen for its durability and rich, glossy finish.
How Many Layers of Polyurethane Do You Need?
When it comes to deciding how many coats of polyurethane to apply, there isn’t a one-size-fits-all answer, but there are general guidelines:
Coats of Water-Based Polyurethane
Typically, 3 to 4 coats are recommended. These coats are thinner, so more layers are often needed to build up a durable finish.
Coats of Oil-Based Polyurethane
Usually, 2 to 3 coats are sufficient. Each coat is thicker and provides more protection, requiring fewer layers.
The coats needed vary based on the wood type, project use, and environment. Porous woods often require more coats for a smooth finish, while less porous ones need fewer.
Also, keep in mind that humidity and temperature can impact drying and curing times, affecting the number of coats necessary.
Project-Specific Polyurethane Coat Recommendations
Each woodworking project has its unique requirements for polyurethane coats. Here are tailored recommendations for common projects:
| Project Type | Water-Based Polyurethane Coats | Oil-Based Polyurethane Coats |
|---|---|---|
| Furniture | 3-4 | 2-3 |
| Hardwood Floors | 4 | 3 |
| Stairs | 4 (minimum) | 2-3 |
| Kitchen Cabinets/Counters | 3-4 | 2-3 |
| Doors and Trim | 3 | 2 |
| Outdoor Furniture | 4-5 | 3-4 |
| Specialty Items | 5-6 | 4-5 |
| Pine Walls/Paneling | 3-4 | 2-3 |
| Butcher Blocks | 4-5 | 3-4 |
| Tables | 3-4 | 2-3 |
| Countertops | 3-4 | 2-3 |
| Trim and Molding | 2-3 | 2 |
How To Apply Multiple Coats of Polyurethane

Water-Based Polyurethane:
- Number of Coats: Aim for 3 to 4 coats. Being thinner, water-based polyurethane requires more layers for optimal protection.
- Application Tips: Use a synthetic bristle or foam brush. Apply each coat thinly to avoid drips and allow 2 to 4 hours of drying time between coats. Lightly sand with fine-grit sandpaper (220 or higher) between coats for smoothness. The final coat can be slightly diluted for a smoother finish. Allow the final coat to cure for at least 24 hours before use.
Oil-Based Polyurethane:
- Number of Coats: Generally, 2 to 3 coats suffice due to its thicker nature.
- Application Tips: Use a natural bristle brush and apply in a well-ventilated area. Ensure even application without making it too thick to avoid runs. Sand lightly between coats with fine-grit sandpaper. Drying time is typically 6 to 8 hours, sometimes up to 24 hours in non-ideal conditions. The final coat should be carefully applied for a clear finish. Allow several days of curing time for full hardness and durability.
General Application Techniques:
- Use the Right Tools: Match the brush type with the polyurethane type.
- Thin Coats: They dry evenly and reduce drips or bubbles.
- Well-Ventilated Area: Especially crucial for oil-based types.
- Maintain a Wet Edge: Apply in long, even strokes to prevent streaks.
- Avoid Overworking: Over-brushing can introduce air bubbles or brush marks.
- Sanding Between Coats: Essential for removing dust nibs and ensuring a smooth base for the next coat.
- Proper Drying Times: Respect the recommended drying times for each coat. Final curing is crucial for the finish’s durability.
How Long To Wait Between Coats of Polyurethane
Understanding polyurethane’s drying and curing times is crucial for achieving the best finish.
Water-Based Polyurethane
- Drying Time Between Coats: 2 to 4 hours
- Cure Time for Final Coat: At least 24 hours
Oil-Based Polyurethane
- Drying Time Between Coats: 6 to 8 hours, up to 24 hours in non-ideal conditions
- Cure Time for Final Coat: Several days for full hardness and durability
Note: These times can vary based on environmental factors such as humidity and temperature. Always ensure the previous coat is dry to the touch and doesn’t leave a fingerprint before applying the next coat.
Can You Put On Too Many Coats Of Polyurethane?
- Risks Of Too Many Coats: This can lead to an uneven or overly thick finish, longer drying times, potential yellowing, and peeling or cracking as the wood expands and contracts.
- Risks Of Too Few Coats: This may result in inadequate protection against scratches and moisture, quicker wear and tear, and uneven absorption in porous woods.
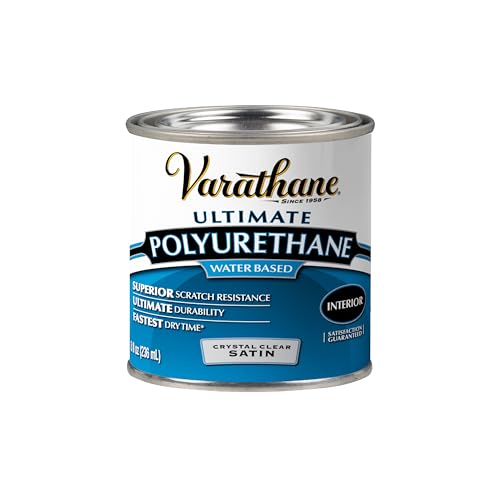
- Protects indoor wood surfaces such as furniture, windows, cabinets, trim and more
- Water based formula dries fast and cleans up with soap and water
- Dries to the touch in 30 minutes with coverage up to 31.25 sq. ft., recoat after 2 hours
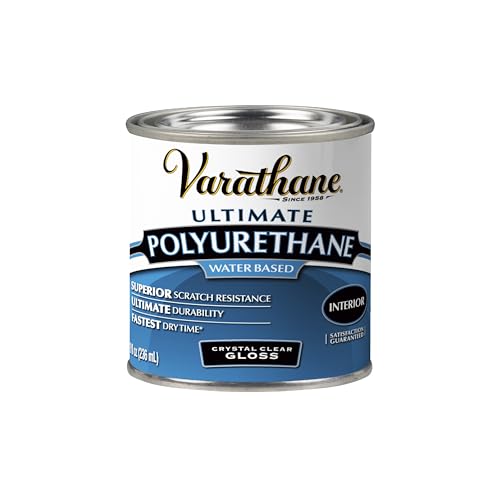
- Protects indoor wood surfaces such as furniture, windows, cabinets, trim and more
- Water based formula dries fast and cleans up with soap and water
- Dries to the touch in 30 minutes with coverage up to 31.25 sq. ft., recoat after 2 hours

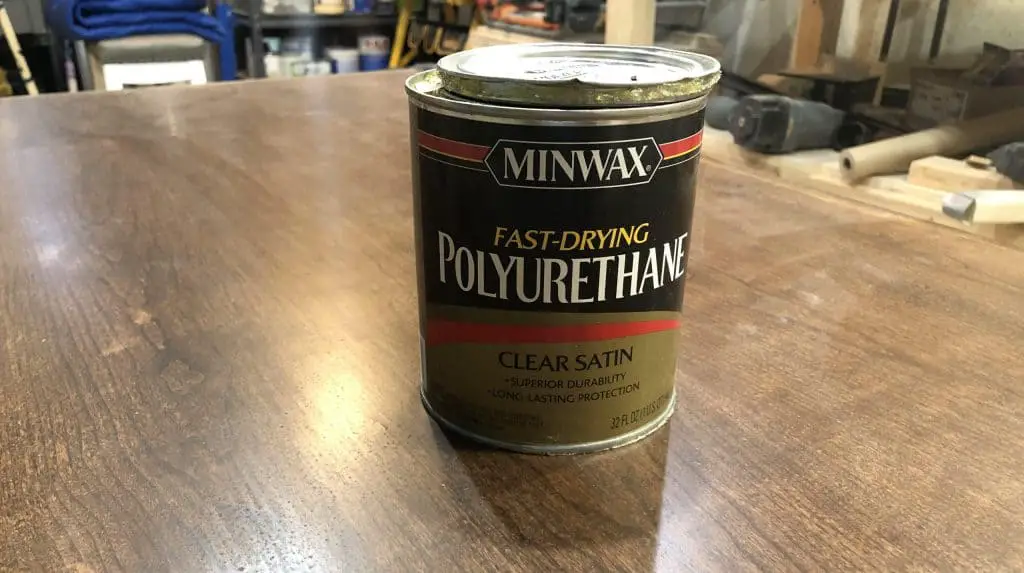
- PROTECT WOOD SURFACES – Minwax Polyurethane Wood Finish protects interior projects like woodwork…
- OIL-BASED DURABLE FINISH – Clear finish provides long-lasting protection and warm beauty to both…
- SEMI-GLOSS SHEEN – Give your wood projects a sleek finish with this semi-gloss clear varnish. It…
Frequently Asked Questions

How Do I Know If I Need Another Coat of Polyurethane?
Examine the surface after drying. An additional coat may be necessary if it appears uneven or lacks sheen in certain areas. For surfaces that will endure heavy use, like floors or tabletops, err on the side of applying an extra coat for added durability.
Can I Mix Water-Based and Oil-Based Polyurethane?
It’s not recommended to mix these two types. Mixing them with different properties and drying times can lead to an uneven finish or other complications.
How Can I Avoid Bubbles in My Polyurethane Finish?
To avoid bubbles, don’t shake the polyurethane can. Stir it gently instead. Apply thin coats with a fine bristle brush or foam brush, and avoid overworking the surface.
How Do I Fix Drips or Runs in Polyurethane?
If you notice drips or runs while the coat is still wet, smooth them out with your brush. If they’ve dried, sand the area lightly and reapply a thin coat of polyurethane.
Can I Apply Polyurethane Over a Stained Surface?
Yes, polyurethane can be applied over a stained surface. Ensure the stain is completely dry and lightly sand the surface before applying polyurethane.
In Summary
The number of polyurethane coats needed for your woodworking project depends on several factors, including the type of polyurethane (water-based typically needs 3-4 coats, while oil-based usually requires 2-3 coats), the nature of the wood, and the intended use of the item.
Remember, while it’s tempting to think more coats equal better protection, applying too many can lead to problems like an uneven finish or extended drying times. Conversely, too few coats might not offer enough protection.
Last update on 2026-07-25 / Affiliate links / Images from Amazon Product Advertising API