This question is crucial for planning and executing any woodworking project with a desired smooth, durable finish. Understanding these timelines is key to achieving the best results, whether you’re working on furniture, cabinets, or floors.
I’ll guide you through the factors that influence drying time, such as environmental conditions and application techniques, to help you optimize your workflow and achieve a flawless finish.
QUICK ANSWER:
Minwax Polyurethane typically takes 4-6 hours to dry between coats. For light use, allow it to dry for 24 hours. A full cure, creating a hard and durable surface, takes about a month.
How To Apply Polyurethane Finishes on Your Wood Projects
Polyurethanes can be both oil-based and water-based. Which one you will choose to use depends on your desired outcome:
- Oil-based Polyurethane looks better in color and shines on hardwoods and is a good choice for floors. However, it can tend to yellow over time, requiring a refinish.
- Water-based Polyurethane is clear and tends not to yellow. It is a good choice if you want the natural quality of your wood to be maintained.
Neither makes wood waterproof, although they both do make wood water resistant. Its seal of wood polyurethane does offer protection and acts as a repellent against water absorption. It also protects wood from scratches and, in the case of water-based polyurethanes, maintains its color so that the natural qualities of the wood are protected.
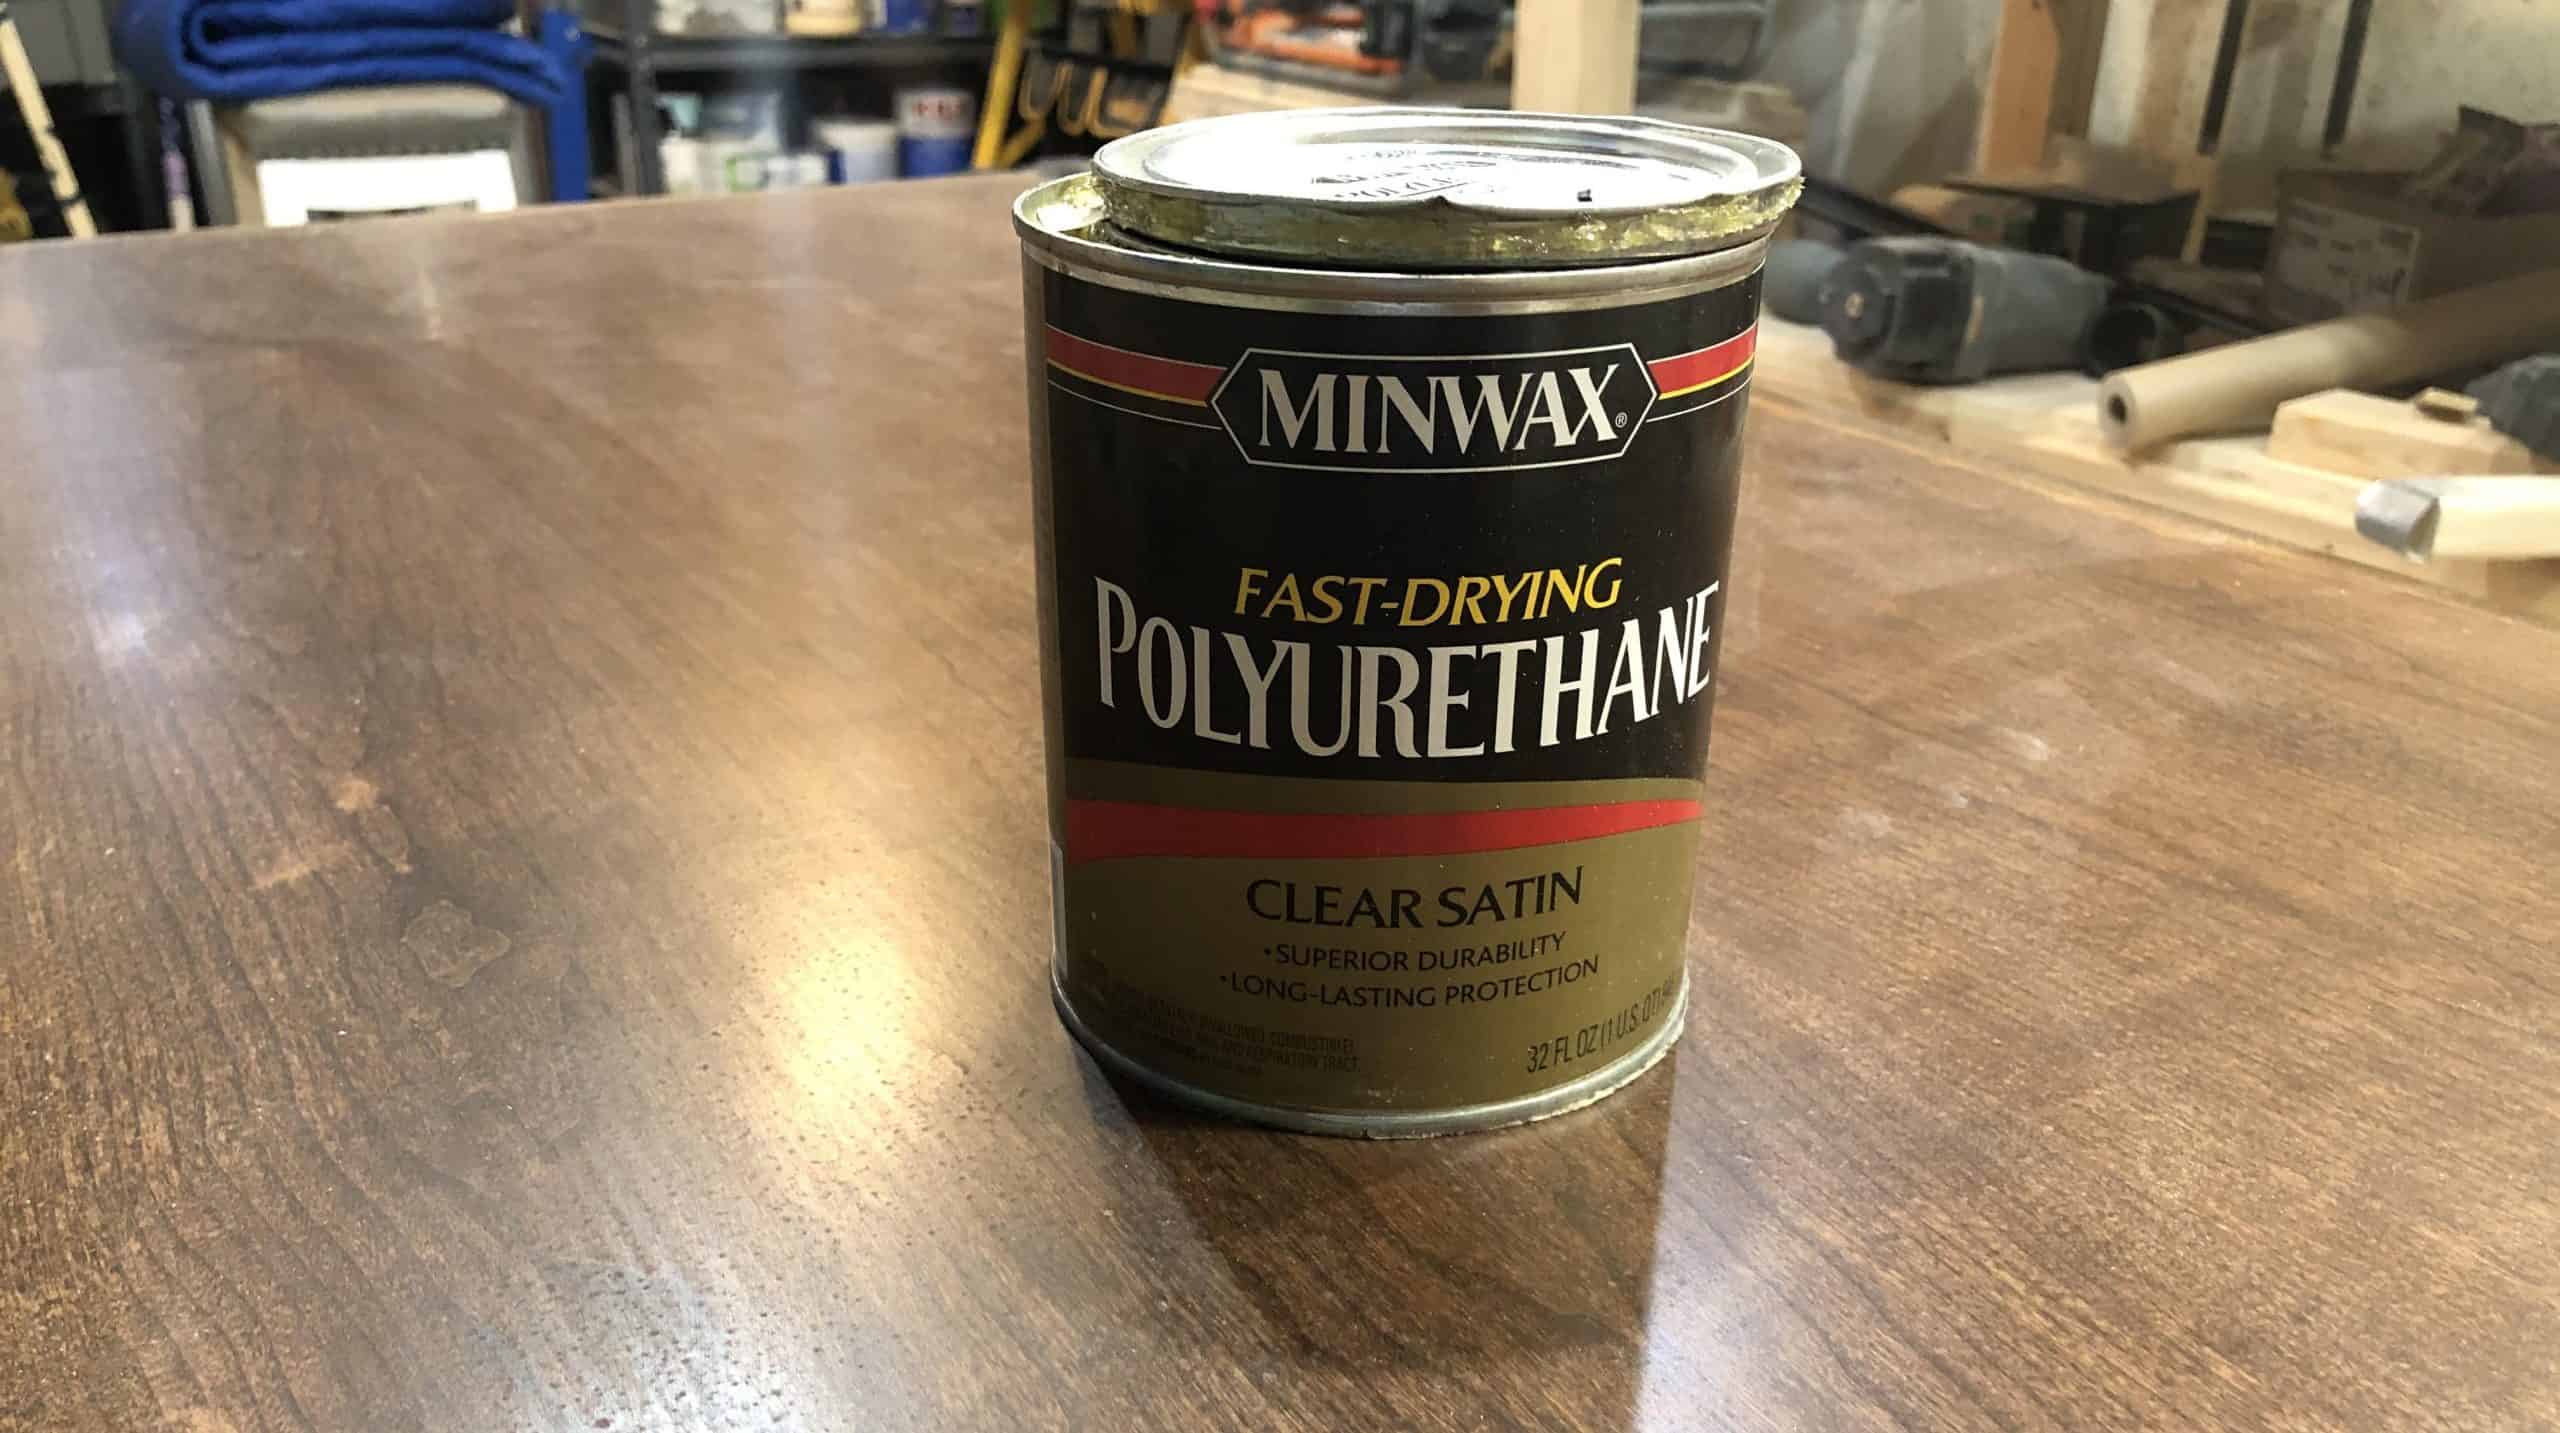
After you have chosen which polyurethane to use for your furniture, cabinet doors, window trim, floors, etc., its application is basic and straightforward. A high-quality natural or foam brush should be used, and a thin coat applied. Minwax Fast-Drying Polyurethane is a good brand choice, and the following discussion is specifically about Minwax.
- After a 4-6 hour dry time, you’ll want to sand the entire coat with a fine 220 grit lightly. Be sure to remove all dust with a thorough cleaning before the next coat is applied. This will create an even finish.
- It’s not fatal if you don’t sand between coats, though. The effect of not doing so is not a significant factor in the overall appearance of the wood. But, if you’ve built it carefully and correctly, paying attention to detail in your woodworking, why not go the extra step.
- Two coats may be sufficient if the piece being finished will experience no use (window or door trim, for instance, as opposed to a table or hardwood floor).
- If the finished piece is going to be used, whether hard or soft (think a chair, a table, or a floor), go the extra step and add a third coat, again sanding between applications and allowing 4-6 hours of drying time for each coat.
Environmental Conditions Affecting Polyurethane
A dry and low humidity environment will facilitate a quicker dry time than high humidity. The 4-6 hour dry time range speaks to this, with low humidity conditions contributing to the lower end of the range, and higher humidity increasing dry time.
Be patient between coats. The dry time between applications needs to pass. Remember that you will be sanding between coats, and you want the coat to be sufficiently dry before touching it with sandpaper.
Drying Time vs. Cure Time For Polyurethane

There is a difference between drying time between coats and full drying time before use. Allow a full 24 hours for drying before light use (again, think furniture like a chair or a table or a floor).
There is also a difference between drying time and curing time. Allowing a complete curing process to play out will help create a hard surface and allow a strong adhesion of the finish to the wood surface.
A full cure time for Minwax Fast Drying polyurethane is about a month. If you can still smell the polyurethane, it’s still curing. Show patience while you wait for the odor to dissipate fully before hard use.
You’ve measured twice and cut once; you’ve taken great care in making that piece of furniture, or those cabinets, or the new floor. Your project has turned out well and just as you planned.
So give it that finishing touch (pun intended) with a well and patiently applied polyurethane finish. Do it right, follow these steps, let it cure, and enjoy the results for many years to come.
My husband made a twin bed frame for our 3 yr old grandson. I stained and then put 3 coats of Polyurethane on it, sanding after 1st and 2nd coat. How long should I wait before I take it over to him and put in his room?
Will there be a smell?
If possible, I would wait at least 4 days after the final coat before putting it in his room. The longer you can wait the better of course.
Refinishing cherry cabinets. Love the semi gloss.
Would Appling wax make the finish more resistant ?
Thank you.