
I’ve used polyurethane on just about everything—bar tops, tabletops, nightstands, shelves.
Some projects turned out great. Others… not so much.
At first, I figured any clear coat would do the job. Just slap it on and wait for it to dry.
But over time, I learned that getting a smooth, professional-looking finish takes more than just opening a can and grabbing a brush.
Things like prep, choosing the right type of poly, and knowing how to apply thin coats without bubbles—all of it matters.
In this post, I’ll walk through what polyurethane actually is, how to pick the right kind, and the exact steps I follow to get a smooth, durable finish every time.
What Is Polyurethane?

Polyurethane is one of the most common wood finishes out there—and for good reason. It’s durable, easy to apply, and gives your project a clean, protective coat that holds up over time.
Technically, it’s a type of plastic that starts as a liquid and hardens into a clear (or slightly amber) shell. It’s not quite a varnish, not quite a resin—but somewhere in between.
When you brush it on, it seeps into the grain a bit and then cures into a hard film. That film protects the wood from scratches, moisture, and wear.
Some formulas dry crystal clear. Others add a warm amber tone that deepens the color of the wood.
Either way, polyurethane is one of the easiest ways to give a woodworking project a finished, professional look—if you apply it the right way.
Types of Polyurethane

Not all polyurethane is the same. There are three main types you’ll run into, and each has its strengths depending on what you’re working on.
Water-Based Polyurethane
This is the one I use when I want a clear finish that won’t change the color of the wood much.
It goes on milky but dries clear, doesn’t smell as strong, and cleans up with just soap and water. It also dries fast—usually within a couple of hours—so you can get multiple coats done in a day.
The tradeoff? It’s a bit thinner than oil-based, so you’ll likely need more coats to build up protection.
Best for: light-colored woods, indoor furniture, and projects where you want a clear, low-odor finish.
Oil-Based Polyurethane
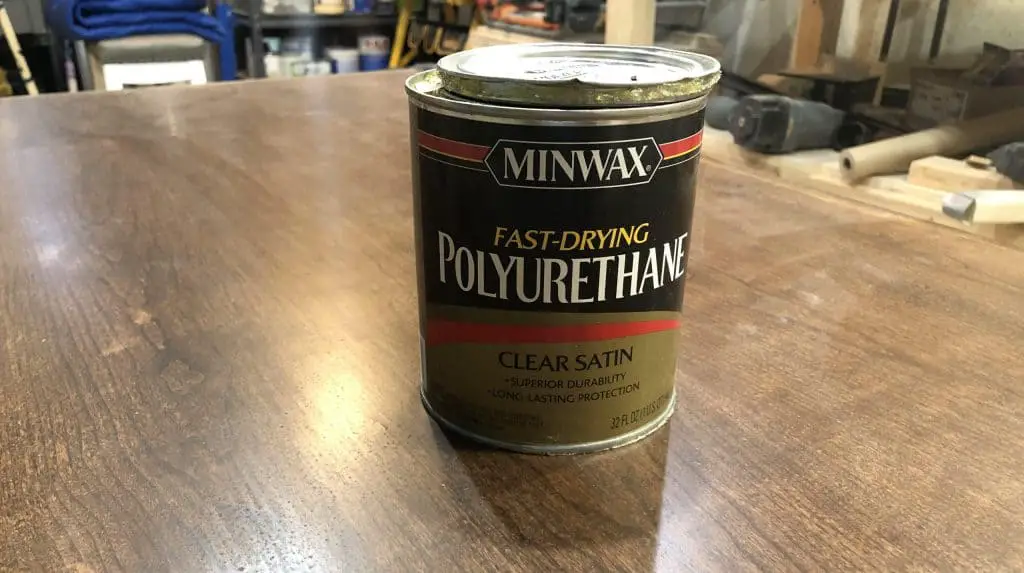
This stuff is tougher and adds a rich amber tone to the wood. It’s more durable than water-based and holds up better against moisture, scratches, and general wear.
But it does come with some downsides. It smells strong, takes longer to dry, and has higher VOCs—so ventilation is important. You’ll also need mineral spirits for cleanup.
Best for: floors, tabletops, dark woods, and anything that needs a hard-wearing finish.
Oil-Modified Water-Based Polyurethane
This one gives you the best of both worlds. It goes on like water-based poly but dries to a warm, amber finish like oil-based.
It also has lower VOCs, dries faster than traditional oil-based poly, and works well with most woods.
Best for: general-purpose finishing where you want warmth and durability without the long dry times.
How To Choose the Right Poly for the Job

There’s no one-size-fits-all polyurethane.
The best choice depends on what you’re finishing, where it’s going, and how you plan to apply it.
Here’s how I think through it:
1. The Wood Itself
If I’m working with light-colored wood like maple, ash, or birch, I go with water-based poly—it won’t add any yellowing.
But on darker woods like walnut or cherry, I usually prefer oil-based poly. It brings out the grain and adds a rich, warm tone that just looks better over time.
2. The Look You Want
Want a totally clear finish that keeps the wood looking natural? Water-based is your best bet.
If you want depth, warmth, and a more traditional finish, oil-based or oil-modified poly adds that amber tone.
And don’t forget the sheen—gloss, satin, semi-gloss, or matte. I tend to lean toward satin for most projects. It gives a nice glow without being too shiny.
3. Where the Project Will Live
For indoor furniture or trim, just about any poly works.
But if it’s going outside, like a bench or planter box, you’ll want something made for exterior use—like spar urethane or marine-grade poly.
For high-traffic areas like floors, oil-based poly is still the go-to for most pros because of its toughness.
4. How You’ll Apply It
- Spray-on: Fast and smooth, but you’ll need to thin the poly and use a well-ventilated area.
- Wipe-on: Best for small projects or touch-ups. Go with a wipe-on version of poly (some are pre-thinned for this).
- Brush-on: Most common. A foam brush works great and helps reduce streaks.
How To Apply Polyurethane (Step-by-Step Tips)

Applying polyurethane isn’t hard—but doing it well takes a little planning and patience. Here’s the step-by-step process I use to get a smooth, professional-looking finish:
1. Prep the Surface
Start by sanding the wood smooth. I usually finish with 220-grit sandpaper or higher.
Wipe away all the dust with a tack cloth or a clean, damp rag. Don’t skip this step—any leftover dust will get sealed in and ruin the finish.
2. Stir the Polyurethane
Never shake the can. That just introduces bubbles, and bubbles will show up in your finish.
Instead, stir it gently with a clean stick. Take your time and avoid creating foam.
3. Thin It (If Needed)
Some polyurethanes are thick right out of the can. If I’m brushing or spraying, I’ll often thin the first coat just a bit—water for water-based, mineral spirits for oil-based.
This helps it soak in and go on more evenly.
4. Apply a Thin First Coat
Use a foam brush, a high-quality bristle brush, or a clean lint-free cloth—depending on the product and project.
Apply with the grain in smooth, even strokes. Don’t go back over it too many times or you’ll cause streaks or bubbles.
5. Let It Dry (Fully)
Follow the can’s instructions, but don’t rush it. Water-based poly can be ready in 2–3 hours. Oil-based usually needs 8–12.
If it still feels tacky, wait longer.
6. Sand Between Coats
Once the first coat is dry, lightly sand with 320–400 grit sandpaper or a sanding sponge. You’re just knocking down any raised grain or brush marks.
Wipe away all the dust before adding the next coat.
7. Repeat for 2–5 Coats
Most projects need at least two coats, sometimes more. I usually do:
- 3 coats for water-based
- 3–4 coats for oil-based
- Up to 5 or 6 coats for heavy-use surfaces like tabletops or floors
More thin coats are better than one thick one.
General Tips and Common Mistakes

Even with the right product and technique, a few small missteps can leave you with brush marks, bubbles, or a cloudy finish. Here are some things I always keep in mind when working with polyurethane:
Work in a Clean, Ventilated Area
Dust is your enemy here. I try to apply polyurethane in a spot that’s clean and still, with as little air movement as possible—just enough ventilation to help with fumes, especially for oil-based finishes.
If you’re in a dusty shop, give it time to settle before you start. You can even mist the floor with water to keep dust down.
Don’t Shake the Can
I mentioned this earlier, but it’s worth repeating: never shake polyurethane. It creates bubbles that show up in your finish and are tough to sand out.
Always stir gently before each use and during long sessions.
Avoid Overbrushing
Once the poly is on the surface, leave it alone. Going back over it too many times just adds bubbles, streaks, or brush marks.
Apply it in steady strokes, then let it self-level as it dries.
Watch Your Dry Times
If you apply a second coat before the first is fully cured, you risk peeling or a cloudy finish. Water-based poly dries fast, but oil-based can take much longer.
When in doubt, wait longer.
Skip the Cheap Brushes
Foam brushes work well for small projects, but if you’re using a bristle brush, go with a good-quality one made for the type of finish you’re using. Cheap brushes shed bristles and leave drag marks behind.
Don’t Skip the Sanding Between Coats
It might feel like overkill, but light sanding between coats helps remove dust nibs, bubbles, and brush strokes. It also gives the next coat something to grip.
I use 320 or 400 grit, then wipe off the dust with a clean cloth.
Final Thoughts
Polyurethane might seem intimidating at first, but once you understand the basics, it’s one of the most reliable finishes you can use.
Take the time to prep the surface, pick the right type of poly, and apply it in thin, even coats. A little patience between layers—plus some light sanding—makes all the difference.